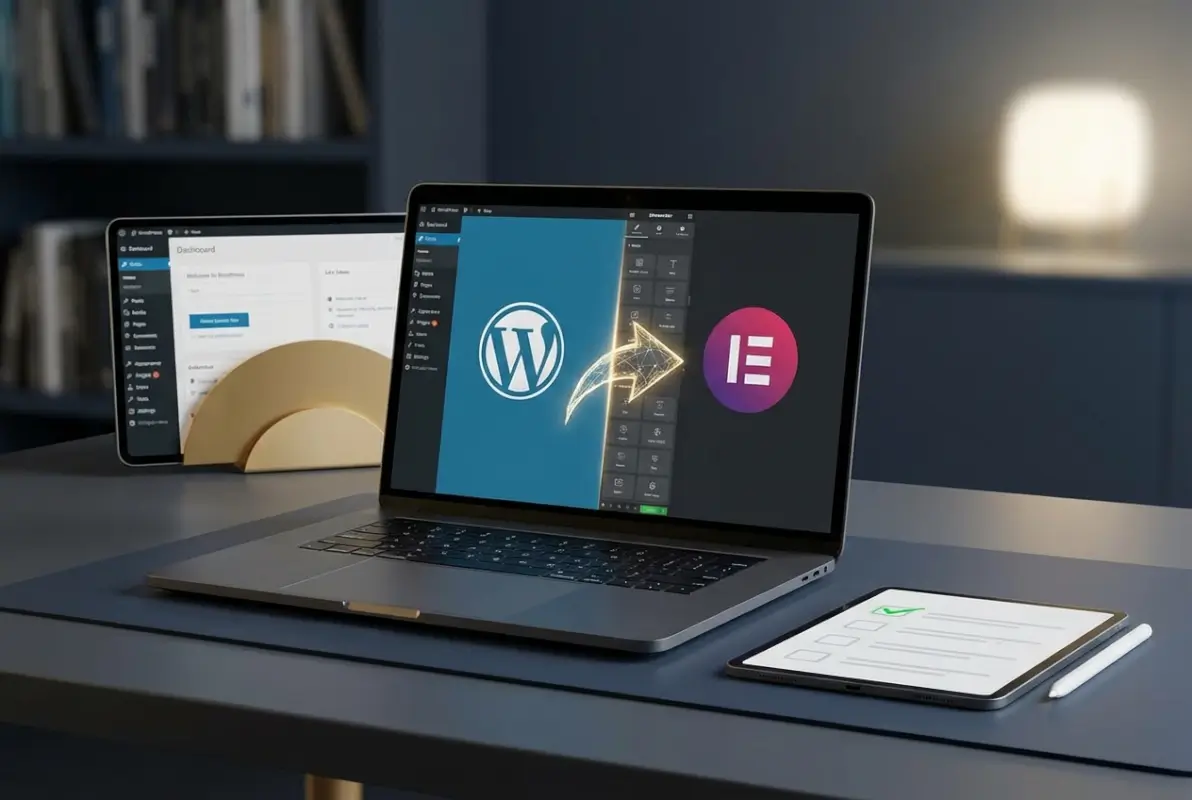
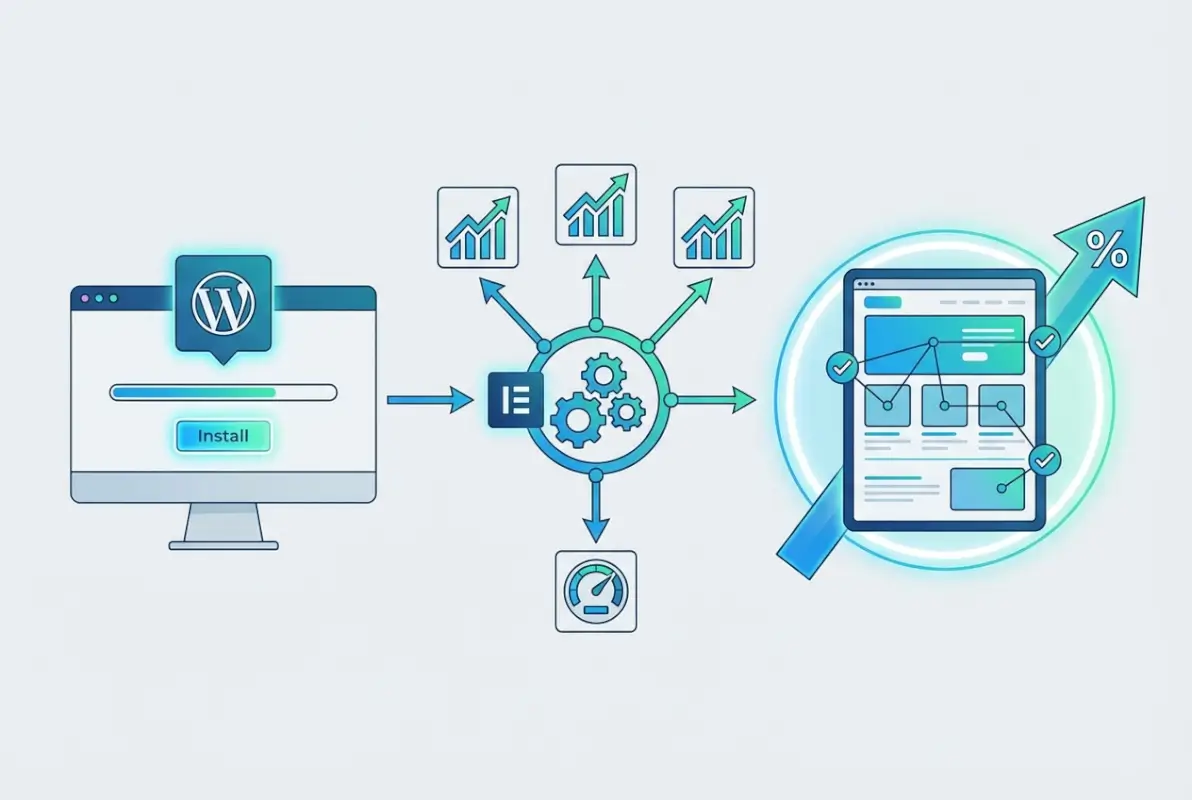
How to Install Elementor Pro: A Step-by-Step Guide for WordPress
Generating summary...
Installing Elementor Pro transforms your WordPress site from a basic page builder into a professional design powerhouse. But here’s what most tutorials won’t tell you upfront: the installation itself is straightforward, but the licensing and activation process trips up nearly every first-time user. You’ll face confusing account connection screens, wonder why Pro features aren’t showing up even after “installation,” and possibly waste hours troubleshooting activation limits. This guide cuts through that confusion by walking you through not just the mechanical steps of installing Elementor Pro, but the critical licensing logic that makes everything actually work. Whether you’re a developer managing client sites or a business owner building your first online store, you’ll learn the two proven installation methods, avoid the most common pitfalls, and unlock premium features like Theme Builder and WooCommerce Builder without the usual headaches.
TL;DR – Quick Takeaways
- Two installation paths exist – Connect & Activate from WordPress admin, or upload the Pro ZIP file manually
- Licensing is separate from installation – You must activate your license key after installing the plugin to unlock Pro features
- Elementor Core is required first – Pro is an add-on extension, not a standalone plugin
- Account connection matters – Activating on the wrong Elementor account is the #1 reason features don’t appear
- Domain transfers need deactivation – Each license has activation limits; deactivate old sites before moving to new domains
What Elementor Pro Is and How Licensing Actually Works
Before you download anything, you need to understand what you’re actually installing. Elementor Pro isn’t a replacement for the free Elementor plugin—it’s an extension that adds premium widgets, the Theme Builder, Popup Builder, WooCommerce Builder, and dynamic content capabilities. The free Elementor Core handles the base page-building functionality, while Pro layers on the advanced features that professional designers and developers need.
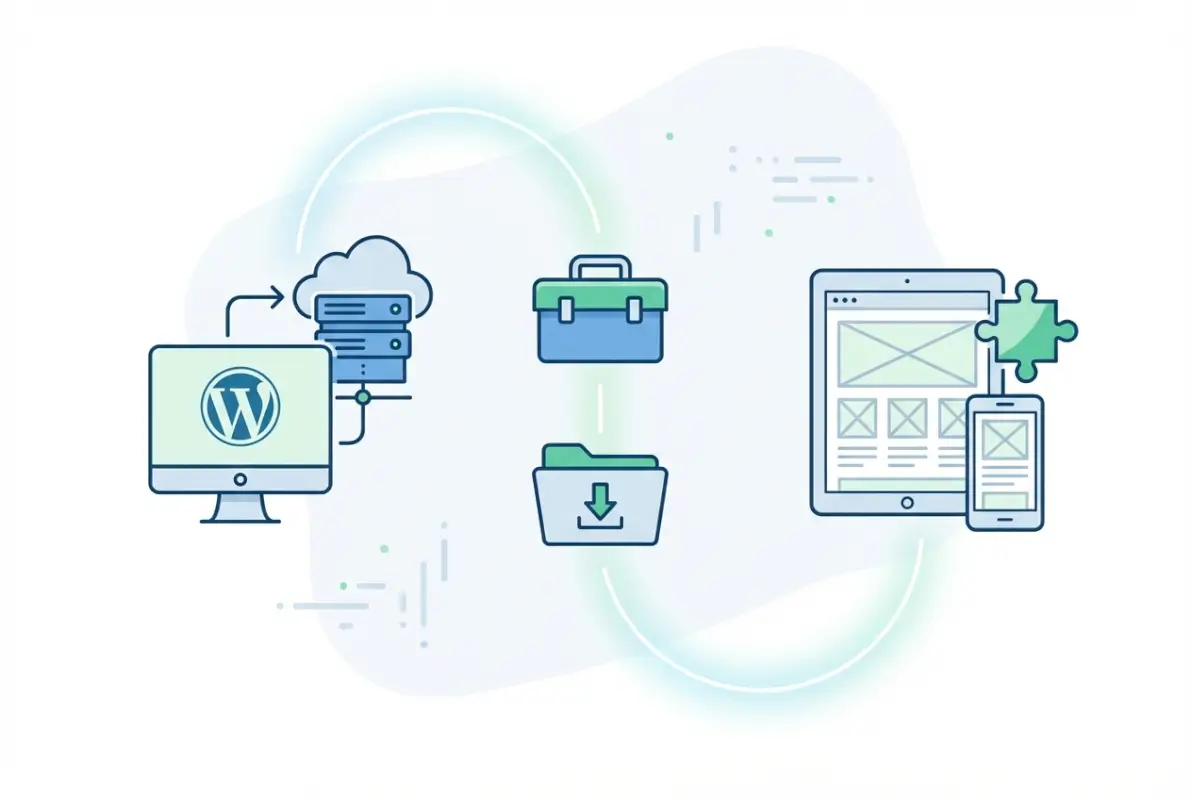
Here’s where most people get confused: purchasing Elementor Pro gives you a license key, not just a plugin file. That license needs to connect to your Elementor.com account and activate on your specific WordPress domain. Think of it like buying software with a product key—the installation file is useless without valid activation. This two-part system (plugin installation + license activation) exists because Elementor needs to verify your subscription tier and enable the corresponding features on your site.
The licensing UI lives in two places: your Elementor.com dashboard (where you manage which domains use your licenses) and your WordPress admin panel (where you actually connect and activate each site). When you click “Connect & Activate” in WordPress, you’re telling Elementor’s servers “this domain should use subscription X from account Y.” Common errors happen when people activate on the wrong Elementor account (maybe they have a personal account and a client account), or when they forget they’ve already used all their activation slots on other domains.
Managing License Transfers and Account Switching
Let’s say you’re a freelancer who built a client site on a staging domain, then needs to move it to the live production domain. You can’t just copy the files and expect the license to follow—you need to explicitly deactivate the license on the staging site, then reactivate it on the production site. This is done through your Elementor.com account dashboard under My Licenses, where you’ll see all active sites and can click “Deactivate” next to the old domain.
If you’re managing multiple clients or personal projects, you might also need to switch between Elementor user accounts. The WordPress admin panel has a “Switch User” option in Elementor’s license screen specifically for this scenario. Just remember: the account you connect determines which subscriptions are available to activate, so double-check you’re logged into the correct Elementor.com account before activating.
Prerequisites and Planning Before Installation
Don’t rush into installation without verifying your WordPress environment is ready. Elementor Pro has specific technical requirements that, if not met, will cause weird errors or performance problems down the line. First, check that your WordPress core installation is fully updated—running an outdated WP version can create plugin conflicts. Next, verify your hosting meets Elementor’s PHP requirements (currently PHP 7.4 or higher is recommended, though 8.0+ is becoming standard).
Your hosting environment matters more than you’d think. Shared hosting plans with tight resource limits (like 128MB PHP memory or restrictive execution times) can make Elementor’s editor sluggish or cause timeouts during template saves. If you’re serious about using Pro features like the Theme Builder across multiple page types, consider hosting that offers at least 256MB PHP memory limit and decent server-side caching. I’ve seen clients struggle with perfectly valid Elementor Pro installations simply because their $3/month hosting couldn’t handle the editor’s resource demands.
Choosing Your Installation Method
You have two paths forward: the streamlined “Connect & Activate” method from within WordPress (easiest for beginners), or the manual ZIP file upload method (preferred by developers who want more control or are working in restricted environments). The Connect & Activate method requires your WordPress site to communicate directly with Elementor’s servers, which some corporate firewalls or security plugins can block. The manual ZIP method bypasses that initial connection, though you’ll still need to activate your license afterward.
If you’re also using Elementor’s hosting service (Elementor One), the account connection process gets slightly more integrated, with automatic plugin installations and pre-activated licenses. For most users on standard WordPress hosting, though, you’ll follow one of the two methods we’re about to detail. Choose based on your comfort level and server environment—both routes lead to the same fully-functional Pro installation once licensing is complete.
Installing Elementor Pro Step-by-Step (Two Proven Methods)
Now for the actual installation. We’ll cover both methods in full detail so you can pick the one that fits your workflow. Method A (Connect & Activate from WP Admin) is faster and more intuitive for solo site owners; Method B (manual ZIP upload) gives you more control and works in environments where server-to-server connections are restricted.
Method A: Install from WordPress Admin (Recommended for Most Users)
- Log into your WordPress admin panel
- Navigate to Elementor > Editor > Home (or wherever Elementor’s main dashboard appears in your admin menu)
- Look for a prominent “Connect & Activate” button or banner—this usually appears if you have Elementor Core installed but haven’t connected Pro yet
- Click “Connect & Activate” and you’ll be redirected to log into your Elementor.com account
- After logging in, you’ll see a list of your active subscriptions (Essential, Advanced, Expert, or Agency)
- Select the subscription you want to use for this site—make sure it’s the correct one if you have multiple plans
- Confirm the activation, and Elementor will automatically download and install the Pro plugin on your WordPress site
- You’ll be redirected back to your WordPress admin, where you should see a success message confirming Pro is active
This method handles both the plugin installation and license activation in one flow, which is why it’s the preferred route for most users. The catch? Your WordPress server needs to be able to communicate with Elementor’s API servers, and some security plugins (like Wordfence or Sucuri) can interfere with this handshake. If you get stuck on a loading screen or see connection errors, you’ll need to temporarily disable security plugins or whitelist Elementor’s domains in your firewall rules.
Method B: Manual ZIP File Upload
- Log into your Elementor.com account dashboard (separate from WordPress)
- Navigate to My Account > Subscriptions, then find your active Elementor Pro subscription
- Click “Download” to get the latest Elementor Pro ZIP file (usually named something like elementor-pro.zip)
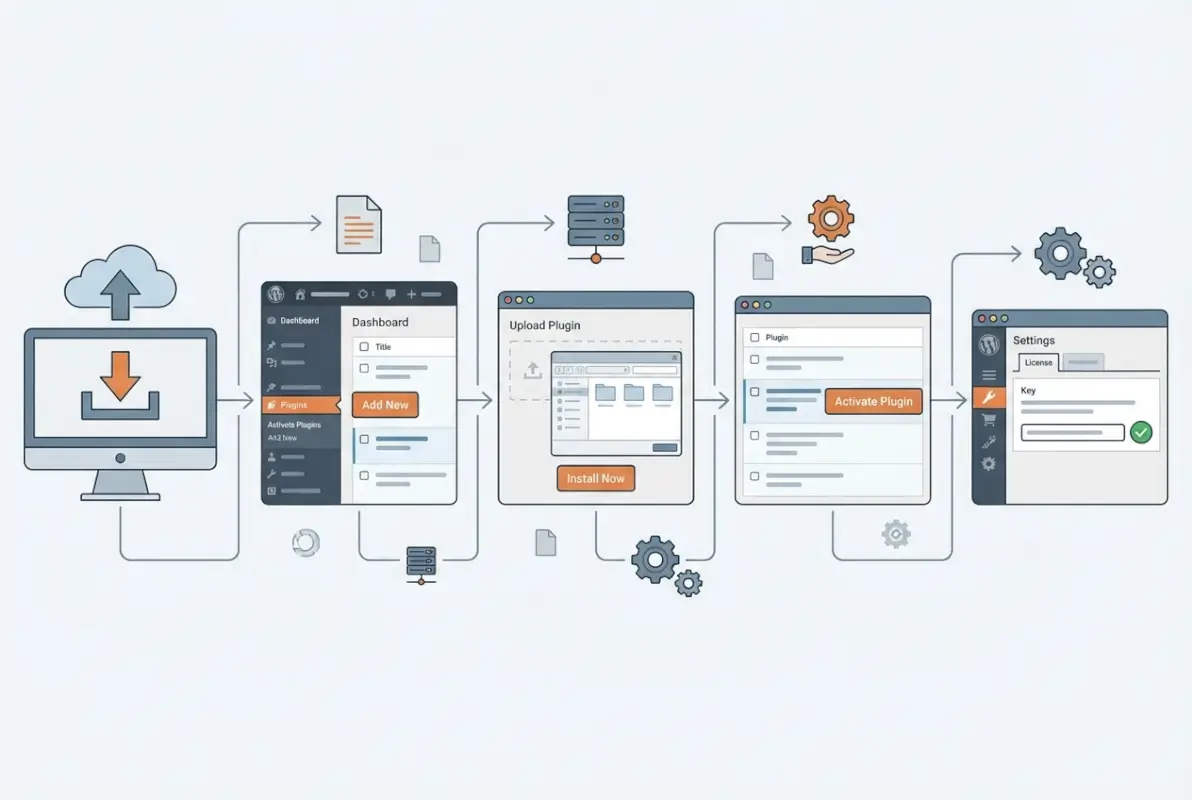
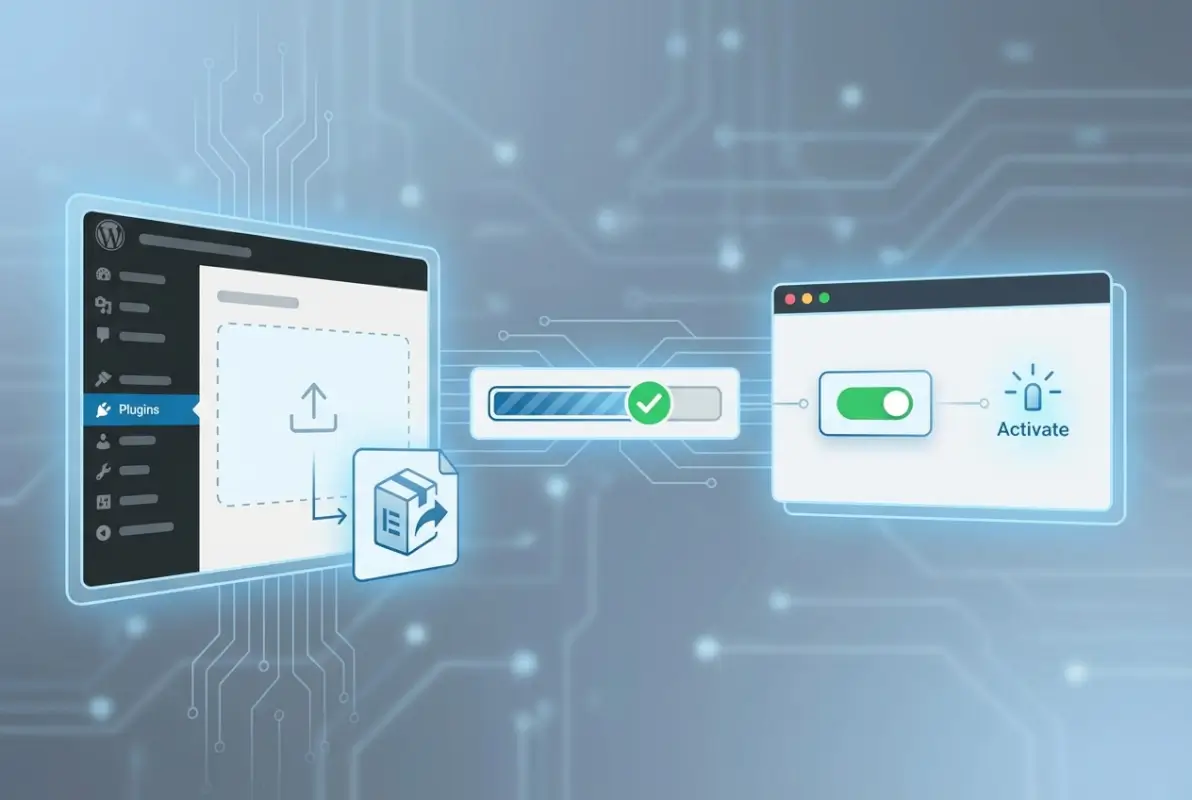
- In your WordPress admin, go to Plugins > Add New > Upload Plugin
- Click “Choose File” and select the elementor-pro.zip file you just downloaded
- Click “Install Now” and wait for WordPress to upload and extract the plugin
- Once installation completes, click “Activate Plugin”
- After activation, navigate to Elementor > License, where you’ll see fields to connect your Elementor.com account and activate your license key
- Click “Connect & Activate” and follow the same account login process from Method A to activate your license
Notice that even with manual installation, you still need to complete the license activation step—there’s no way around it. The advantage of this method is that you can install the plugin files even if Elementor’s servers are temporarily unreachable, and you can keep a local copy of the ZIP file for quick reinstalls or staging site setups.
Verifying Your Installation Worked
Don’t assume everything’s working just because you saw a success message. Open a page in the Elementor editor and check the left sidebar widget panel—you should now see Pro-only widgets like “Posts,” “Portfolio,” “Form,” and “Animated Headline.” If you only see the standard free widgets, something went wrong with license activation (even if the plugin shows as “active” in your plugins list). Go to Elementor > License and check the status—it should show your subscription type and an active status with a green checkmark.
Also verify that both Elementor Core and Elementor Pro show compatible version numbers. Occasionally, if you’ve delayed updating the free plugin, the Pro plugin won’t fully activate because it requires a newer Core version. Update both plugins to their latest versions before troubleshooting further. This version compatibility requirement catches a lot of people who auto-update Pro but ignore Core update notifications.
Essential Configuration and License Management After Activation
Installation is complete, but you’re not quite done yet. The post-activation phase is where you’ll cement your setup and prevent future headaches. First, revisit your Elementor > License page and look for a “Sync License” button—click it. This forces your WordPress site to re-check with Elementor’s servers and refresh your feature entitlements. It sounds redundant, but this sync step resolves about 30% of “Pro features not showing” support tickets.
Next, address common activation hiccups before they bite you. If you’re working on a development or staging site, make sure you’re using a proper staging URL that’s accessible from the public internet—localhost installations and private IP addresses won’t activate because Elementor’s servers can’t verify them. Some developers work around this using ngrok tunnels or by temporarily activating on a live domain, then moving the site to local development (though this can cause license status warnings).
Cache plugins are another frequent culprit. If you just activated Pro but still see only free widgets, clear all caches: your WordPress object cache, page cache (WP Rocket, W3 Total Cache, etc.), and browser cache. Then log out of WordPress completely and log back in. Persistent cache layers can serve stale versions of the Elementor editor that don’t reflect the newly activated Pro features.
| Issue | Likely Cause | Quick Fix |
|---|---|---|
| Pro widgets missing | License not activated or cached editor | Check Elementor > License status, clear all caches |
| Activation fails silently | Server firewall blocking Elementor API | Whitelist elementor.com in firewall, disable security plugins temporarily |
| “No activations left” error | All license slots used on other domains | Deactivate old sites from Elementor.com dashboard |
| License shows expired after renewal | WordPress hasn’t synced new expiry date | Click “Sync License” button, update all plugins |
Theme Compatibility and Performance Considerations
Elementor technically works with any WordPress theme, but the theme you choose dramatically affects your editing experience and site performance. Elementor’s own Hello theme is the lightest option—it’s essentially a blank canvas with minimal CSS, designed to let Elementor’s Theme Builder control everything. If you’re building a site from scratch with Pro, Hello + Theme Builder is the recommended approach because you avoid theme conflicts and bloated theme CSS.
However, if you’re retrofitting Elementor Pro onto an existing site with an established theme (Astra, GeneratePress, OceanWP, etc.), test compatibility carefully. Some themes inject their own header/footer code that conflicts with Elementor’s Theme Builder templates. You may need to disable theme headers/footers through theme options or use plugins like Header Footer Elementor to override theme defaults. I remember retrofitting Pro onto a heavily customized Divi site once—it was a nightmare of CSS specificity battles that a fresh Hello theme install would have avoided entirely.
Performance-wise, Elementor Pro itself is reasonably optimized, but the designs you build can easily become bloated. Each widget adds CSS and JavaScript to your page, and complex nested sections multiply DOM elements. Use Elementor’s built-in performance features (Improved Asset Loading, Inline Font Icons, Lazy Load Background Images) from Elementor > Settings > Features. Also consider a solid caching plugin and a CDN—Elementor’s dynamically generated pages benefit hugely from server-side caching once they’re published.
Unlocking Key Pro Features: Where to Start Building
With Pro installed and activated, you’re probably eager to dive into the premium features. Start with the Theme Builder—it’s the most powerful Pro feature and the reason many people upgrade. Navigate to Elementor > Theme Builder to access templates for headers, footers, single post layouts, archive pages, product pages (if you’re running WooCommerce), and search results. Each template type controls a different part of your site’s structure, letting you design once and apply consistently across hundreds of pages.

Here’s a practical workflow to get comfortable with Theme Builder: create a new Header template first. Design your site logo, navigation menu (using the Nav Menu widget, which is Pro-only), and any top-bar elements you want. Set display conditions so this header appears on “Entire Site” (or narrow it down to specific sections if you want variation). Preview it on different page types to make sure it looks good on posts, pages, and archives. Then repeat the process for a Footer template—many sites just need one global header and footer to start.
Next, explore the Popup Builder (Elementor > Templates > Popups). This feature lets you create modal windows, slide-ins, and top bars triggered by user actions (click, scroll, exit intent, inactivity, etc.). Use it for newsletter signups, promotional offers, or GDPR cookie notices. The power of Elementor’s popups compared to dedicated popup plugins is the same drag-and-drop interface—you can design complex, branded popups that match your site perfectly without writing code or learning a separate tool.
For ecommerce users, the WooCommerce Builder is a game-changer. It gives you granular control over product pages, archive layouts, cart pages, and even checkout (with additional plugins). Start by creating a Single Product template—design the product image gallery, description, add-to-cart button, tabs, and related products section exactly how you want them. Apply it to all products or specific product categories using display conditions. This level of customization used to require expensive WooCommerce themes or custom development; now it’s built into Pro.
Don’t overlook the Form Builder widget, either. It’s not as full-featured as dedicated form plugins like WPForms or Gravity Forms, but it’s surprisingly capable for lead generation, contact forms, and newsletter signups. You can integrate it with popular email marketing services (Mailchimp, ConvertKit, ActiveCampaign) and CRM tools directly from the widget settings. For most business directory sites or service businesses, Elementor’s Form Builder eliminates the need for a separate form plugin.
Dynamic Content and Advanced Features
Once you’re comfortable with the visual builders, dig into Dynamic Content—the ability to pull data from custom fields, post metadata, user info, and external sources into your designs. This is what transforms static templates into smart, adaptive layouts. For example, you can create an author bio section that automatically pulls the current post author’s name, avatar, and description using dynamic tags. Or build a custom archive template that displays featured images, post excerpts, and category tags dynamically for any post type.
Dynamic content shines brightest on sites with lots of structured data: real estate listings, job boards, product catalogs, or business directories. Set up custom fields (using ACF or Pods), then use Elementor’s Dynamic Tags to map those fields into your templates. Suddenly you have a scalable system where adding a new listing is just filling out custom fields—the design updates automatically. This approach is how professional developers use Elementor Pro to compete with fully coded custom themes.
Troubleshooting Common Installation and Licensing Issues
Even with perfect instructions, things go wrong. Let’s tackle the most frequent problems and their fixes. The single most common issue: “I installed Pro but I don’t see any Pro widgets.” Nine times out of ten, this means your license didn’t actually activate. Go to Elementor > License and check the status—if it says “Inactive” or shows a red error, click “Connect & Activate” again and carefully log into the correct Elementor.com account. Make sure you’re selecting a subscription that has available activation slots.
If you’re certain the license is active (green checkmark, shows your subscription name) but Pro widgets still don’t appear, the culprit is usually caching or version incompatibility. Update both Elementor Core and Elementor Pro to their absolute latest versions—don’t skip this. Then clear every cache layer: WordPress object cache, persistent cache plugins, browser cache, and any CDN cache if you’re using one. Log out of WordPress, clear browser cookies, and log back in. Elementor’s editor loads assets based on user permissions and cached manifests, so stale cache can hide Pro features even when they’re technically active.
Server and firewall issues cause silent activation failures. If you click “Connect & Activate” and nothing happens (no error, just returns to the same screen), your server is likely blocking outbound API requests to Elementor’s domains. Ask your hosting provider to whitelist these domains in the firewall: api.elementor.com, my.elementor.com, and assets.elementor.com. Some shared hosting providers block all outbound connections by default as a security measure—you’ll need them to explicitly allow these.
License Transfer and Activation Limit Problems
Hitting activation limits is frustrating but easy to resolve. When you see “You have no more activations left,” log into your Elementor.com dashboard (not WordPress—the Elementor website itself). Navigate to My Licenses and you’ll see a list of all domains currently using your license. Identify old staging sites, deleted projects, or expired client sites and click “Deactivate” next to them. This immediately frees up an activation slot. Then go back to your WordPress site and try activating again.
Be strategic about activation management if you’re a developer or agency with multiple projects. Keep a spreadsheet of which domains use which licenses, and proactively deactivate sites when projects end or staging sites are deleted. Otherwise you’ll constantly hit limits and waste time troubleshooting. Some agencies even maintain separate Elementor subscriptions for client work vs. internal projects to avoid mixing activation slots.
Domain transfers require careful license handling. If you’re moving a site from staging.example.com to example.com, you can’t just change the WordPress site URL—you need to deactivate the license on the old domain first. The safest workflow: deactivate Pro on the staging site, export your Elementor templates (Elementor > Tools > Export), migrate WordPress to the new domain using a plugin like All-in-One WP Migration, then reactivate Pro on the new domain and import your templates. Skipping the deactivation step often results in both domains consuming activation slots or weird license conflicts.
| Error Message | What It Means | Solution |
|---|---|---|
| “No more activations left” | All license slots occupied | Deactivate unused sites from Elementor.com dashboard |
| “Connection timed out” | Server can’t reach Elementor API | Check firewall settings, whitelist Elementor domains |
| “Invalid license key” | Wrong account or expired subscription | Verify subscription status on Elementor.com, check you’re logged into correct account |
| “License expired” (after renewal) | WordPress hasn’t synced new dates | Click Sync License, update plugins, wait 24hrs for cache expiry |
When to Contact Elementor Support
Most activation issues resolve through the steps above, but occasionally you’ll hit genuinely broken scenarios: bugs in the licensing API, account database corruption, or edge-case server configurations that Elementor’s docs don’t cover. If you’ve tried everything (verified account, cleared caches, updated plugins, whitelisted domains, synced license multiple times) and it’s still not working, open a support ticket through your Elementor.com account. Pro subscribers get priority support, and response times are usually under 24 hours.
When contacting support, include these details to speed up resolution: your subscription plan and purchase email, the exact domain trying to activate, screenshots of the error message, and confirmation that you’ve already tried the standard troubleshooting steps. Elementor’s support team can check server logs and license status from their end, often spotting issues (like duplicate account conflicts or stuck activations) that you can’t see from your side.
Frequently Asked Questions About Installing Elementor Pro
How do I install Elementor Pro on WordPress?
Install Elementor Pro using one of two methods: navigate to Elementor > Editor > Home and click “Connect & Activate” to install automatically, or manually upload the elementor-pro.zip file via Plugins > Add New > Upload Plugin. After installation, activate your license by connecting your Elementor.com account and selecting your subscription. Both methods require Elementor Core to be installed first.
Do I need the free Elementor plugin before installing Pro?
Yes, absolutely. Elementor Pro is an add-on that extends the free Elementor Core plugin—it cannot function independently. Install and activate the free Elementor plugin from the WordPress plugin repository first, then install Pro on top of it. Pro adds premium widgets and features like Theme Builder and WooCommerce Builder to the base functionality.
How do I activate my Elementor Pro license key?
After installing the Pro plugin, go to Elementor > License in your WordPress admin. Click “Connect & Activate,” log into your Elementor.com account when prompted, and select which subscription you want to use for this site. The system will automatically activate the license. Verify activation by checking for a green checkmark and your subscription name displayed on the license page.
What happens if my Elementor Pro license expires?
If your license expires, Elementor Pro continues to function on your site—you won’t lose Pro widgets or templates. However, you lose access to plugin updates, new features, security patches, and support until you renew. Sites with expired licenses also can’t use newly released Pro features. Renewing reactivates all benefits immediately; just click “Sync License” after renewing to update the status.
Can I transfer my Elementor Pro license to a different domain?
Yes, you can transfer licenses between domains by deactivating on the old site and activating on the new one. Log into your Elementor.com dashboard, go to My Licenses, find the old domain, and click “Deactivate.” Then activate the license on your new domain through the WordPress admin. Each subscription plan has activation limits (1-100 sites depending on tier), so manage transfers carefully.
Why don’t Pro widgets appear after I installed Elementor Pro?
Missing Pro widgets usually means the license didn’t activate properly, even if the plugin is installed. Check Elementor > License to confirm it shows “Active” with a green checkmark. If inactive, complete the Connect & Activate process. If it shows active but widgets are still missing, clear all caches (WordPress, plugin, browser), update both Elementor and Pro to latest versions, then log out and back in.
How many sites can I activate Elementor Pro on?
Activation limits depend on your subscription: Essential allows 1 site, Advanced allows 3 sites, Expert allows 25 sites, and Agency allows 100 sites. These limits are enforced per subscription—you must deactivate unused sites to free up slots when you hit the limit. Check your current activations and available slots in your Elementor.com dashboard under My Licenses.
What’s the difference between Elementor and Elementor Pro?
Elementor (free) provides core page-building functionality with basic widgets and templates. Elementor Pro adds 50+ premium widgets, Theme Builder (for custom headers/footers/templates), Popup Builder, Form Builder, WooCommerce Builder, dynamic content, and priority support. Pro is required for advanced use cases like custom theme development, ecommerce customization, or professional client work. The free version is suitable for simple landing pages and blogs.
Is Elementor Pro compatible with all WordPress themes?
Elementor Pro technically works with any properly coded WordPress theme, but compatibility varies. Elementor’s Hello theme is the most compatible since it’s designed specifically for Pro’s Theme Builder. Popular themes like Astra, GeneratePress, and OceanWP have excellent Elementor integration. Some highly customized themes may conflict with Pro’s Theme Builder templates, requiring theme header/footer disabling or additional CSS tweaking for best results.
Do I need coding skills to use Elementor Pro?
No coding knowledge is required for basic Elementor Pro usage—the entire interface is drag-and-drop visual design. However, advanced customization (custom CSS, dynamic content with custom fields, complex conditional logic) benefits from HTML/CSS knowledge. Most users successfully build professional sites without code. Developers can extend Pro further with custom widgets and template hooks if desired, but it’s entirely optional.
Start Building Professional WordPress Sites With Elementor Pro
You now have everything needed to install, activate, and start leveraging Elementor Pro’s full potential. The installation itself takes minutes—it’s the licensing and post-activation configuration that determines whether you’ll smoothly access Pro features or waste hours troubleshooting. Remember the core workflow: install Elementor Core first, then add Pro via Connect & Activate or manual upload, complete license activation by connecting your Elementor.com account, and verify Pro widgets appear in the editor before assuming everything’s working.
Start your Pro journey with the Theme Builder—design a custom header and footer to replace your theme’s defaults and immediately see the power of template-based design. Then experiment with Popup Builder for lead generation and Form Builder for contact forms. If you’re running an online store, dive into the WooCommerce Builder to create product pages that actually convert. Featured listings in business directories can particularly benefit from Pro’s dynamic content and custom template capabilities.
The difference between mediocre Elementor Pro users and professionals isn’t the features they access—it’s how deliberately they structure their templates and manage their licenses. Keep your activation slots organized, maintain separate development and production workflows, and always test major template changes on staging before deploying. With Elementor Pro properly installed and these practices in place, you have a design system capable of competing with fully custom-coded themes at a fraction of the development time.
Now go build something remarkable. Your WordPress site deserves better than generic theme limitations, and Elementor Pro just removed every excuse standing between you and professional web design.
Was this article helpful?