How to Include a Plugin in WordPress: A Step-by-Step Guide

Installing a WordPress plugin doesn’t have to be intimidating—yet many site owners rush through the process without considering security, compatibility, or long-term maintenance. The truth is, a poorly chosen or carelessly installed plugin can break your site, slow it down, or expose you to vulnerabilities. But when you take a strategic approach, plugins become powerful tools that extend your site’s capabilities without writing a single line of code.

Here’s what most guides won’t tell you upfront: the installation method you choose matters less than the research and planning you do beforehand. I’ve seen countless WordPress sites suffer not because of bad plugins, but because site owners skipped the critical pre-installation steps. In this guide, you’ll learn not just how to include a plugin in WordPress, but when to install one, which to choose, and how to maintain it safely over time.
TL;DR – Quick Takeaways
- Plan before installing – Always back up your site, check compatibility, and verify the plugin’s update history before adding new functionality
- Three installation methods – Dashboard search (easiest), ZIP upload (premium plugins), and SFTP (advanced users only)
- Security is non-negotiable – Keep plugins updated, remove unused ones, and monitor for vulnerabilities regularly
- Test and verify – After installation, check for conflicts, review settings, and confirm your site still functions properly
- Choose quality over quantity – Fewer, well-maintained plugins beat dozens of abandoned ones every time
Before You Install: Planning and Safety
The biggest mistake WordPress users make is treating plugin installation like app downloads on their phone. They see a feature they want, click install, and hope for the best. This approach works until it doesn’t—and when it fails, you’re dealing with broken layouts, security holes, or worse.
Smart plugin management starts before you ever click “Install Now.” Let’s walk through the essential pre-installation steps that separate stable, secure sites from those constantly fighting fires.
Assess Feature Needs and Alternatives
Before searching the plugin directory, ask yourself: does WordPress already do this? Modern WordPress includes far more built-in functionality than most people realize. Block patterns, custom post types, widgets, and theme customization options can often handle what you’re trying to achieve.
Consider the real cost of adding a plugin. Each one introduces additional code that needs to load on every page, creating potential conflicts and security vulnerabilities. If a plugin adds 500KB of JavaScript just to display a simple contact form, maybe there’s a lighter alternative—or you could use a native block solution instead.
When you determine a plugin is truly necessary, evaluate your options carefully. Look at the plugin’s maintenance history, not just its current rating. A plugin with 4.5 stars but irregular updates poses more risk than a 4-star plugin with weekly maintenance.
Check Compatibility and Activity
The WordPress.org plugin directory provides critical signals about plugin health. Here’s what to examine before installing anything:
| Indicator | What to Look For | Red Flag |
|---|---|---|
| Last Updated | Within past 6 months | Over 1 year old |
| Tested Up To | Current or previous major version | More than 2 versions behind |
| Active Installations | 10,000+ (for popular categories) | Under 100 with no reviews |
| Support Response | Developer actively replies | Unanswered questions pile up |
| Rating Distribution | Balanced reviews, specific feedback | All 5-stars or all 1-stars |
But here’s what compatibility checks don’t tell you: whether a plugin plays nice with your specific theme and existing plugin stack. That’s why backing up before installation is absolutely critical. Full-site backups should include your database, theme files, uploads, and plugin directory—this ensures you can roll back completely if something goes wrong.
I learned this lesson the hard way when I installed a seemingly perfect SEO plugin on a client’s e-commerce site. Everything checked out on paper, but it conflicted with their checkout process in ways no compatibility check could predict. Having a backup meant we could restore the site in minutes rather than hours.
Security Mindset for Plugins
WordPress plugins represent one of the most common attack vectors for hackers. A plugin with over a million installations can still harbor critical security flaws, putting thousands of sites at risk simultaneously.
Security-conscious plugin selection means looking beyond surface-level features. Check whether the developer has a track record of addressing vulnerabilities promptly. Look for plugins that follow WordPress coding standards and undergo regular security audits. When optimizing your directory for search engines, remember that security factors into SEO rankings too.
Update notifications aren’t suggestions—they’re urgent maintenance tasks. Many security vulnerabilities get patched within days of discovery, but only if you actually apply the updates. Set aside time weekly to review available plugin updates and test them on a staging site first if your production site handles critical business functions.
Where to Find Plugins
The WordPress.org Plugin Directory houses over 60,000 free plugins, making it the primary source for most WordPress users. But that massive selection can feel overwhelming without a strategy for filtering options.
Beyond the official directory, premium marketplaces like CodeCanyon and direct vendor sites offer commercial plugins. These typically include dedicated support, regular updates, and advanced features. When considering premium options, verify the vendor’s reputation through independent reviews and community discussions—not just testimonials on their own site.
Trusted publishers often maintain multiple plugins, which can be a good sign. Developers who’ve successfully supported several popular plugins usually have the infrastructure to provide ongoing maintenance. That said, even reputable publishers sometimes abandon projects, so recent update history matters more than past success.
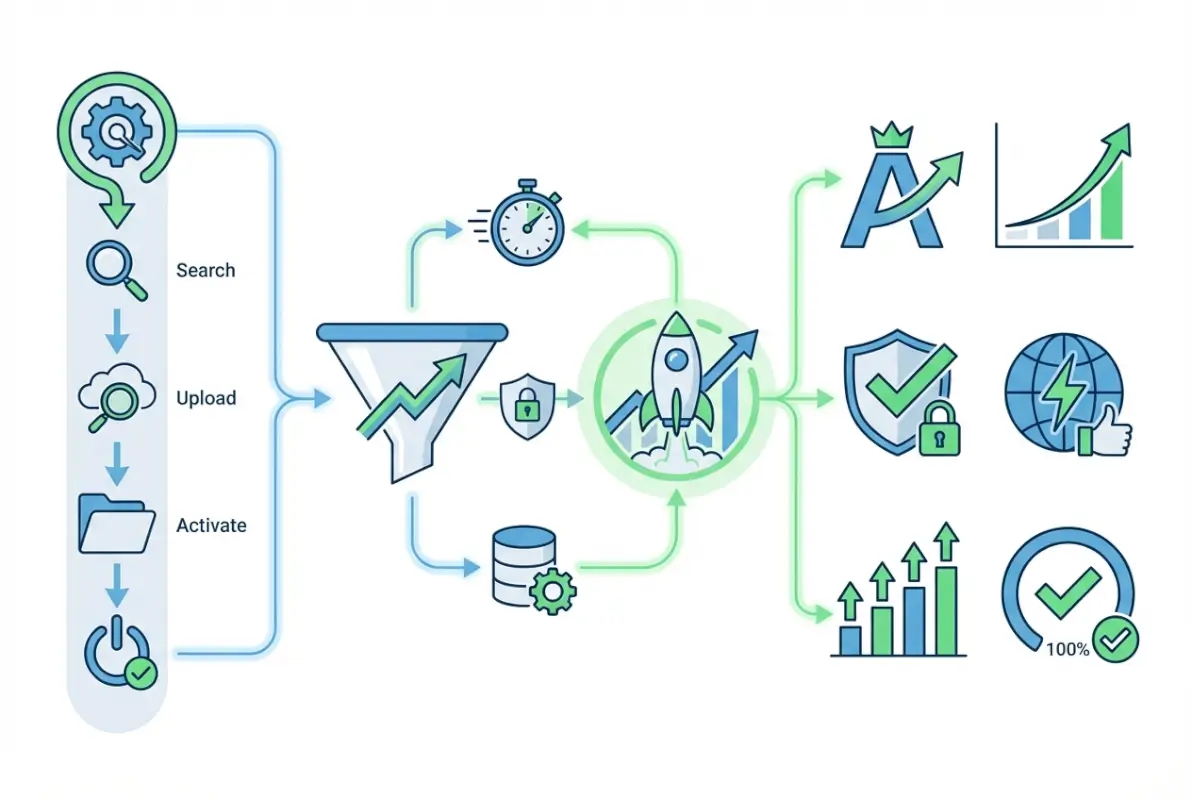
Installing a Plugin: Methods and Step-by-Step Instructions
Once you’ve researched and selected your plugin, the actual installation is straightforward—but the method you choose depends on your source and technical comfort level. Let’s walk through all three approaches so you can pick the right one for your situation.
Most WordPress users will stick with Method A (dashboard installation) for plugins from the official directory. However, understanding all three methods gives you flexibility when you encounter premium plugins, custom development, or troubleshooting scenarios.
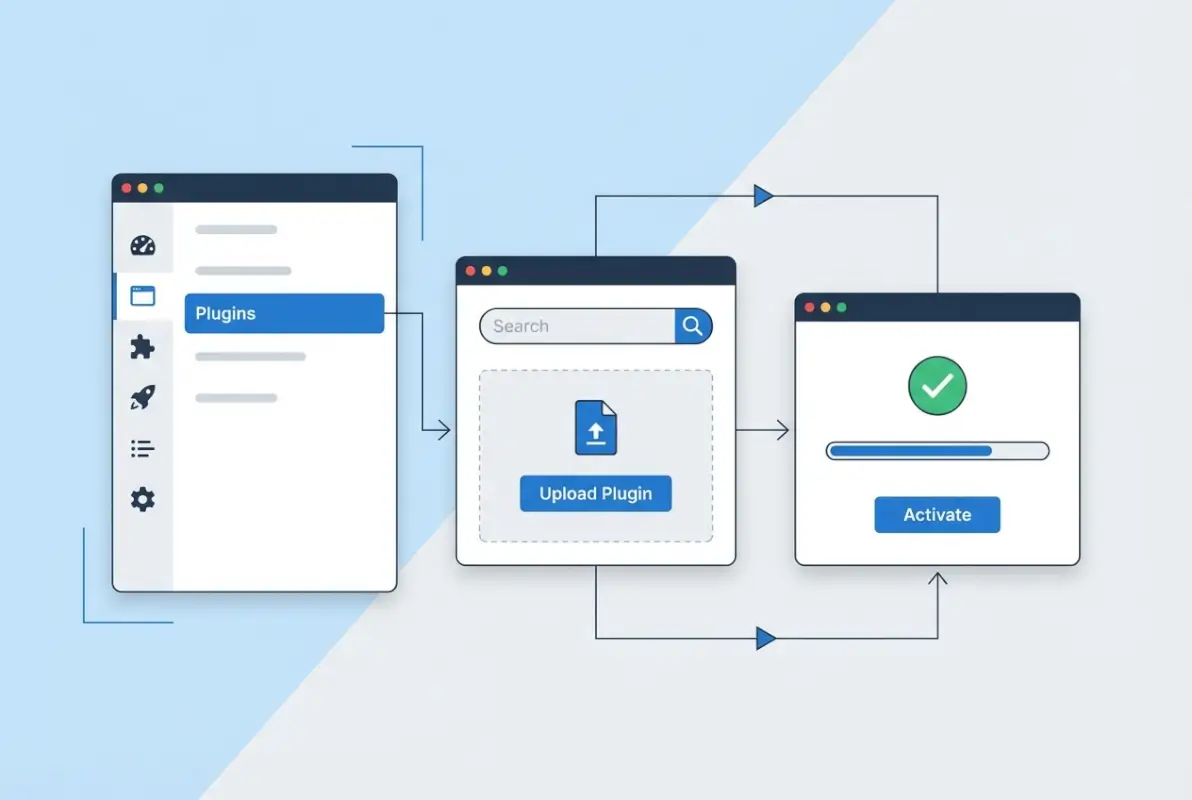
Method A – Install from WordPress Plugin Directory (Dashboard)
This is the most common and safest installation method for free plugins. Here’s the complete workflow:
- Navigate to Plugins > Add New from your WordPress admin dashboard
- Search for your plugin using the search bar in the upper right
- Review the plugin card that appears in results—pay attention to rating, active installations, and last updated date
- Click “Install Now” on the plugin you want
- Wait for installation (usually 5-10 seconds)
- Click “Activate” once installation completes
- Look for configuration prompts that may appear after activation
The beauty of this method is that WordPress handles all the technical details. It downloads the plugin, extracts it to the correct directory, and sets proper permissions automatically. You never touch files directly, which minimizes the chance of errors.
Before clicking install, verify you’re downloading the plugin you actually want. Search results sometimes include similarly-named plugins with very different functionality. Reading the plugin description and checking screenshots prevents confusion.
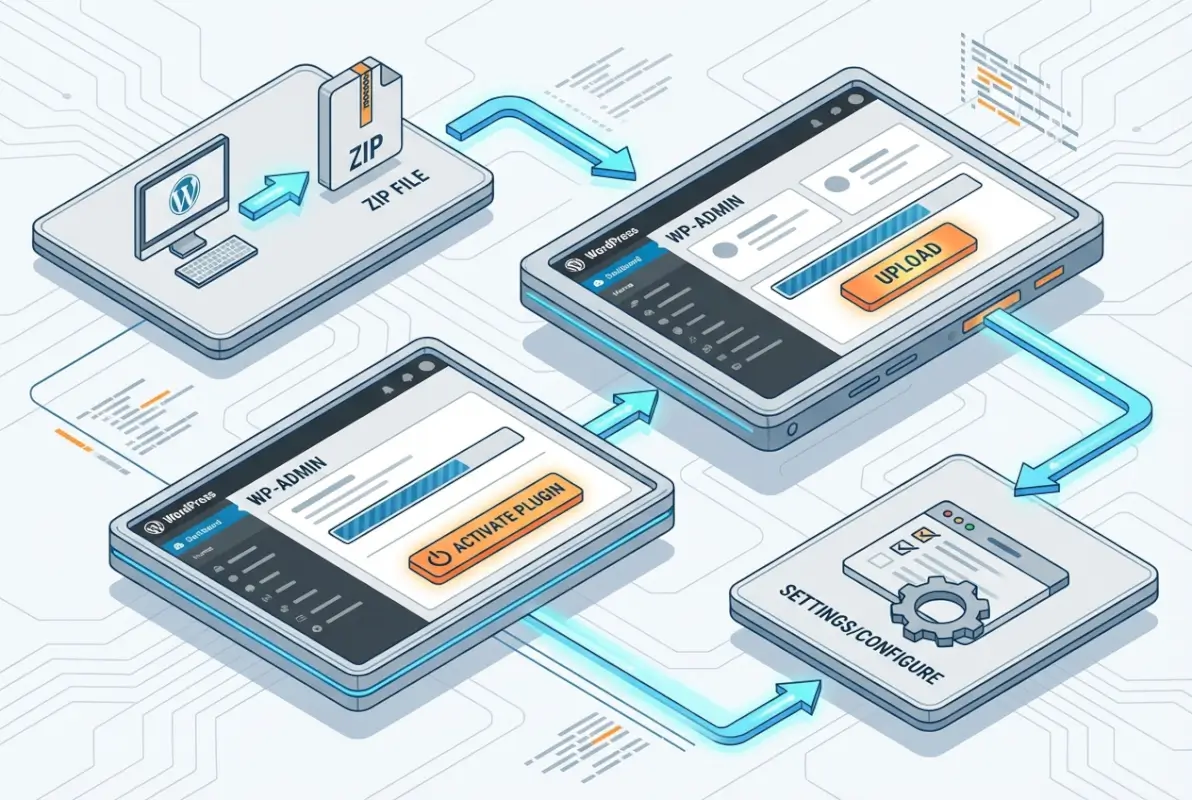
Method B – Install a Premium/External Plugin via ZIP
Premium plugins and those purchased from third-party marketplaces come as ZIP files. WordPress makes uploading these just as easy as installing from the directory:
- Download the plugin ZIP file from your vendor or marketplace
- Go to Plugins > Add New in your WordPress dashboard
- Click “Upload Plugin” at the top of the page
- Click “Choose File” and select your downloaded ZIP
- Click “Install Now” to upload and extract the plugin
- Activate the plugin once installation completes
- Enter license keys or API credentials if prompted
A critical detail that trips up many users: do not unzip the file before uploading. WordPress expects to receive the ZIP file and handles extraction automatically. If you upload an unzipped folder, the installation will fail with a cryptic error message.
Premium plugins often include setup wizards after activation. These walk you through initial configuration and help you connect to external services. Don’t skip these wizards unless you’re very familiar with the plugin—they set important defaults and can save hours of manual configuration.
Method C – Install via SFTP/FTP (Advanced)
Manual file upload becomes necessary when your hosting environment blocks the dashboard upload feature (some shared hosts do this for security reasons) or when you’re troubleshooting installation issues. This method requires an FTP/SFTP client like FileZilla or Cyberduck:
- Extract the plugin ZIP file on your local computer
- Connect to your server using SFTP credentials from your host
- Navigate to /wp-content/plugins/ on the remote server
- Upload the extracted plugin folder to the plugins directory
- Verify file permissions are set correctly (usually 755 for folders, 644 for files)
- Go to Plugins in WordPress and activate the newly uploaded plugin
This method gives you complete control but also requires understanding file permissions and directory structure. If permissions are too restrictive, the plugin may fail to create necessary files or folders. Too permissive, and you create security vulnerabilities.
I only recommend SFTP installation for users comfortable with file management. It’s powerful for bulk operations (uploading multiple plugins at once) or emergency scenarios, but the dashboard methods are more reliable for everyday use.
Post-Install Essentials
Clicking “Activate” isn’t the finish line—it’s the starting point for proper plugin integration. Immediately after activation, complete these verification steps:
- Visit your site’s front end to confirm nothing broke visually
- Test core functionality like navigation, forms, and checkout if applicable
- Review the plugin’s settings page to configure options appropriately
- Check for welcome messages or setup wizards that require attention
- Document what you configured so you can replicate the setup later if needed
Many plugins add menu items to your WordPress admin area. Familiarize yourself with where settings live so you can adjust configuration later. Some hide in Settings, others under Tools, and some create their own top-level menu items (this varies by plugin).
Best Practices for Managing Plugins (Installation to Ongoing Care)
Installing a plugin correctly is only half the equation. Long-term plugin management determines whether your site remains fast, secure, and stable—or becomes a slow, vulnerable mess that requires constant firefighting.
Think of plugins like subscriptions: easy to add, but they require ongoing attention and periodic pruning. The sites that run smoothly treat plugin management as a continuous process, not a one-time setup task.
Backup and Recovery Preparations
Before adding or updating any plugin, create a complete backup of your site. This isn’t paranoia—it’s basic risk management. Even well-tested plugins can conflict with your specific theme or existing plugin combination in unexpected ways.
A proper backup includes four components: your WordPress database, theme files, uploads directory, and plugin folder. Many hosting providers offer automatic daily backups, but verify you can actually restore from those backups before you need to. I’ve encountered hosting backups that existed in theory but failed when customers needed them most.
Test your restore process on a staging site at least once. Knowing theoretically how backups work differs dramatically from having actually performed a restoration under pressure. When you’re dealing with a broken production site at 2 AM, you want that process to be muscle memory.
Compatibility Checks and Updates
WordPress releases major updates 2-3 times per year, with minor security updates more frequently. Each core update can potentially affect plugin compatibility, which is why the “Tested up to” field in plugin information matters so much.
| Update Type | Testing Needed | Timeline |
|---|---|---|
| Security Patch | Minimal—apply quickly | Within 24-48 hours |
| Minor Plugin Update | Quick functionality check | Within 1 week |
| Major Plugin Version | Full testing on staging | When convenient, after research |
| WordPress Core Update | Test all plugins for conflicts | Within 2-4 weeks |
Establish a regular update cadence rather than applying updates randomly when you remember. Many site owners check for updates weekly, applying security patches immediately while scheduling major updates for specific maintenance windows. Similar to how you’d maintain business listings to stay visible, plugin updates keep your site functioning optimally.
Watch for plugins that fall behind WordPress core development. A plugin that hasn’t been updated to support the latest WordPress version by the time the next version releases is probably abandoned. Start planning its replacement before you’re forced to remove it due to compatibility breaks.
Performance and Security Considerations
Every plugin you add increases your site’s attack surface and potential performance impact. This doesn’t mean you should avoid plugins—it means you should be selective and strategic about what you install.
Plugin bloat happens gradually. You install something for a specific project, then forget to remove it when that project ends. Before you know it, you’re running 30 plugins when 15 would suffice. Conduct quarterly plugin audits, asking yourself: “Am I actively using this? Could I achieve this feature another way?”
Security vulnerabilities in plugins often stem from outdated code that doesn’t follow current best practices. Even popular plugins with millions of installations can harbor serious flaws that put your entire site at risk until patched.
Monitoring site performance after plugin installation helps catch issues early. Tools like Query Monitor can show you which plugins generate the most database queries or consume excessive memory. If a plugin doubles your page load time, you need either a lighter alternative or to question whether that functionality is truly essential.
Documentation and Support
Maintain a simple spreadsheet or document tracking your active plugins, what they do, and any custom configuration you’ve applied. This proves invaluable when troubleshooting conflicts or migrating to a new host. Six months from now, you won’t remember why you installed that obscure plugin or what settings you tweaked.
When issues arise, check the plugin’s support forum before panicking. Many problems you encounter have been experienced and solved by others. Review both resolved and unresolved threads to understand common issues and whether the developer actively provides support.
Troubleshooting Common Scenarios
Even with careful planning and proper installation procedures, you’ll eventually encounter plugin issues. Knowing how to diagnose and resolve common problems quickly prevents small hiccups from becoming major disasters.
Most plugin problems fall into a few predictable categories: conflicts with other plugins or themes, incompatibility with your hosting environment, or configuration errors. Systematic troubleshooting isolates the cause faster than random guessing.
Plugin Conflicts with Theme or Other Plugins
When your site breaks after installing a new plugin, conflicts are the most likely culprit. Two plugins trying to load different versions of the same JavaScript library or both modifying the same WordPress hook can cause chaos.
Here’s the systematic approach to identifying conflicts:
- Deactivate the newly installed plugin to confirm it’s causing the issue
- If the site works without it, you’ve confirmed a conflict exists
- Temporarily switch to a default WordPress theme (like Twenty Twenty-Four) to rule out theme conflicts
- Reactivate the problem plugin with the default theme active
- If it works with the default theme, your theme is incompatible
- If it still breaks, deactivate all other plugins
- Reactivate plugins one by one until you identify which specific plugin conflicts
This methodical process might feel tedious, but it’s faster than guessing. I’ve watched site owners waste hours trying random fixes when five minutes of systematic testing would’ve pinpointed the problem immediately.
Sometimes conflicts are intermittent, appearing only under specific conditions (like when a user is logged in, or on certain pages). These require more detective work, but the same principle applies: isolate variables systematically rather than changing multiple things at once.
Plugin Not Appearing in Dashboard after Install
You’ve uploaded a plugin via ZIP or SFTP, but it doesn’t show up in your Plugins page. This usually indicates a structural problem with the upload:
- Check folder nesting: The plugin folder needs to sit directly inside /wp-content/plugins/, not nested in an additional folder
- Verify the main plugin file exists: Every plugin needs a primary PHP file with proper header comments
- Confirm file permissions: WordPress must have read access to plugin files (typically 644 for files, 755 for directories)
- Look for file corruption: If an upload interrupted or failed, re-download and re-upload the plugin
For WordPress.com users (not self-hosted sites), plugin support depends on your plan tier. The Business plan and higher allow plugin installation, but Personal and Premium plans don’t. If you’re not seeing plugin options at all, verify your hosting platform and plan level actually supports custom plugins.
Another gotcha: some security plugins or hosting configurations restrict which plugin directories WordPress scans. If you’ve recently changed hosts or security settings, that might explain why plugins that should appear don’t.
Plugin Fails to Activate or Crashes Site
When activating a plugin results in a white screen of death or fatal error message, you need to act quickly to restore functionality. Here’s your recovery procedure:
- Don’t panic—this is fixable even if you can’t access the dashboard
- Connect via SFTP/FTP to your server
- Navigate to /wp-content/plugins/
- Rename the problem plugin’s folder (add “-disabled” to the folder name)
- WordPress will automatically deactivate it since it can’t find the original folder
- Try accessing your dashboard—it should work now
- Investigate the error logs to understand what caused the crash
Error logs provide critical diagnostic information. Most hosting control panels (cPanel, Plesk, etc.) offer easy access to error logs. Look for the most recent entries corresponding to when you tried to activate the plugin. PHP