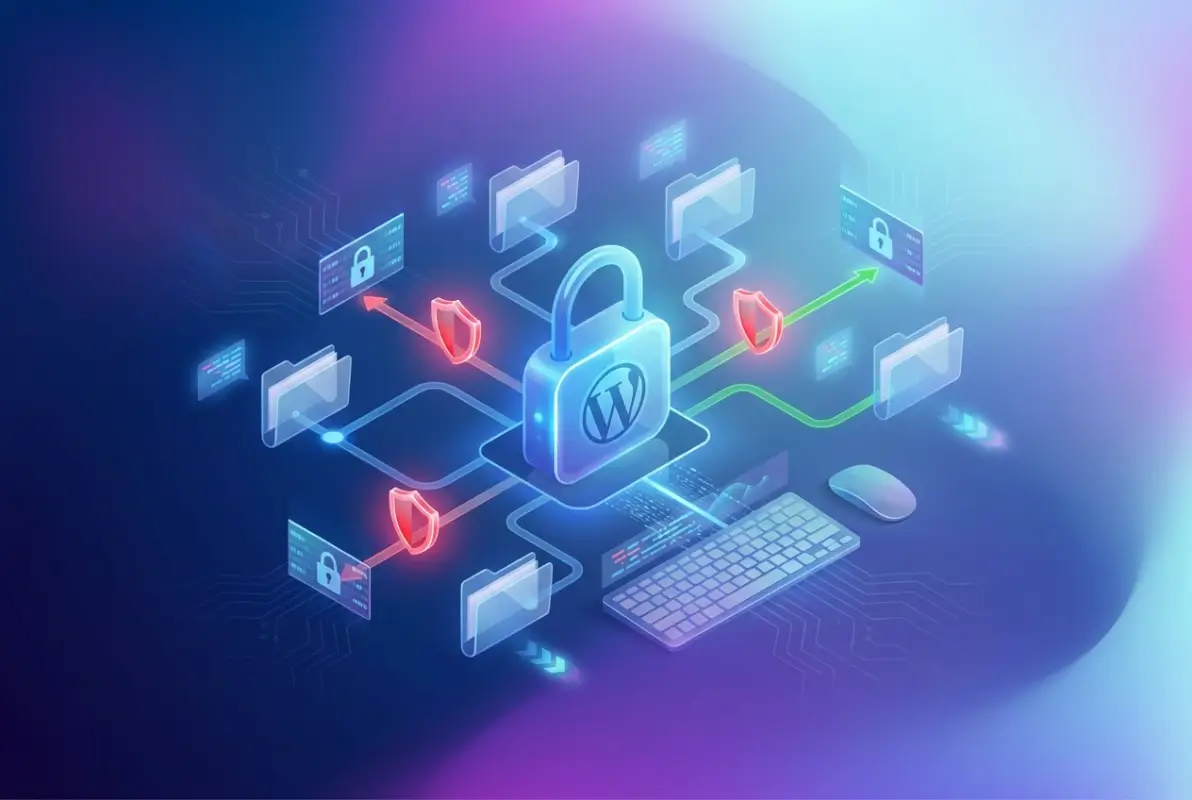
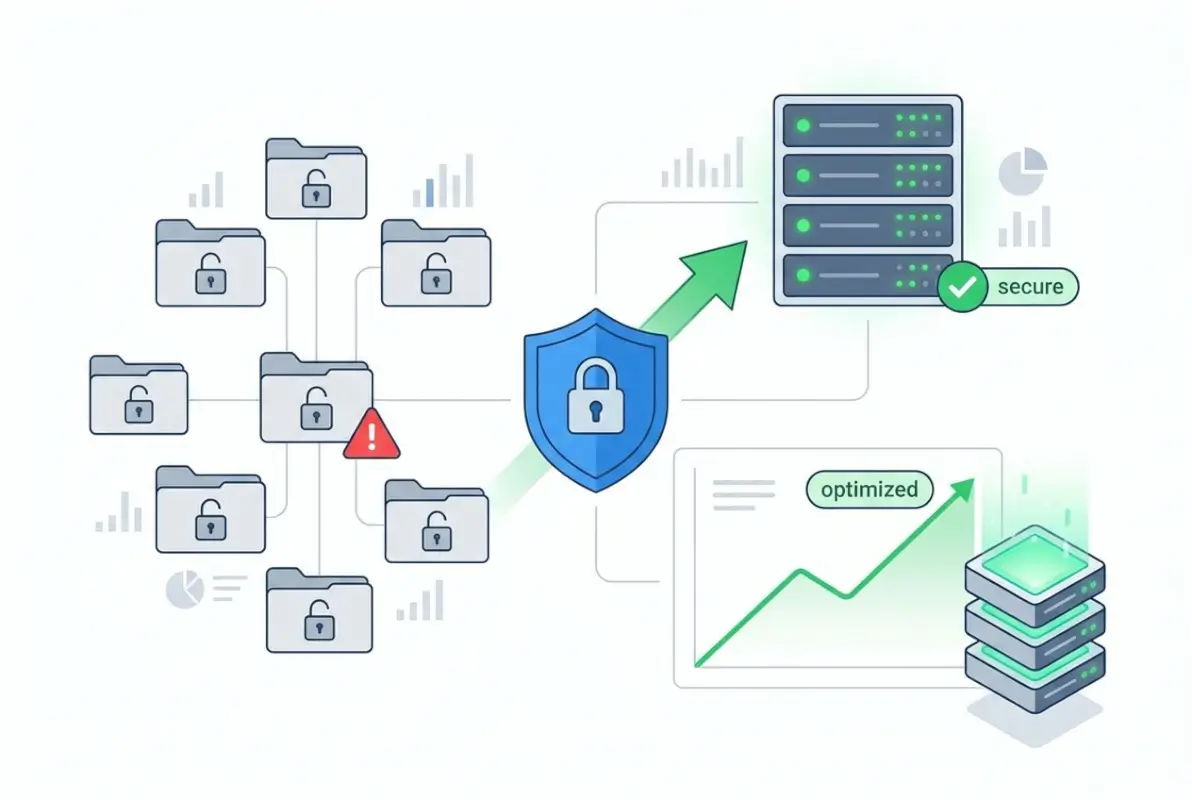
How to Limit Directory Access in WordPress: A Step-by-Step Guide
You spend hours tweaking your WordPress site, installing security plugins, and following best practices—but have you ever typed your domain plus “/wp-content/uploads/” into a browser and watched a full directory listing appear? Or checked whether anyone on the internet can browse your plugin files or peek at backup scripts? If that makes you uneasy, you’re not alone. Directory access restrictions are one of those unsexy but critical layers of defense that most site owners overlook until it’s too late. In this guide, we’ll walk through exactly how to lock down sensitive folders in WordPress, why it matters more than you think, and how to verify your changes without breaking your site for legitimate visitors. We’re talking wp-admin hardening, server-level rules, WordPress permissions, and real-world validation steps—all grounded in official WordPress guidance, NIST standards, and OWASP best practices.

TL;DR – Quick Takeaways
- Directory browsing exposes your site structure – attackers scan for vulnerable plugins, config files, and backup archives when indexes are enabled.
- Layered defense wins – combine server-level rules (.htaccess or Nginx config) with WordPress-level hardening (user roles, file permissions, and plugin hygiene).
- Restrict wp-admin, wp-config.php, and uploads – these are the top three targets for unauthorized access and information disclosure.
- Test your changes rigorously – verify both that attackers can’t list directories and that legitimate users (and your front-end) still function normally.
- Ongoing monitoring matters – plugin updates and theme changes can override your rules, so schedule regular audits.
Why Restrict Directory Access in WordPress
What Directory Browsing Reveals and How Attackers Leverage It
When directory listing is enabled on a web server, anyone can visit a folder URL and see every file inside—plugin versions, backup files, configuration templates, even commented-out code snippets. Attackers love this reconnaissance phase because it hands them a roadmap: they spot outdated plugins, identify the exact version numbers, and cross-reference known CVEs. One public directory listing can turn a generic scan into a targeted exploit in minutes. I’ve seen staging sites leak database dumps simply because the uploads folder was world-readable and the admin left a .sql file sitting there after a migration.
Beyond reconnaissance, directory browsing can expose sensitive user data. Imagine an uploads folder that contains invoices, customer contracts, or membership lists—if indexes are on, a curious visitor (or malicious bot) can harvest everything. Even if you think “my files are obscure,” automated scanners trawl millions of sites daily, looking for patterns like “backup-“, “old-“, or “.bak”. The moment your directory structure is visible, you’ve handed over the first layer of your defenses.
Critical Folders to Protect
Not all WordPress directories carry the same risk, but a few demand special attention:
- wp-admin/ – The administration dashboard. If an attacker can enumerate user accounts or brute-force logins here, they own your site.
- wp-config.php – Contains database credentials and secret keys. Direct web access should be impossible; one misconfiguration and your credentials are in the wild.
- wp-includes/ – Core WordPress files. Rarely needs direct access from browsers; attackers sometimes probe for unpatched vulnerabilities in older core versions.
- wp-content/uploads/ – Media library. Often exposed by default, which is fine for images on blog posts but dangerous if you store sensitive documents or backups.
- wp-content/plugins/ and wp-content/themes/ – Version detection paradise for attackers. Even if you keep plugins updated, listing these folders broadcasts your stack to the world.
Aligning with Official WordPress Hardening Guidance
The WordPress Hardening Guide explicitly recommends disabling directory browsing, protecting wp-config.php, and limiting access to the admin area. These aren’t nice-to-haves; they’re foundational security postures. The guide also emphasizes file permissions (644 for files, 755 for directories) and moving wp-config.php one level above the web root when possible. By following official recommendations, you ensure compatibility with future WordPress releases and align with the security expectations of hosting providers, auditors, and compliance frameworks.
How National Standards Frame Web Application Security
Organizations like NIST publish guidelines on securing web services—for instance, NIST SP 800-95 and the NCCoE practice guide on secure web transactions. While these documents don’t prescribe WordPress-specific steps, they emphasize defense in depth, least privilege, and continuous monitoring—principles that map directly to limiting directory access. Similarly, the OWASP Cheat Sheet Series covers secure configuration, input validation, and access controls, all of which inform the tactics we’ll discuss below. In other words, restricting directory access isn’t a WordPress quirk; it’s a standard web security practice recognized globally.
Planning Your Access-Limiting Strategy
Server-Level Controls vs. WordPress-Level Controls
Before you start editing .htaccess or tweaking roles, decide where you want to enforce restrictions. Server-level controls (Apache’s .htaccess, Nginx config, or even CDN rules) operate outside WordPress and kick in before any PHP code runs. They’re fast, effective, and can’t be bypassed by a plugin vulnerability. WordPress-level controls (user roles, file permissions, plugin settings) live inside the application and offer finer-grained access management—for example, limiting which editor roles can upload media. The best approach? Use both. Server rules act as the outer perimeter; WordPress settings handle the nuances inside.
| Control Type | Pros | Cons |
|---|---|---|
| Server-Level (.htaccess/Nginx) | Fast, outside WordPress, can’t be bypassed by plugin bugs | Requires server access; syntax errors can break the site |
| WordPress-Level (Roles/Permissions) | Granular control, no server access needed, managed via dashboard | Can be circumvented if WordPress is compromised |
Decide Which Folders Require Stricter Access
Not every directory needs Fort Knox protection. Public assets—images, CSS, JavaScript—must remain accessible or your site won’t render. The uploads folder is trickier: you want visitors to see featured images in blog posts but not browse the entire media library. Admin areas (wp-admin, wp-login.php) should be locked down to known IP ranges if possible, or at least require two-factor authentication. Core files (wp-includes, wp-config.php) should deny direct HTTP requests altogether. Map out your site’s structure and label each folder by risk: Public (open), Restricted (authenticated users only), or Forbidden (no direct web access).
Inventory and Baseline
Before you implement any changes, take stock. Log into your server via SSH or FTP and list the directories under your WordPress root. Note which folders contain plugins, themes, uploads, and any custom scripts. Check current file permissions with ls -la (Linux) or your hosting panel’s file manager. Snap a screenshot of your directory structure so you have a “before” reference. This baseline helps you troubleshoot later if something breaks, and it forces you to understand exactly what you’re protecting. I learned this the hard way when I once blocked the entire wp-content folder and wondered why none of my stylesheets loaded—turns out I’d forgotten themes lived there too.
Establish a Re-Check Cadence
Security isn’t a one-time task. Plugin updates can drop new directories, theme changes might alter upload paths, and hosting migrations can reset server configs. Schedule a monthly audit: re-test directory listings, review .htaccess or Nginx config files, and confirm user roles haven’t drifted. Set a calendar reminder or use a monitoring service that alerts you to configuration changes. Regular reviews catch issues before attackers do, and they keep your security posture aligned with your evolving site.
Server-Level Access Controls (Apache/Nginx)
Blocking Directory Listing (Indexes)
The simplest server-level defense is to disable directory indexes. On Apache, you add Options -Indexes to your .htaccess file; on Nginx, you ensure autoindex off; in your server block. When indexes are off, visiting a directory URL (e.g., /wp-content/plugins/) returns a 403 Forbidden instead of a file list. This single line of config eliminates the reconnaissance advantage attackers gain from browsing your site structure.
Here’s a basic Apache .htaccess snippet to disable indexes globally and protect sensitive files:
# Disable directory browsing
Options -Indexes

# Protect wp-config.php
<Files wp-config.php>
  Order allow,deny
  Deny from all
</Files>
For Nginx, you’d add to your server block:
# Disable autoindex
autoindex off;

# Deny access to wp-config.php
location ~* wp-config.php {
  deny all;
}
These rules are lightweight and won’t impact performance. Test them by visiting a known directory URL after applying; you should see 403 or a blank page, not a file listing.
Protecting wp-admin and wp-includes
The wp-admin directory is your site’s control panel; unauthorized access here means game over. Beyond disabling indexes, consider IP whitelisting if your team connects from fixed locations. In .htaccess (Apache), you can add:
# Restrict wp-admin by IP
<Directory /path/to/wordpress/wp-admin>
  Order deny,allow
  Deny from all
  Allow from 203.0.113.0/24
</Directory>
Replace 203.0.113.0/24 with your actual IP range. On Nginx, use:
location /wp-admin {
  allow 203.0.113.0/24;
  deny all;
}
Keep in mind that IP whitelisting breaks remote admin access unless you use a VPN or add exceptions. For wp-includes, most files are internal—visitors never request them directly. You can blanket-deny HTTP access with:
# Block direct access to wp-includes (Apache)
<IfModule mod_rewrite.c>
  RewriteEngine On
  RewriteBase /
  RewriteRule ^wp-includes/.*$ - [F,L]
</IfModule>
This returns a 403 for any URL under wp-includes. WordPress core will still load these files internally via PHP include statements, so your site functions normally.
Restricting Access to Uploads and Media
The uploads folder presents a dilemma: you want images embedded in posts to load, but you don’t want visitors browsing the entire archive. Start by disabling indexes (covered above). For stronger control, you can serve uploads through a PHP script that checks user permissions. This is overkill for public blogs but makes sense for membership sites or client portals. Alternatively, use a plugin like Prevent Direct Access to enforce authentication before serving files. Weigh the complexity against your risk—most sites do fine with indexes off and careful file naming (avoid storing sensitive docs in uploads at all).
If you must allow direct access but want logging, consider a CDN or reverse proxy that logs requests. Services like Cloudflare can alert you to unusual traffic patterns, giving you visibility without blocking legitimate users.
Testing Server-Level Rules
After applying .htaccess or Nginx changes, test thoroughly:
- Try to list a directory: Visit
yourdomain.com/wp-content/plugins/. You should see 403 Forbidden or a blank page, not a file list. - Check file access: Request
yourdomain.com/wp-config.phpdirectly. It should also return 403 or 404, never the file contents. - Verify front-end functionality: Browse your site as a visitor. Images, stylesheets, and scripts should load normally. If assets break, you’ve blocked too much.
- Test admin access: Log into wp-admin. If you IP-whitelisted, confirm you can still reach the dashboard (and that unauthorized IPs cannot).
Use an online tool or a different network (mobile hotspot) to simulate an external attacker. Subdirectories can sometimes override parent .htaccess files, so check nested plugin folders individually if you’re paranoid.
WordPress-Level Access Controls
Principle of Least Privilege for User Roles
WordPress ships with five default roles: Administrator, Editor, Author, Contributor, and Subscriber. Each role has a distinct set of capabilities—for example, Editors can publish posts but not install plugins. Audit your user list and demote anyone who doesn’t need elevated permissions. If a Contributor account gets compromised, the damage is limited to unpublished drafts; if an Administrator account falls, the attacker owns the site. I once inherited a site where every team member was an Admin “just in case”—nightmare fuel for security folks. Downgrade everyone to the minimum role they need, and use plugins like User Role Editor to fine-tune capabilities if the defaults don’t fit.
Reducing Admin Surface Area
Fewer people in wp-admin means fewer attack vectors. Enable two-factor authentication (2FA) for all admin accounts using plugins like Wordfence Login Security or Google Authenticator. Limit login attempts with a plugin such as Limit Login Attempts Reloaded to thwart brute-force attacks. Consider hiding wp-login.php behind a custom URL using a plugin like WPS Hide Login—obscurity isn’t security, but it does reduce noise from automated bots. The fewer failed login attempts you log, the easier it is to spot genuine threats.
Also review which features are exposed on the login page. Do you really need “Lost your password?” links if users can email support instead? Every interactive element is a potential attack surface; trim what you don’t need.
Disabling File Edits and Hardening wp-config.php
By default, WordPress lets Admins edit theme and plugin files directly from the dashboard. Convenient, but catastrophic if an attacker gains admin access—they can inject backdoors into any PHP file. Disable this by adding to wp-config.php:
define( 'DISALLOW_FILE_EDIT', true );
This removes the editor from the dashboard. For even tighter control, also disable file modifications (plugin/theme installs and updates) with:
define( 'DISALLOW_FILE_MODS', true );
With DISALLOW_FILE_MODS, you’ll need to update plugins and themes via SFTP or WP-CLI, but you eliminate remote code execution risks through the dashboard. It’s a trade-off between convenience and security—choose based on your threat model.
Also ensure wp-config.php itself has restrictive permissions (chmod 600 or 640) and is excluded from version control if you use Git. Never commit database credentials to a public repo, even accidentally.
Strategies to Prevent Unauthorized File Access in Uploads
Beyond server rules, WordPress-level tactics include organizing uploads by user ID and checking permissions in custom code. For instance, if you store membership documents in uploads, write a PHP snippet that verifies the logged-in user’s role before serving the file. This requires routing requests through a download script instead of direct links. Plugins like Download Monitor or Simple Download Monitor handle this pattern, logging downloads and enforcing access rules. The downside? Performance overhead and complexity. For most sites, disabling directory indexes and using obscure filenames (UUIDs, not “invoice_2024.pdf”) suffices.
Evaluating Plugins That Affect Access Controls
Security plugins often bundle features like firewall rules, malware scanning, and access restrictions. Popular choices include Wordfence, Sucuri Security, and iThemes Security. These can complement (or sometimes conflict with) your server-level rules. For example, Wordfence’s firewall runs in PHP before WordPress loads, effectively adding another layer between the server and the application. However, two firewalls (server + plugin) can cause false positives or block legitimate traffic if misconfigured. Choose one primary security plugin, configure it carefully, and test interactions with your .htaccess or Nginx rules. Keep the plugin updated—ironically, outdated security plugins are themselves a common vulnerability.
Concrete, Step-by-Step How-To (Actionable Instructions)
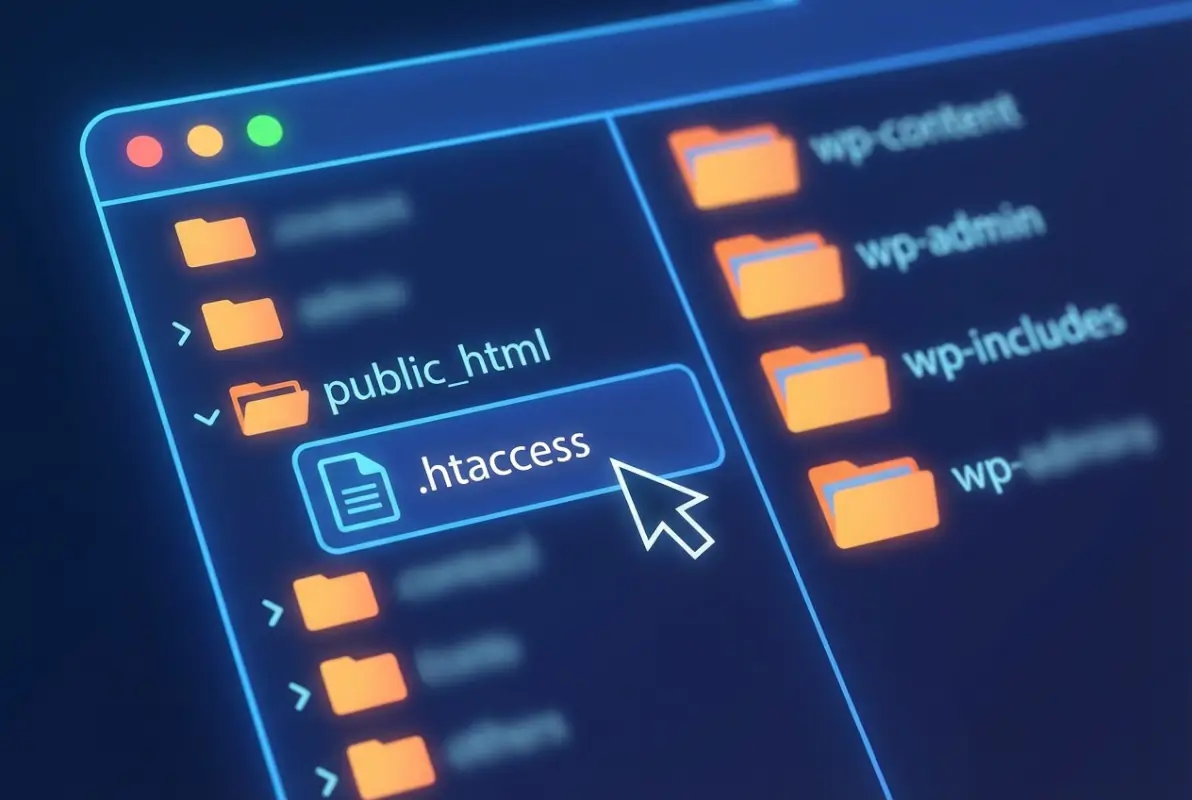
Step-by-Step: Implementing .htaccess Rules (Apache)
Let’s walk through hardening an Apache-based WordPress install via .htaccess. These steps assume you have FTP or SSH access and your host allows .htaccess overrides.
Step 1 – Protect wp-admin and wp-login.php
- Connect to your site via FTP or SSH and navigate to the WordPress root directory (where wp-config.php lives).
- Open (or create) the
.htaccessfile in a text editor. - Add the following block to restrict wp-login.php by IP:
<Files wp-login.php>
  Order deny,allow
  Deny from all
  Allow from YOUR_IP_ADDRESS
</Files>
Replace YOUR_IP_ADDRESS with your actual IP (find it by Googling “what is my IP”). If you have a dynamic IP or remote team members, list multiple IPs separated by spaces, or use CIDR notation for ranges (e.g., Allow from 203.0.113.0/24).
- To also restrict the wp-admin directory, create or edit
wp-admin/.htaccess(note this is inside the wp-admin folder):
Order deny,allow
Deny from all
Allow from YOUR_IP_ADDRESS
- Save and upload the files. Test by visiting
yourdomain.com/wp-login.phpfrom an external IP—you should see 403 Forbidden. From your whitelisted IP, login should work normally.
Step 2 – Deny Access to Sensitive Files
- Back in the root
.htaccess, add rules to block wp-config.php, readme.html, and other info-disclosure files:
<FilesMatch "^(wp-config\.php|readme\.html|license\.txt)$">
  Order allow,deny
  Deny from all
</FilesMatch>
- Save and test by requesting
yourdomain.com/wp-config.phpandyourdomain.com/readme.html. Both should return 403.
Step 3 – Disable Directory Listing
- Add
Options -Indexesat the top of your root.htaccess(outside any<Files>or<Directory>blocks):
# Disable directory browsing
Options -Indexes
- Save and visit
yourdomain.com/wp-content/plugins/. You should see 403 or a blank page, not a file list. - Repeat the test for
wp-content/themes/andwp-content/uploads/.
Step 4 – Add Safeguards for Uploads Directory
- Create or edit
wp-content/uploads/.htaccess:
# Disable script execution
Options -ExecCGI
AddHandler cgi-script .php .pl .py .jsp .asp .sh .cgi
Options -Indexes
This prevents PHP scripts in uploads from executing (in case an attacker manages to upload a malicious file). Note that some hosts already enforce this via server config.
- Save and test by trying to upload a PHP file via the media library, then requesting it directly. It should download as plain text or be blocked, not execute.
Step-by-Step: Nginx Configuration (Alternative Server)
If your host uses Nginx, .htaccess files are ignored. Instead, you edit the Nginx server block (usually in /etc/nginx/sites-available/yoursite).
Step 1 – Block Access to Admin and Config Files
- SSH into your server and open your Nginx config with
sudo nano /etc/nginx/sites-available/yoursite. - Inside the
server { ... }block, add:
# Deny access to wp-config.php
location ~* wp-config.php {
  deny all;
}

# Restrict wp-login.php by IP
location = /wp-login.php {
  allow YOUR_IP_ADDRESS;
  deny all;
  include fastcgi_params;
  fastcgi_pass unix:/var/run/php/php7.4-fpm.sock; # adjust to your PHP version
}
- Replace
YOUR_IP_ADDRESSwith your IP. Save and runsudo nginx -tto check syntax. If OK, reload withsudo systemctl reload nginx.
Step 2 – Disable Listing and Restrict by IP
- Ensure
autoindex off;is set globally or per location:
autoindex off;
- To restrict wp-admin by IP, add:
location /wp-admin {
  allow YOUR_IP_ADDRESS;
  deny all;
}
- Reload Nginx and test access from external IPs.
Step 3 – Serve Uploads Securely with Proper Headers
- Add security headers for the uploads location:
location ~* ^/wp-content/uploads/.*\.(php|php5|php7|phtml)$ {
  deny all;
}

location ~* /wp-content/uploads/ {
  add_header X-Content-Type-Options nosniff;
  add_header X-Frame-Options SAMEORIGIN;
}
The first block denies execution of PHP files in uploads; the second adds headers to prevent MIME-sniffing attacks and clickjacking. Reload Nginx and verify with browser dev tools that headers appear on uploaded images.
Step-by-Step: WordPress-Level Hardening
Step 1 – Hardened wp-config.php Handling and File Permissions
- SSH into your server and set wp-config.php permissions:
chmod 600 wp-config.php(or 640 if your web server user differs from your FTP user). - Open wp-config.php and add these constants (if not already present):
define( 'DISALLOW_FILE_EDIT', true );
define( 'DISALLOW_FILE_MODS', true ); // optional, removes plugin installs from dashboard
- Save and verify: log into wp-admin, go to Appearance > Theme Editor. You should see a message that the editor is disabled.
Step 2 – Disable File Editing in Admin
(Covered in Step 1 above with DISALLOW_FILE_EDIT. This is the primary method; alternatively, some security plugins offer a toggle for this.)
Step 3 – Role- and Capability-Based Access Control
- Navigate to Users > All Users in wp-admin.
- For each user, click Edit and verify their role. Downgrade anyone who doesn’t need Administrator to Editor, Author, or Contributor.
- If you need custom capabilities (e.g., a role that can publish posts but not upload media), install the User Role Editor plugin, create a new role, and assign only the required capabilities.
- Save and test by logging in as a lower-privilege user—confirm they cannot access restricted areas like Plugins or Settings.
Step-by-Step: Verification and Validation
How to Test Publicly Reachable Files
- Open an incognito/private browser window (or use a VPN to simulate an external visitor).
- Request
yourdomain.com/wp-content/plugins/. Expected result: 403 Forbidden or blank page. - Request
yourdomain.com/wp-config.php. Expected result: 403 or 404, never the file contents. - Request
yourdomain.com/readme.html. Expected result: 403 or 404. - Request a known image URL from uploads (e.g.,
yourdomain.com/wp-content/uploads/2025/01/sample.jpg). Expected result: image loads normally.
How to Test Admin-Only Resources
- From an external IP (or mobile hotspot), try to access
yourdomain.com/wp-admin. Expected result: redirect to wp-login.php (which should be blocked if you IP-whitelisted). - From your whitelisted IP, log in successfully and navigate wp-admin. Everything should work.
- Have a colleague (or a second device on a different network) attempt to log in. They should be blocked at wp-login.php if IP restrictions are active.
Verifying Uptime and File Availability for Legitimate Users
- Browse your site as a visitor: check homepage, blog posts, contact forms. Images, stylesheets, and scripts should load without errors.
- Use a tool like WebPageTest or GTmetrix to run a performance test. It will flag any broken resources.
- Check browser console (F12 > Console) for 403/404 errors on assets. If you see blocked CSS or JS, your rules are too broad—refine them.
- Test key user flows: registration, checkout, file downloads. Confirm nothing breaks.
Validation, Monitoring, and Maintenance
Automated Scans for Exposed Directories and Misconfigurations
Manual testing catches obvious issues, but automated scanners find edge cases. Tools like WPScan (open-source, CLI-based) enumerate plugins, themes, and vulnerabilities, including directory listing checks. Run wpscan --url https://yourdomain.com --enumerate vp monthly to catch new exposures. Alternatively, services like Sucuri SiteCheck or Detectify offer web-based scans with email alerts. Configure scans to run after plugin updates or theme changes—these are the moments when misconfigurations often creep back in.
Logging and Alerting for Unauthorized Access Attempts
Server access logs (/var/log/nginx/access.log or Apache equivalents) record every request. Use a log analyzer like GoAccess or ship logs to a SIEM (Security Information and Event Management) tool if you’re enterprise-scale. Look for patterns: repeated 403s from a single IP (possible scan), requests for wp-config.php or .git directories (reconnaissance), or spikes in wp-login.php attempts (brute force). Set up alerts for anomalies—many hosting panels integrate with services like Fail2ban to auto-block offending IPs.
After Plugin/Theme Updates: Re-Check Access Rules
Plugin updates can add new directories or modify .htaccess files. Some plugins (especially caching or security plugins) overwrite existing rules. After any update, re-run your verification checklist: test directory listings, check sensitive file access, and confirm admin restrictions remain in place. If an update breaks your rules, you’ll know immediately rather than discovering it during an incident. Keep a backup of your .htaccess or Nginx config in version control (with credentials redacted) so you can diff changes and revert if needed.
Periodic Security Reviews and Backups
Schedule quarterly security reviews: audit user roles, review installed plugins (remove unused ones), rotate database passwords, and re-test access controls. Also maintain offsite backups of your entire WordPress install and database. If a breach occurs despite your defenses, a clean backup lets you restore quickly. Use plugins like UpdraftPlus or BackupBuddy with automated schedules and remote storage (Google Drive, S3, etc.). Test restoration at least once—many backups fail when you actually need them because of a misconfigured credential or storage quota.
Quick Rollback Plans and Incident Runbooks
Have a documented rollback plan: if a .htaccess change breaks the site, you should know exactly how to revert (SFTP in, rename .htaccess to .htaccess.bak, upload the previous version). Keep a “known good” config file dated and archived. For incidents (suspected breach, malware detection), document the response steps: isolate the site (password-protect or take offline), scan for backdoors, review access logs, rotate all credentials, restore from clean backup, and re-harden. A one-page runbook saves hours of panic-Googling when things go sideways.
Rationale for Restoring Access in a Controlled Way
Sometimes you need to temporarily open access—for example, during a site migration or when a new admin joins from an unknown IP. Document the reason, open access narrowly (specific IP, limited time window), and re-lock afterward. Log these exceptions so you can audit them later. Never leave “temporary” rules in place indefinitely; they become permanent gaps.
Common Scenarios and How We Fixed Them
Example: Admin Area Exposed After a Plugin Update
A client ran a caching plugin that regenerated .htaccess on every update, wiping out custom access rules. The symptom: anyone could browse wp-admin again. The fix: we moved critical rules (like IP restrictions) into the server config (httpd.conf on Apache or the Nginx server block) where plugins can’t touch them. Lesson learned—when possible, enforce security at the server level, not just in .htaccess files that plugins might overwrite.
Example: Uploads Directory Listing Revealed on a Misconfigured Server
A staging site went live with indexes still enabled. Visitors discovered client contracts and invoices by browsing /wp-content/uploads/2024/. The fix was immediate: we added Options -Indexes to the root .htaccess, confirmed it propagated to subdirectories, and moved sensitive files outside the web root entirely (serving them via a PHP download script). We also implemented a monthly scan to catch similar issues before they went live.
Accessibility and Performance Considerations
Balancing Security with User Experience
Overly restrictive rules can frustrate legitimate users. For instance, IP whitelisting breaks access for remote workers or clients on dynamic IPs. Mitigation strategies: use VPN access for admins, implement 2FA instead of IP locks, or allow a broader IP range and rely on rate limiting. Always provide a fallback (e.g., a support email for locked-out users). Security should be transparent to good actors—if your rules cause frequent support tickets, dial them back and compensate with monitoring.
Potential Performance Changes from Access Controls
Most access controls (deny directives, autoindex off) have negligible performance impact—they’re evaluated at the server level before PHP even runs. IP whitelists and complex rewrite rules can add microseconds per request, but this is rarely noticeable. The exception: PHP-based access checks (e.g., a custom script validating user roles before serving uploads) do add latency. Mitigate by caching results, using a CDN for public assets, and profiling your site before and after changes. If performance degrades noticeably, profile with tools like New Relic or Query Monitor to identify bottlenecks.
Frequently Asked Questions
How can I restrict access to the WordPress admin area?
Use server-level IP whitelisting in .htaccess or Nginx config to allow only trusted IPs. Add <Files wp-login.php> Order deny,allow; Deny from all; Allow from YOUR_IP; </Files> in .htaccess, or location = /wp-login.php { allow YOUR_IP; deny all; } in Nginx. Combine with two-factor authentication plugins for layered security. This blocks brute-force attacks and unauthorized login attempts while letting your team access wp-admin normally.
How do I block direct access to wp-config.php?
Add a Files directive to your .htaccess: <Files wp-config.php> Order allow,deny; Deny from all; </Files>. For Nginx, use location ~* wp-config.php { deny all; }. Also set file permissions to 600 or 640 so only the web server user can read it. Test by requesting yourdomain.com/wp-config.php—you should receive a 403 error, confirming the file is protected from direct web access.
Is it safe to block directory listing on a shared hosting plan?
Yes, disabling directory indexes with Options -Indexes is safe and recommended on shared hosting. It affects only your account, not other users on the server. Some hosts enable this by default; verify by visiting a directory URL. Blocking indexes reduces information disclosure and has no downside—visitors and search engines never need to see raw file lists, only the content you intend to publish.
Can I restrict access to the wp-content/uploads folder without breaking image display?
Absolutely. Disable directory indexes with Options -Indexes in wp-content/uploads/.htaccess to prevent browsing the file list, but allow direct file requests. Images embedded in posts will still load via their full URL. For sensitive documents, store them outside the web root or use a plugin that serves files through PHP with permission checks, logging each download while keeping front-end images public.
Do I need a plugin to limit directory access, or are .htaccess rules enough?
Server-level rules (.htaccess or Nginx config) are usually sufficient for basic protection—disabling indexes, blocking sensitive files, and IP whitelisting. Plugins add convenience (GUI configuration, logging, alerts) and can handle advanced scenarios like role-based file access or malware scanning. If you’re comfortable editing config files and testing changes, start with server rules. Add a security plugin for monitoring and alerting, but don’t rely on it as your sole defense layer.
How do I verify that directory access restrictions are working correctly?
Test from an external network (VPN, mobile hotspot, or incognito browser) by requesting directory URLs like yourdomain.com/wp-content/plugins/ and sensitive files like yourdomain.com/wp-config.php. You should see 403 Forbidden or 404 errors, never file listings or contents. Also check that legitimate resources (images, stylesheets, admin dashboard from whitelisted IP) load normally. Use browser dev tools (F12 > Network) to confirm no assets return 403/404 unintentionally.
Are there any risks to restricting access by IP addresses for admin pages?
IP whitelisting can lock out legitimate admins if they work remotely or have dynamic IPs. If you forget to add a new team member’s IP, they’ll be blocked. Mitigation: use VPN for consistent IP addresses, maintain a secondary emergency access method (like WP-CLI over SSH), or combine IP restrictions with 2FA rather than relying on IPs alone. Document all whitelisted IPs and review quarterly to remove former team members.
What should I do if I accidentally lock myself out of wp-admin?
Connect via FTP or SSH and rename .htaccess to .htaccess.bak to temporarily disable server rules. You’ll regain access. Fix the issue (correct IP address, remove typo), rename the file back, and test again. Always keep a backup of working .htaccess and Nginx configs. If you’re on Nginx, use sudo nginx -t before reloading to catch syntax errors. Have your hosting support contact ready in case of emergencies.
Can directory access controls prevent all attacks on my WordPress site?
No single measure stops every attack. Directory restrictions reduce reconnaissance and block unauthorized file access, but you still need strong passwords, regular updates, malware scans, and backups. Think of access controls as one layer in a defense-in-depth strategy. They make attackers’ jobs harder and limit damage if other defenses fail, but they’re not a silver bullet. Combine them with monitoring, user role management, and security plugins for comprehensive protection.
How often should I review and update my directory access rules?
Audit monthly or after major changes (plugin updates, theme swaps, hosting migrations). Set a recurring calendar reminder to re-test directory listings, sensitive file access, and admin restrictions. Also review whenever you onboard or offboard team members, as IP whitelists and user roles will need adjustment. Regular checks catch configuration drift and ensure new plugins haven’t overwritten your rules. Quarterly security reviews should include a full access control audit alongside password rotation and backup tests.
Directory access restrictions aren’t glamorous—they won’t generate leads or improve page speed—but they’re a foundational security practice that separates maintained sites from vulnerable ones. By combining server-level controls (disabling indexes, blocking sensitive files, IP whitelisting) with WordPress-level hardening (least-privilege roles, disabled file editing, 2FA), you create overlapping defenses that protect your site even if one layer is breached. The key takeaway? Security is an ongoing process, not a one-time checklist. Implement the rules, test them rigorously, monitor for changes, and adjust as your site evolves. Start today by checking whether your directory indexes are disabled—type yourdomain.com/wp-content/plugins/ into a browser and see what happens. If you get a file list instead of a 403 error, you know exactly where to begin.