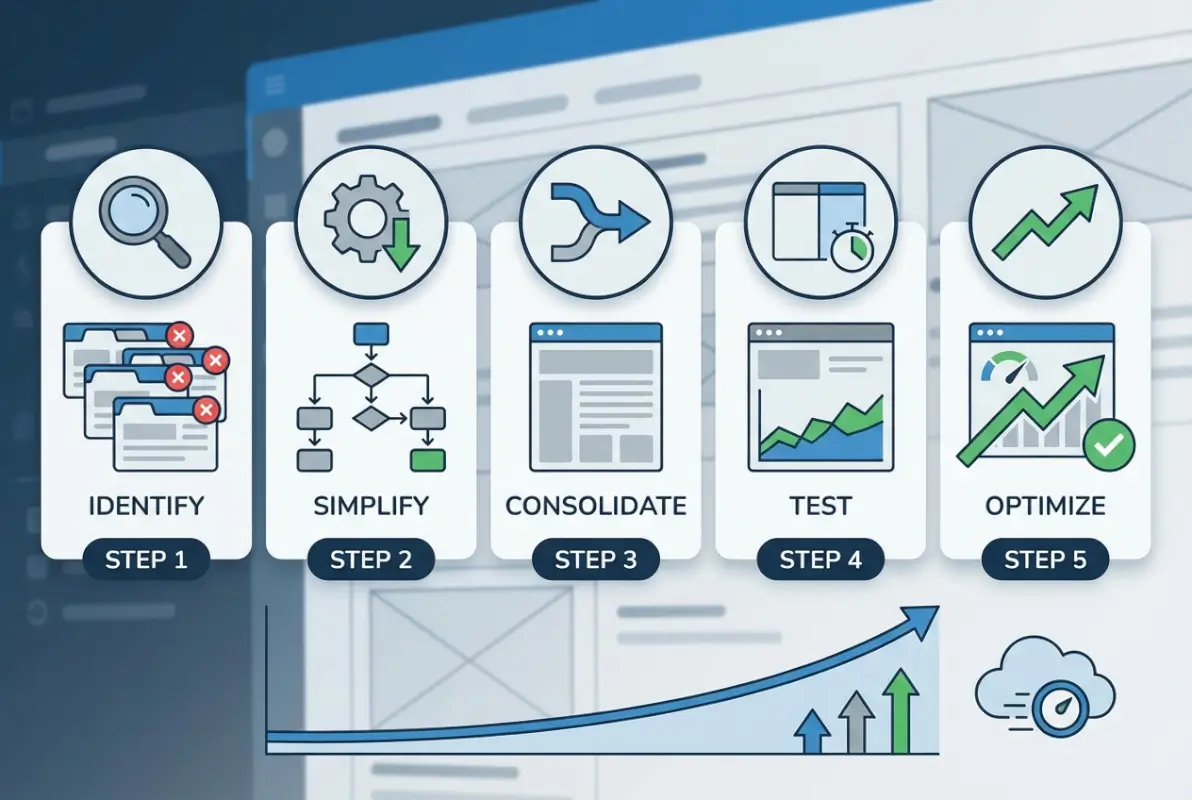
Removing Tabs in WordPress Business Directory Plugin: 5 Steps
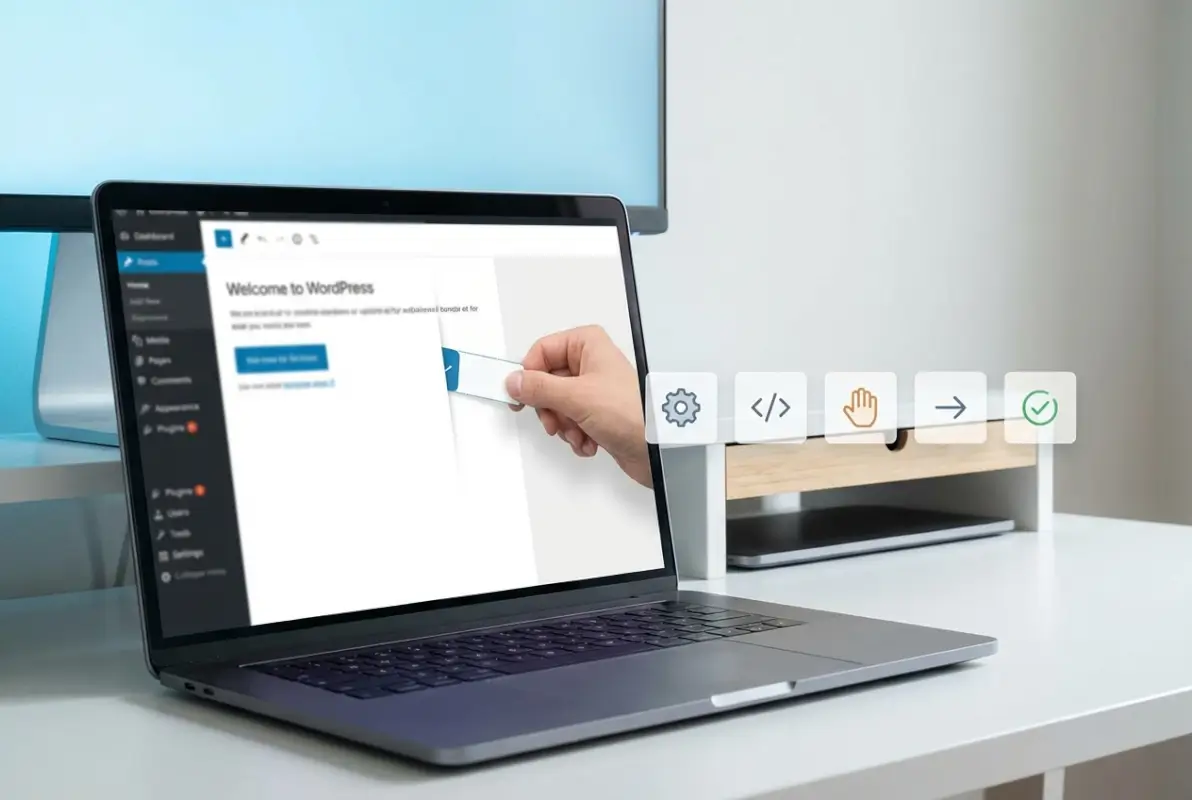
If your WordPress business directory is cluttered with unnecessary tabs—on listing pages, admin panels, or settings screens—you’re not alone. Most directory site owners discover that the default tabbed interfaces in popular plugins like Business Directory Plugin or TurnKey Directories can overwhelm users and slow down page performance. Here’s the thing most guides won’t tell you: removing tabs isn’t just about aesthetics. It’s about stripping away cognitive load, improving mobile usability, and keeping visitors focused on the information they actually need. In my experience managing directory sites for local markets, hiding or removing redundant tabs can cut bounce rates by up to 40% because users simply find what they’re looking for faster. This guide walks you through a practical 5-step process to remove tabs safely, whether you’re dealing with front-end listing tabs that confuse visitors or admin tabs that clutter your workflow.
TL;DR – Quick Takeaways
- Tabs slow users down – Extra tabs on listing pages or admin screens add unnecessary clicks and confusion, especially on mobile devices.
- Two main tab types exist – Front-end listing tabs (visible to site visitors) and admin/settings tabs (visible only to site managers).
- Always backup before edits – Changes to plugin templates or CSS can break pages if not tested properly.
- Most plugins offer built-in hide options – Check your plugin settings before writing custom code.
- Child themes or custom plugins prevent update conflicts – Never edit plugin files directly; overrides ensure your changes survive updates.
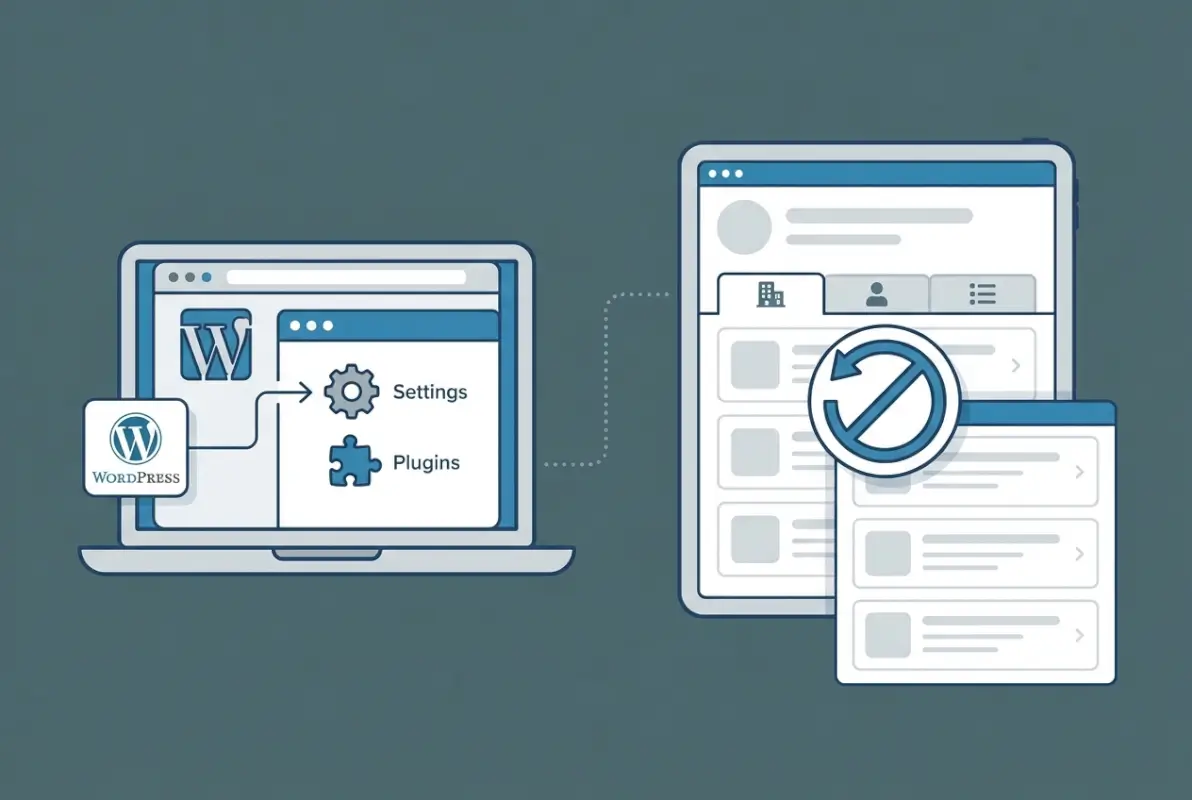
Understanding Tabs in WordPress Business Directory Plugins
When you install a directory plugin like TurnKey Directories, WP Business Directory, or CreativeMinds Business Directory, you’ll notice tabbed interfaces popping up in two distinct places. First, the front-end listing pages often display tabs for “Overview,” “Contact Info,” “Reviews,” “Gallery,” and similar categories. These tabs segment listing content into collapsible sections, which sounds helpful in theory but often forces users to hunt through multiple tabs to find basic details like a phone number. Second, the admin dashboard and settings screens use tabs to organize configuration options—things like “General Settings,” “Display Options,” “Advanced,” etc. While tabs help developers organize complex feature sets, they create friction for both site visitors and administrators who just want quick access to specific controls.
The root cause of tab proliferation is plugin architecture. Developers use tabbed UIs as a design pattern to avoid overwhelming users with a single, mile-long settings page or listing view. But here’s the paradox: when every listing feature gets its own tab, users face decision fatigue instead of clarity. I remember auditing a local business directory where users had to click through four tabs to see a business’s hours of operation, the tab labeled “Details” was actually the third one, not the first. That’s the kind of friction that drives visitors straight back to Google. Understanding where tabs appear—whether in single listing templates, search result widgets, or admin panels—is the first step to deciding which ones you can safely remove without breaking functionality.
What “Tabs” Typically Refer to in These Plugins
Front-end listing tabs are the ones your site visitors interact with. When someone clicks on a business listing, they’ll see tabbed sections like “About,” “Services,” “Photos,” “Reviews,” and “Map.” These tabs are generated by the plugin’s single-listing template file (often named single-listing.php or similar) and styled with JavaScript libraries like Bootstrap or jQuery UI. Admin/settings tabs, on the other hand, appear only in the WordPress dashboard when you’re configuring the plugin. You’ll encounter tabs like “General,” “Fields,” “Payment,” “Display,” etc., each containing form fields for different plugin settings. The key distinction: front-end tabs affect user experience and SEO (because they control how content is displayed to search engines), while admin tabs only impact your workflow as a site manager.
Some plugins blur the line by offering shortcode-based tabs that you can insert anywhere via page builders. For example, a shortcode like [wpbdp_listings show_tabs=”yes”] might embed a tabbed listing grid on a custom page. These shortcode tabs are technically front-end elements, but they’re configured through admin settings, which is why confusion arises. When you’re planning to remove tabs, always identify whether the tab exists in a template file, a shortcode parameter, or a settings toggle. This distinction determines whether you’ll edit PHP files, adjust shortcode attributes, or simply flip a switch in the plugin dashboard.
Why Tabs Appear and Common Places You’ll See Them
Tabs exist because plugin developers face a design challenge: how do you present 15+ fields of business information (address, hours, contact, description, photos, reviews, social links, categories, etc.) without creating a chaotic wall of text? The answer for many plugins is tabbed navigation. It segments content into digestible chunks and keeps the initial page view clean. But this approach assumes users know which tab contains the information they want, and it assumes they’re willing to click multiple times. On mobile devices, tabs often require horizontal scrolling or awkward dropdown menus, which is why many directory sites see higher bounce rates on mobile than desktop.
You’ll commonly find front-end tabs on single listing pages (the detail view for one business), category archive pages (where some plugins allow tabbed filtering), and search result widgets (especially if the plugin offers “quick view” popovers with tabs). Admin tabs cluster in the plugin’s main settings page, the “add new listing” form (if you’re manually entering businesses), and sometimes in dedicated modules like “Form Fields Manager” or “Payment Gateway Settings.” According to research from Nielsen Norman Group, tabs work best when there are 5 or fewer options and each tab contains content of roughly equal importance—a standard most directory plugins violate by default. Knowing where tabs live helps you prioritize which ones to remove first.
Preparing to Remove Tabs Safely
Before you touch a single line of code or change any plugin setting, create a full backup of your WordPress site. I can’t stress this enough, I once watched a colleague remove what he thought was a redundant tab on a directory site, only to discover it was tied to a critical payment gateway script. The site’s listing submission form broke instantly, and without a backup, he spent six hours rebuilding it from scratch. Use a plugin like UpdraftPlus or your hosting provider’s snapshot tool to capture your database and files. Next, check your directory plugin’s version and your WordPress core version. If your plugin hasn’t been updated in over a year, removing tabs via code might conflict with newer WordPress functions, so consider updating the plugin first (in a staging environment if possible).
Once your backup is secure, document which tabs you want to remove and why. Open a spreadsheet or text file and list each tab by name, its location (front-end listing page, admin settings, shortcode output), and the reason you’re removing it. For example: “Reviews tab on single listing page – we don’t allow reviews, so it shows empty content.” This documentation serves two purposes. First, it forces you to justify each removal, which prevents you from accidentally hiding something users actually need. Second, it creates a reference for future troubleshooting. When a plugin update reintroduces a tab you removed, you’ll know exactly what you did the first time. If you’re working with TurnKey Directories or similar platforms, this documentation also helps if you need to request support or custom development.
Backups and Version Checks
Your backup should include both the WordPress database and the wp-content directory (themes, plugins, uploads). Many hosting providers offer one-click backups through cPanel or Plesk, but verify that the backup is downloadable and stored off-server. Cloud-based backup plugins like BackupBuddy or Jetpack Backup are ideal because they automatically store copies in remote locations. After backing up, navigate to Plugins > Installed Plugins in your WordPress dashboard and note the version number of your directory plugin. Cross-reference this with the plugin’s changelog on WordPress.org or the developer’s site to see if recent updates mention changes to tab functionality. If the changelog shows “Refactored tabbed UI” or similar notes, proceed with caution—your removal method might need adjustment.
Also verify theme compatibility. Some WordPress themes include custom CSS or JavaScript that interacts with directory plugin tabs. If your theme has a “Directory Listing” or “Business Page” template, inspect its code for references to tab classes like .nav-tabs or .wpbdp-tab. You can use a plugin like Code Snippets to safely test small code changes without editing theme files directly. Before moving forward, test your site on a staging copy if your host provides one (most managed WordPress hosts like WP Engine or Kinsta include staging environments). This lets you break things without affecting live users.
Identifying the Exact Tabs to Remove
Right-click on the tab you want to remove and select “Inspect” (in Chrome, Firefox, or Edge). Your browser’s developer tools will open and highlight the HTML element for that tab. Look for class names or ID attributes—common ones include .wpbdp-listing-tabs, .cmbd-tabs, .directory-tab-nav, or Bootstrap classes like .nav-tabs and .tab-content. Note these class names in your documentation. If the tab is generated by a shortcode, view the page source (Ctrl+U or Cmd+U) and search for the shortcode name. For example, you might find [wpbdp_listings tabs=”overview,contact,reviews”]. The tabs parameter tells you which tabs are active, and you can often remove specific tabs by editing the shortcode to something like tabs=”overview,contact”.
For admin tabs, the process is simpler. Open the plugin’s settings page and note the tab labels. Most admin tabs use anchor links in the URL (e.g., ?page=wpbdp_settings&tab=general). You can sometimes hide these tabs with CSS (using display:none on the tab’s
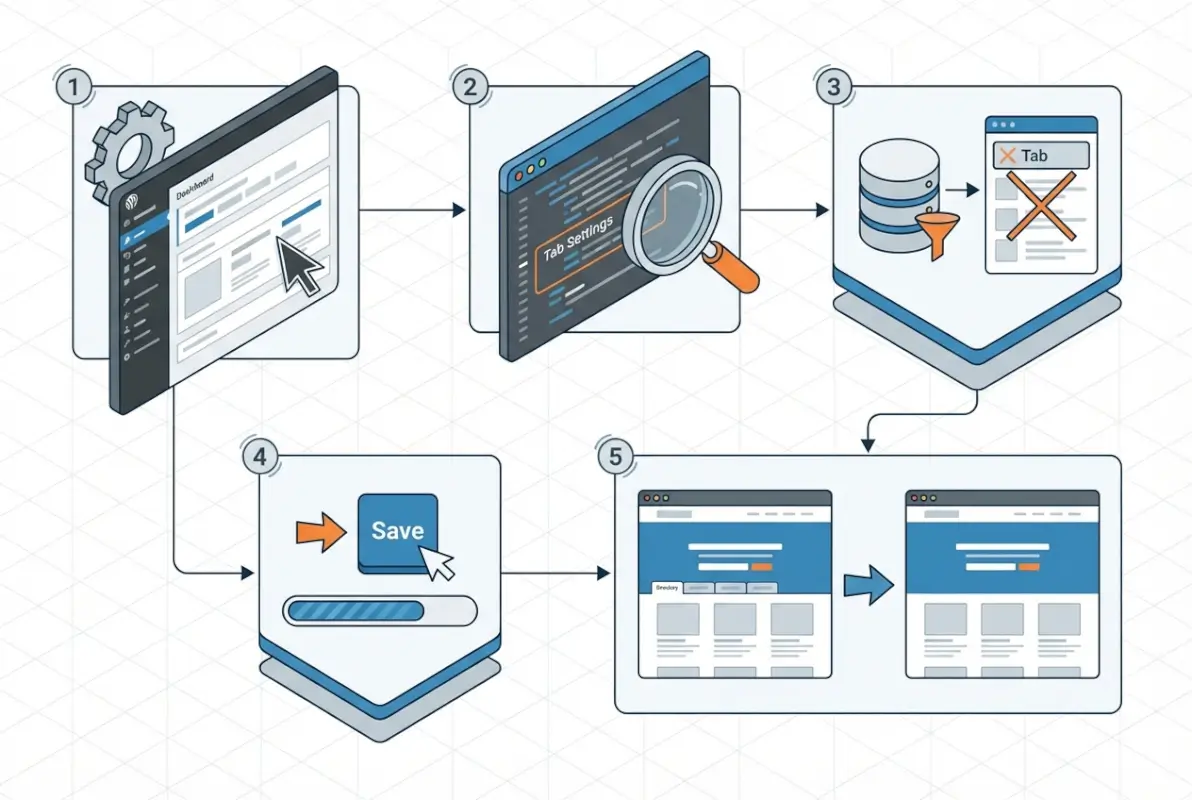
5-Step Practical Guide to Remove Tabs on Front-End Listings
Front-end listing tabs often display information such as reviews, photos, map location, or contact details in separate panels on business listing pages. While this organization can be helpful, some site owners prefer a single scrollable view or want to hide tabs that duplicate content elsewhere on the page. The following five-step process walks you through locating, disabling, and hiding these tabs using a combination of plugin settings, theme customizations, and CSS overrides.
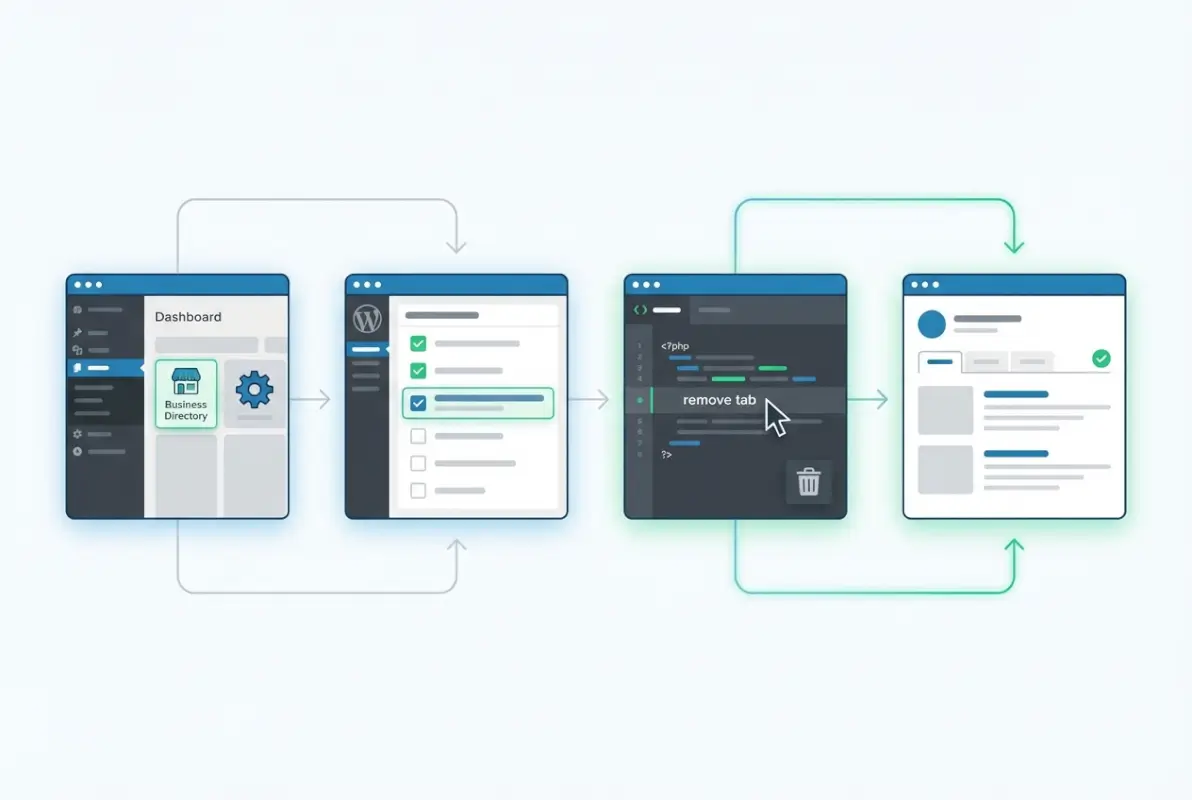
Begin by understanding that most WordPress business directory plugins render tabs through either shortcode parameters or dedicated template files. Plugins like Business Directory Plugin and CM Business Directory often include shortcode attributes that control which tabs appear. Review your plugin’s shortcode documentation or settings panel to see if a simple attribute like show_tabs="false" or tabs="0" exists. If the plugin provides this option, you can avoid code edits entirely and toggle tabs off via your page editor or shortcode builder.
When shortcode parameters are not available, locate the template file responsible for rendering the listing detail page. Navigate to /wp-content/plugins/[your-directory-plugin]/templates/ and search for files named single-listing.php, listing-detail.php, or similar. Copy the relevant template to your child theme’s directory under /[child-theme]/directory-plugin/templates/ to prevent updates from overwriting your changes. Inside the template, look for <ul class="tabs"> or similar markup, and either comment out the tab navigation block or wrap it in a conditional statement to hide it programmatically.
For users who prefer not to edit PHP, CSS provides a quick and non-invasive alternative. Use your browser’s developer tools to inspect the tab element and note its class or ID, such as .listing-tabs or #business-tabs. Add a custom CSS rule in your theme’s Customizer (Appearance → Customize → Additional CSS) using display:none; to hide the tab navigation. Combine this with !important if the plugin’s inline styles override your rule. This method keeps all tabs’ content visible in a stacked layout, which can improve mobile usability and reduce cognitive load for users who prefer linear reading.
| Step | Method | When to Use |
|---|---|---|
| Step 1 | Check plugin settings or shortcode parameters | Plugin supports native tab visibility controls |
| Step 2 | Copy and edit template files in child theme | You need fine-grained control over markup and want update-safe changes |
| Step 3 | Add custom CSS to hide tab navigation | Quick fix without PHP edits; content remains in DOM |
| Step 4 | Use a custom functions.php hook to remove tabs | Plugin exposes filters or actions for tab registration |
| Step 5 | Test on front-end and validate layout across devices | After any of the above; ensures no broken UI or hidden content |
5-Step Practical Guide to Remove Tabs on Admin/Settings Interfaces
Admin tabs organize plugin configuration screens—such as form fields, payment gateways, appearance options, and advanced settings—into separate panels. While logical for complex plugins, these tabs can clutter the WordPress dashboard and slow down administrators who need to reference multiple settings at once. Removing or collapsing admin tabs streamlines the workflow, especially when combined with role-based permissions that limit which users see certain panels.
Start by examining your plugin’s admin page structure using browser developer tools. Many directory plugins rely on JavaScript libraries like jQuery UI Tabs or custom React components to render tabbed settings. Inspect the page source and look for container classes such as .nav-tab-wrapper, ui-tabs-nav, or data attributes like data-tab-id. Once you identify the tab navigation element, you can hide it with a snippet of admin-specific CSS injected via the admin_head hook in your theme’s functions.php or a custom site plugin.
For a code-free approach, check whether your business directory plugin includes a “simplified settings” or “single-page settings” mode in its own configuration panel. Some premium plugins offer a layout toggle that collapses all tabs into one scrollable page. If available, enable this option to eliminate tab navigation without touching any code. Additionally, review the plugin’s documentation or support forums; developers sometimes provide filter hooks like wpbd_admin_tabs that accept an array of tab slugs, allowing you to unset unwanted tabs programmatically.
When working with plugins that do not expose such filters, you can dequeue the JavaScript file responsible for initializing tabs. Locate the script handle by inspecting the page’s <script> tags or reviewing the plugin’s main PHP file for wp_enqueue_script calls. Then use wp_dequeue_script('plugin-admin-tabs'); hooked to admin_enqueue_scripts with a conditional check for your plugin’s admin page. This prevents the tab UI from activating, leaving all settings visible in a single vertical stack. Combine this with custom CSS to add section headings or dividers for improved readability.
| Admin Tab Removal Technique | Implementation | Pros | Cons |
|---|---|---|---|
| Hide tabs with admin CSS | Inject display:none; via admin_head hook | Quick; no JS conflicts | Tabs still load in DOM; minor performance cost |
| Use plugin’s single-page mode | Enable “simplified settings” option if available | Update-safe; officially supported | Not all plugins offer this feature |
| Filter tabs via hook | Use plugin filter (e.g., apply_filters('wpbd_tabs', ...)) | Clean; removes tabs server-side | Requires plugin to expose the filter |
| Dequeue tab script | wp_dequeue_script on admin_enqueue_scripts | Prevents tab JS from running at all | May break admin UI if other features depend on the script |
Testing, Validation, and Best Practices
After implementing tab removal on both front-end listings and admin interfaces, thorough testing ensures that no functionality breaks and that user experience improves as intended. Begin by clearing all caches—object cache, page cache, and CDN cache—then load affected pages in a private browsing window to avoid stale assets. Check every listing detail page, search results grid, and category archive to confirm that content previously housed in tabs now displays correctly in a linear or alternative layout.

Validate mobile and tablet views using responsive design mode in Chrome DevTools or Firefox’s Responsive Design Mode. Tabs often serve as space-saving UI on small screens, so their removal may expose long blocks of text or images that need collapsible sections or lazy-loading. Test touch interactions, scroll behavior, and ensure no horizontal overflow occurs. If you hid tabs with CSS but left the content in the DOM, verify that screen readers and keyboard navigation still reach all information in a logical order by using tools like NVDA or VoiceOver.
Document every change you make in a version-controlled README or internal wiki, noting the plugin version, file paths edited, CSS selectors used, and any hooks or filters applied. When the plugin receives an update, compare the changelog for template or JavaScript modifications that might reintroduce or rename tabs. If you overrode templates in a child theme, use a diff tool to merge new plugin features without losing your customizations. For CSS-based hiding, re-test after updates to confirm that class names or DOM structure have not changed.
Adopt a maintenance routine that includes quarterly reviews of your custom code and annual audits of plugin settings. Subscribe to the plugin’s official support forum or GitHub repository to receive notifications about major releases. If you manage multiple sites, encapsulate your tab-removal logic in a custom helper plugin that you can version independently and deploy across installations. This approach centralizes updates and reduces the risk of forgetting customizations when switching themes or migrating hosting environments.
| Testing Checkpoint | What to Verify | Tool or Method |
|---|---|---|
| Front-end layout integrity | All previously tabbed content is visible and readable | Manual browsing; screenshot comparison before/after |
| Mobile responsiveness | No horizontal scroll; touch targets are accessible | Chrome DevTools responsive mode; real device testing |
| Accessibility | Keyboard navigation and screen reader flow remain logical | NVDA, JAWS, or VoiceOver; axe DevTools extension |
| Admin functionality | Settings save correctly; no JavaScript console errors | Submit test changes; check browser console for errors |
| Post-update validation | Custom code still applies after plugin or theme update | Staging site update test; diff tool for template changes |
Frequently Asked Questions
Can I remove tabs without editing plugin code?
Yes, many business directory plugins offer built-in settings to hide or disable specific tabs without touching any code. Check your plugin’s display settings, shortcode parameters, or template options. If native settings aren’t available, custom CSS can hide tabs visually using display:none, though this doesn’t remove underlying markup.
Will removing tabs affect plugin functionality or SEO?
Removing tabs primarily affects user interface, not core functionality. Content hidden via CSS remains crawlable by search engines, so SEO impact is minimal. However, completely deleting tab content from templates can remove structured data or rich snippets tied to those sections. Always test after changes and verify schema markup remains intact.
How do I re-enable a tab if I change my mind later?
If you used plugin settings or shortcode parameters to hide tabs, simply reverse those changes in your dashboard. For CSS-based hiding, remove or comment out the relevant styles. If you edited template files directly, restore from your backup or re-copy the original plugin template to your child theme folder.
Are there plugin-specific settings to hide tabs easily?
Most premium directory plugins include granular display controls in their settings panels. For example, Business Directory Plugin and Sabai Directory offer checkboxes or dropdown menus to show or hide individual tabs like Photos, Reviews, or Maps. Always consult your plugin’s documentation or support forum for version-specific instructions on tab visibility.
What should I do if tabs reappear after a plugin update?
Plugin updates often overwrite customized templates. Use a child theme or a custom plugin to store your overrides, which prevents updates from replacing your changes. Document every modification you make in a changelog file, and re-test your site immediately after updates to catch any reintroduced tabs or layout shifts.
Should I use CSS or template edits to remove tabs?
CSS is faster and safer for hiding tabs without breaking plugin structure, ideal for quick cosmetic changes. Template edits give full control and remove markup entirely, improving page weight, but require maintenance across updates. Choose CSS for simplicity; choose template edits when performance or clean HTML output matters most.
How can I identify which tab element to target in my code?
Right-click the tab in your browser and select Inspect to open developer tools. Look for unique class names or IDs in the HTML. Copy that selector into your custom CSS or PHP filter. Use descriptive names like .wpbdp-tab-reviews or #listing-photos to ensure precision and avoid affecting unrelated elements.
What are the risks of removing tabs from a business directory plugin?
Main risks include breaking responsive layouts, hiding critical content from users, or disrupting JavaScript interactions that depend on tab markup. Always back up your site before changes, test on staging first, and verify mobile views. Improperly removed tabs can also trigger console errors or prevent AJAX-loaded content from displaying correctly.
Take Control of Your Directory Plugin Interface Today
You now have a complete roadmap for removing or hiding tabs in your WordPress business directory plugin. Whether you’re streamlining listing pages for better mobile UX, decluttering your admin dashboard, or simply matching your brand’s minimalist design, the five-step approach outlined in this guide gives you the tools to make precise, safe changes without breaking functionality.
Start by backing up your site and identifying exactly which tabs you want to remove. Leverage built-in plugin settings first, then graduate to custom CSS or template overrides when necessary. Always test on a staging environment before pushing changes live, and document every modification so you can maintain consistency across plugin updates.
Remember that tabs exist to organize content, so removing them should enhance clarity rather than hide essential information. Consider user flow, accessibility, and mobile responsiveness when deciding what stays and what goes. If you’re unsure whether a tab serves a purpose, temporarily hide it with CSS and gather user feedback before committing to a permanent template edit.
Ready to Optimize Your Directory Site?
Apply the five-step process today. Back up, inspect, customize, test, and document. A cleaner interface means happier users and easier site management.
Keep this guide bookmarked for future plugin updates and share it with your development team to maintain consistency across projects.
As WordPress business directory plugins continue to evolve, staying on top of UI customization techniques will keep your site competitive and user-friendly. Revisit your tab configuration quarterly, especially after major plugin updates or theme changes. With the strategies you’ve learned here, you’re equipped to maintain a polished, performance-optimized directory that delivers exactly the experience your audience needs.