What Is an Online Directory? 6 Types & Their Benefits for Businesses
When most businesses think about online visibility, they chase Google rankings or social media buzz. But there’s a quieter, steadier path hiding in plai
Your blog category

When most businesses think about online visibility, they chase Google rankings or social media buzz. But there’s a quieter, steadier path hiding in plai
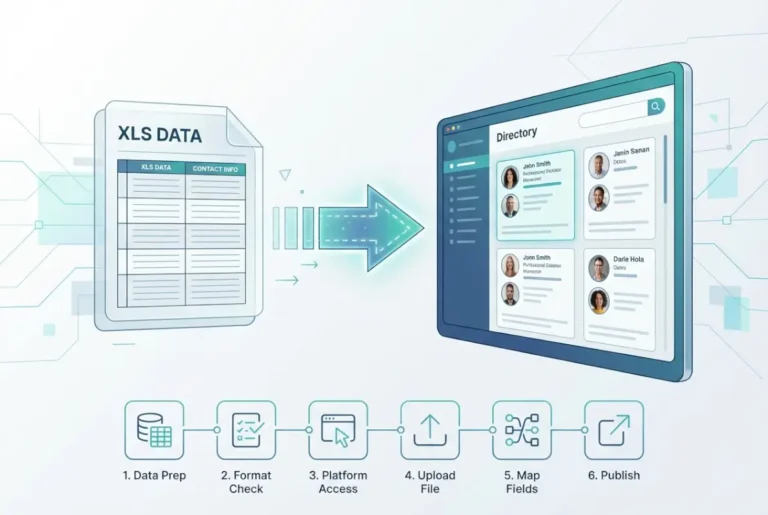
If you’ve ever manually copied and pasted hundreds of business listings from a spreadsheet into a directory, you know the pain: typos creep in, fields g

When you’re building or listing in an online directory, one question dominates every budget conversation: how much does it actually cost? The a

If you’ve typed “Kik online directory” into a search engine, you’re probably looking for one of three things: a way to find Kik users or groups, resourc

If you’ve ever landed on an online directory only to be met with an endless wall of text links, you know the frustration. Your eyes glaze over, you lose

When you need to mirror an entire directory from a web server—maybe a collection of research datasets, an archive of public documents, or a repository o

Most online directories fail within their first year—not because they lack traffic, but because founders skip the unglamorous work of niche validation,

Most entrepreneurs chase complex business models when one of the simplest—and most profitable—opportunities sits right under their noses. An online dire

Starting an online business directory in today’s digital economy isn’t just about building a website with a list of companies, it’s about creating a rev

Building an online directory isn’t just another website project—it’s creating a trust engine that connects people with verified, valuable resources in y
End of content
End of content