How to Contribute to Elementor Pro on GitHub: Complete Developer Guide for 2026

Generating summary...
Contributing to Elementor Pro through GitHub isn’t just about writing code—it’s about joining a community that shapes how millions of WordPress users build websites. The repository receives dozens of pull requests monthly, ranging from critical bug fixes to feature enhancements that define the next generation of page building. If you’ve ever wanted to see your code running on sites across the globe, or wondered how major WordPress plugins manage contributions at scale, this is your entry point.
I remember my first attempt at contributing to a major open-source project. I spent three hours just trying to understand the branching strategy, another two figuring out where to even start looking for beginner-friendly issues. The maintainers were helpful, but the learning curve felt steep. What I wish I’d known then: most of that complexity disappears once you understand the basic workflow and project expectations.
This guide walks through the entire contribution process for Elementor Pro—from locating the right repository and setting up your development environment to submitting pull requests that actually get merged. Whether you’re fixing your first typo in documentation or proposing architectural improvements, the fundamentals remain consistent.
TL;DR – Quick Takeaways
- Start with the official elementor/elementor repository – Pro contributions often go through the main repo
- Fork, branch, commit, PR – Standard GitHub workflow applies, but follow Elementor’s naming conventions
- Look for “good first issue” labels – These are curated by maintainers for new contributors
- Test locally in WordPress – Use LocalWP or similar for rapid testing cycles
- Engage respectfully with reviewers – Code reviews improve your contribution, not criticize your abilities
- Documentation counts – README improvements and example code are valuable contributions
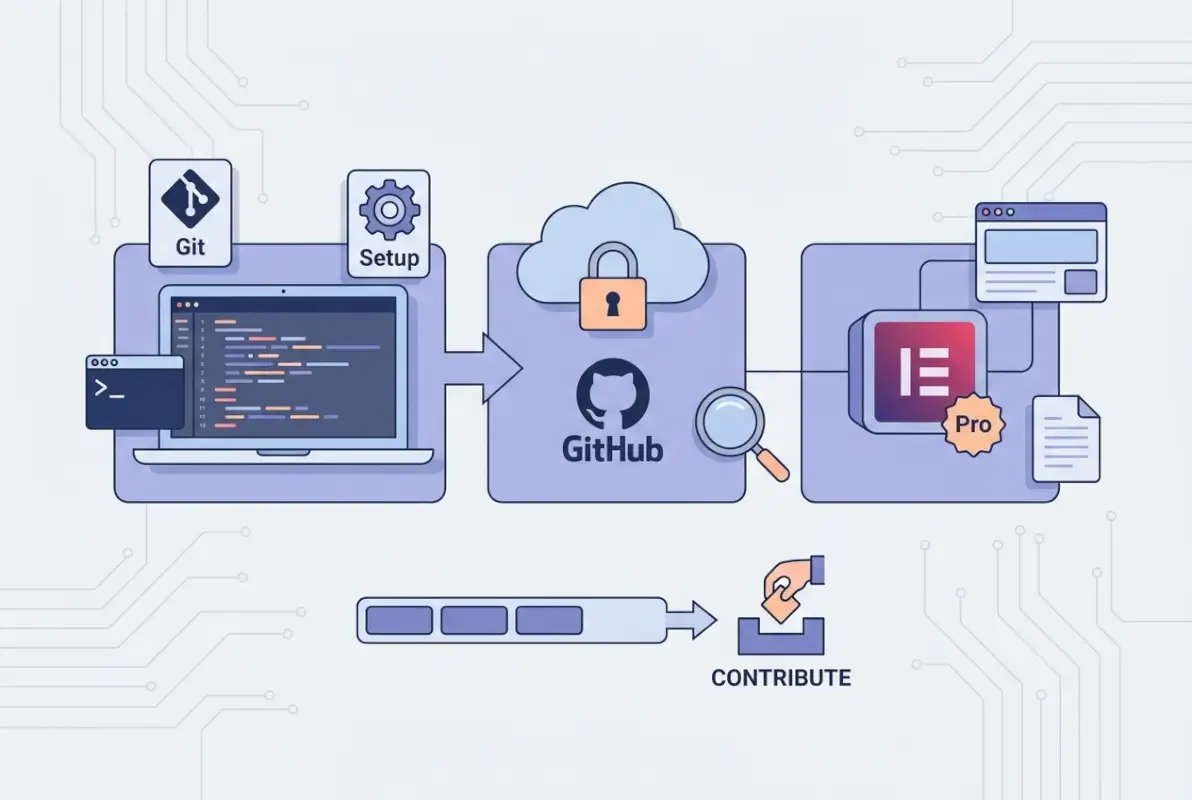
How to Get Started with Contributing to Elementor Pro on GitHub
The first step to contributing is finding the correct repository and understanding what’s actually needed. Elementor maintains multiple repositories on GitHub, but the primary codebase lives at elementor/elementor. Many Elementor Pro contributions funnel through this main repository since Pro extends the core plugin architecture.
Navigate to the repository and explore the Issues tab. You’ll find hundreds of open issues ranging from bug reports to feature requests. GitHub’s filtering system becomes your best friend here—use labels like “good first issue”, “bug”, “enhancement”, or “documentation” to narrow your search. According to Google’s open-source contribution guidelines, starting with well-scoped issues reduces frustration and increases your chances of a successful first contribution.
Locate the Official Elementor Repository and Relevant Issues
Visit the Elementor GitHub organization page to see all official repositories. The main repository contains the bulk of contribution activity. Once there, click the “Issues” tab and you’ll see the current backlog. Pay attention to:
- Issue age and comment activity (recent comments suggest active maintenance)
- Whether someone is already assigned (avoid duplicate efforts)
- Complexity indicators in labels (“easy”, “intermediate”, “advanced”)
- Maintainer responses in comments (shows if the issue is still relevant)
Before claiming an issue, read through the entire discussion thread. Sometimes the original problem evolves significantly through community discussion, and the final solution needed differs from the initial report. I once spent six hours implementing a fix based on the issue title alone, only to discover the maintainers had outlined a completely different approach in comment #14.
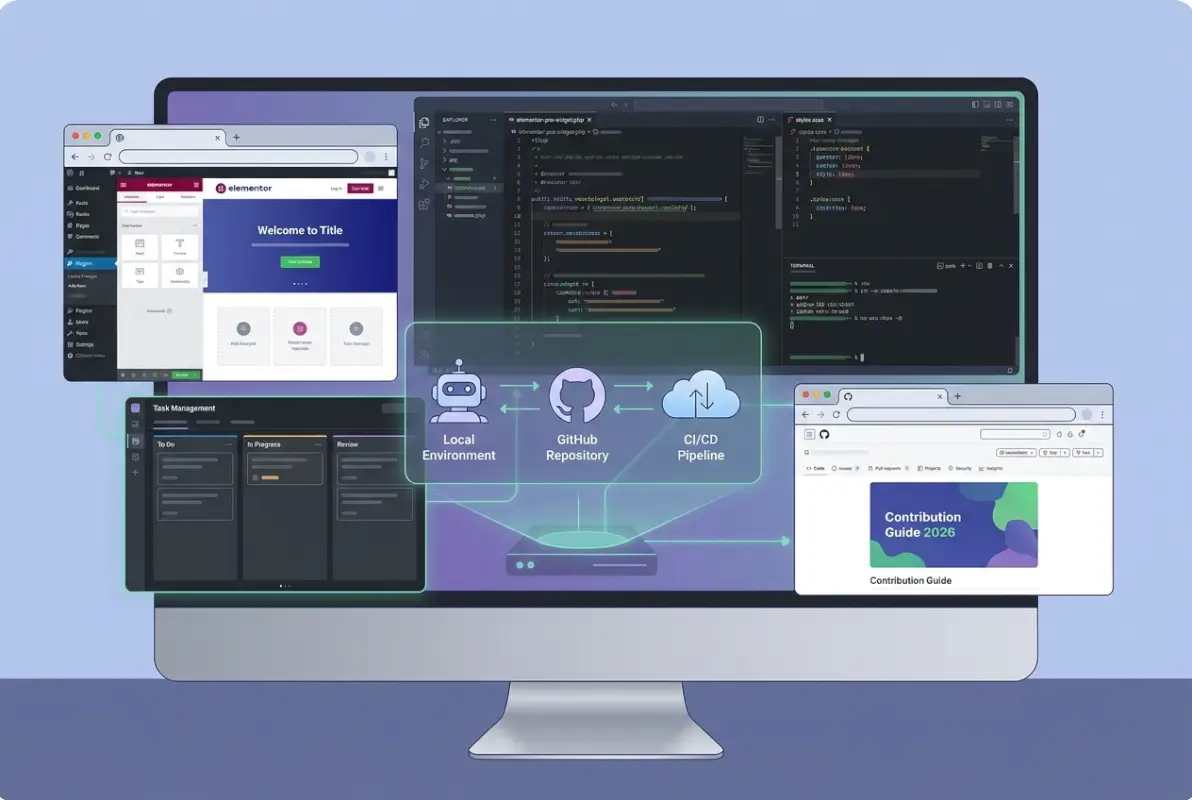
Set Up Your Local Development Environment and Prerequisites
Contributing to Elementor Pro requires a local WordPress installation where you can test changes. The setup process breaks down into three components: WordPress itself, the Elementor codebase, and build tools for asset compilation.
For WordPress, LocalWP offers the fastest setup—download it from localwp.com, create a new site, and you’re running WordPress locally in under five minutes. Alternative setups like XAMPP, MAMP, or Docker containers work equally well if you prefer more control over the environment.
Once WordPress runs locally, clone the Elementor repository:
git clone https://github.com/elementor/elementor.git
cd elementor
Install Node.js (version 16 or later recommended) from nodejs.org, then install project dependencies:
npm install
This command downloads all JavaScript packages needed for building Elementor’s assets. The process takes a few minutes depending on your internet connection. After installation completes, run the build process to compile assets:
npm run build
Symlink or copy the compiled Elementor directory into your local WordPress plugins folder, activate it, and verify everything loads correctly. You now have a functional development environment mirroring the production plugin.
npm run dev) so assets recompile automatically as you modify source files—saves countless manual rebuild cycles.Understanding the Contribution Workflow and Guidelines
The GitHub contribution workflow follows a predictable pattern once you understand it. Every contribution starts with forking the repository to create your personal copy, then follows a cycle of branching, coding, committing, and submitting pull requests for review.
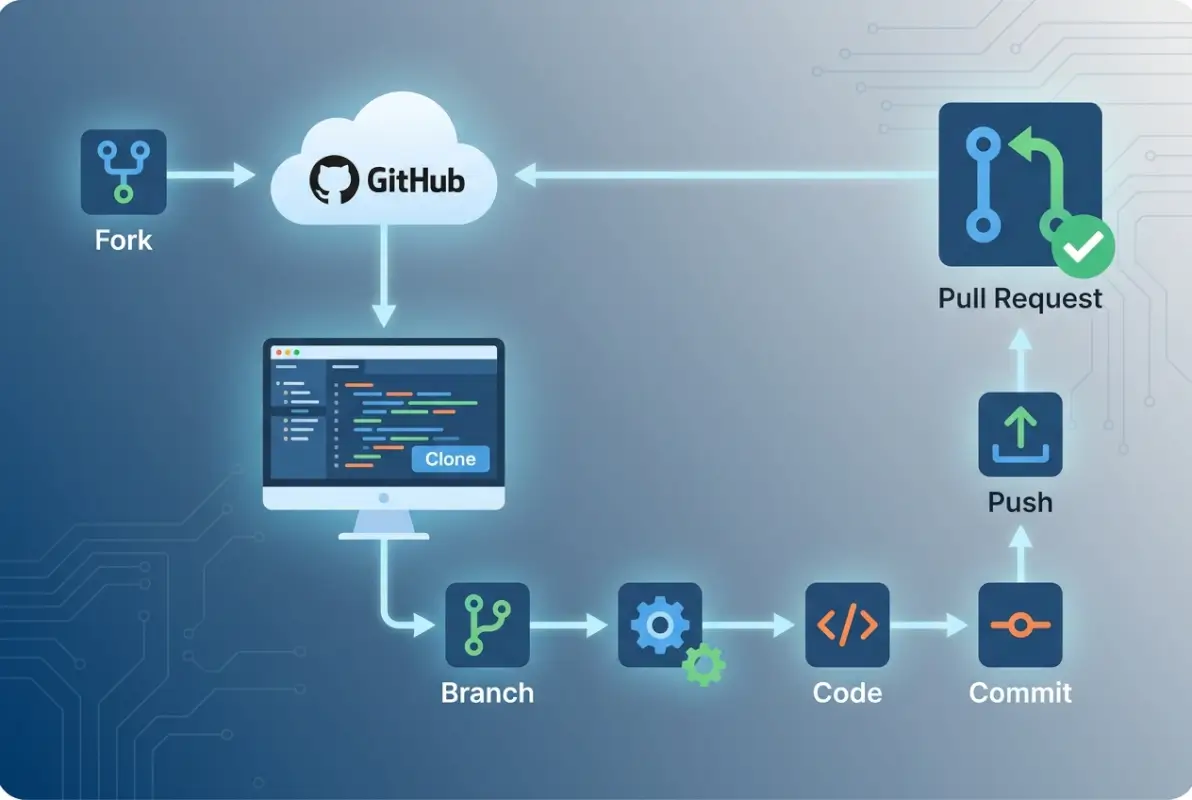
Fork, Branch, Commit, and Pull Request Process
Click the “Fork” button on the elementor/elementor repository page. GitHub creates a complete copy under your account—this becomes your workspace for all changes. Clone your fork locally:
git clone https://github.com/YOUR-USERNAME/elementor.git
cd elementor
git remote add upstream https://github.com/elementor/elementor.git
The upstream remote keeps you synchronized with the main project. Before starting work, create a feature branch with a descriptive name:
git checkout -b fix/button-alignment-mobile
Branch naming conventions matter. Use prefixes like fix/, feature/, or docs/ followed by a concise description. Include issue numbers when applicable: fix/1234-responsive-grid-layout.
Make your changes, test thoroughly, then commit with clear messages:
git add .
git commit -m "Fix button alignment on mobile viewports

Adjusted flexbox properties to prevent overflow
Added media query for screens under 768px
Tested on iOS Safari and Chrome Android

Fixes #1234"
Push your branch to your fork:
git push origin fix/button-alignment-mobile
Visit your fork on GitHub and you’ll see a yellow banner suggesting you create a pull request. Click it, fill out the PR template completely, and submit. The review process begins from here.
Coding Standards, Testing, and Release Practices
Elementor follows WordPress coding standards for PHP and maintains specific JavaScript style guidelines. Before submitting code, run automated linting tools to catch formatting issues:
npm run lint
Fix any reported violations before committing. Maintainers reject PRs with linting errors—it’s not personal, just efficiency. Automated checks catch these issues faster than human reviewers.
Testing expectations vary by change type. Bug fixes should include steps to reproduce the original bug and verify the fix resolves it. Feature additions benefit from unit tests when possible, though Elementor’s architecture doesn’t always make testing straightforward for UI components.
Document your testing approach in the PR description:
- What scenarios did you test?
- Which browsers and devices did you verify?
- Are there edge cases you couldn’t test?
- Do existing features still work correctly?
Elementor releases follow a structured cycle. Minor updates ship frequently for bug fixes, while major versions introduce new features and architectural changes. Understanding release timing helps set expectations—your PR might merge quickly but not appear in a public release for weeks depending on the cycle.
npm run lint before every commit to catch style violations early—saves review round trips and speeds up the merge process.Key Areas to Contribute and Common Pitfalls
Contributors often wonder where their skills provide the most value. The answer depends on your strengths, but several areas consistently need attention: bug fixes, feature implementations, documentation improvements, and example code for complex use cases.
Bug Fixes, Feature Requests, and Improvements to Docs
Bug fixes form the backbone of open-source maintenance. Start by reproducing reported bugs in your local environment. If you can’t reproduce it, ask the reporter for more details in the issue comments. Once reproduced, identify the root cause before coding a solution—hasty fixes often introduce new bugs or miss edge cases.
When proposing bug fixes, reference the specific issue number in your commit message and PR description using GitHub’s linking syntax: “Fixes #1234”. This automatically closes the issue when your PR merges, keeping the issue tracker clean.
Feature requests require more discussion before implementation. Before writing code, comment on the feature request issue expressing your intent to implement it. Ask maintainers if they’re still interested in the feature and if your proposed approach aligns with project direction. I’ve seen contributors spend weeks on features only to have them rejected because they duplicated in-progress internal work or didn’t fit the product roadmap.
Documentation improvements often fly under the radar but provide massive value. Clear documentation lowers the barrier for new contributors and helps users maximize the tool’s capabilities. Look for:
- Outdated code examples that no longer work with current versions
- Missing documentation for recently added features
- Confusing explanations that could be simplified
- Broken links or references to deprecated functionality
According to the Elementor contributor guidelines, documentation contributions receive the same appreciation as code contributions—both improve the project ecosystem.
Documentation, Examples, and Onboarding Content
New contributor onboarding determines whether someone makes their first contribution or gives up frustrated. Strong onboarding content includes:
- Step-by-step environment setup guides with common troubleshooting tips
- Architecture overviews explaining how major components interact
- Code examples demonstrating proper API usage
- Video walkthroughs for visual learners (though these require more maintenance)
When writing documentation or examples, assume readers have basic WordPress knowledge but minimal Elementor internals understanding. Explain why things work a certain way, not just how to do them. Context helps contributors make better decisions when extending patterns to new scenarios.
For directory-focused implementations, platforms like TurnKey Directories demonstrate how Elementor’s architecture extends to specialized use cases—studying these integrations reveals patterns useful for your own contributions.
How to Engage with the Community and Maintainers
Technical skills matter, but communication skills determine whether your contributions get merged. Maintainers juggle dozens of PRs, hundreds of issues, and their own development roadmap. Clear, respectful communication helps your contributions rise above the noise.
Effective Communication, Issue Reporting, and Feedback Cycles
When reporting bugs or requesting features, provide complete context upfront. Vague reports like “buttons don’t work” force maintainers to play detective, wasting everyone’s time. Instead, include:
- Elementor version and WordPress version numbers
- Step-by-step reproduction instructions
- Expected behavior versus actual behavior
- Browser/device information if relevant
- Screenshots or screen recordings showing the issue
- Console errors or PHP error logs if applicable
This level of detail transforms “I’ll look at this eventually” into “I can fix this now.” Complete bug reports often get fixed within days, while vague ones languish for months.
During code review, respond to feedback within 48 hours when possible. If you need more time to implement requested changes, comment saying so—silence makes maintainers wonder if you’ve abandoned the PR. When you disagree with reviewer suggestions, explain your reasoning respectfully and provide technical justification. Sometimes reviewers overlook edge cases you’ve considered; polite explanation usually resolves disagreements.
Mark resolved review comments as “resolved” in GitHub’s interface. This helps everyone track what’s addressed and what still needs attention. Large PRs can accumulate dozens of comment threads—staying organized prevents things from falling through cracks.
Building Relationships and Sustaining Contribution
One-time contributors are valuable, but sustained contributors who stick around for months or years become community pillars. Building these relationships starts with consistent, quality contributions over time.
Participate in community discussions beyond your own PRs. Help other contributors troubleshoot their development environment issues, review their pull requests (even as a non-maintainer you can test PRs and provide feedback), and share knowledge you’ve gained working with the codebase.
Many Elementor discussions happen in dedicated Slack channels or Discord servers. Join these communities to:
- Get real-time help with complex contribution questions
- Understand project priorities and upcoming initiatives
- Connect with other contributors working on related features
- Learn about contributor opportunities beyond code (QA, design, documentation)
- Participate in beta testing programs for new features
The Elementor GitHub Discussions board provides another venue for longer-form community interaction. Browse existing discussions to understand common questions and project direction before posting new topics.
Sustained contribution creates opportunities. Maintainers notice reliable contributors and eventually invite trusted community members to take on larger responsibilities—reviewing others’ PRs, triaging issues, or participating in roadmap planning.
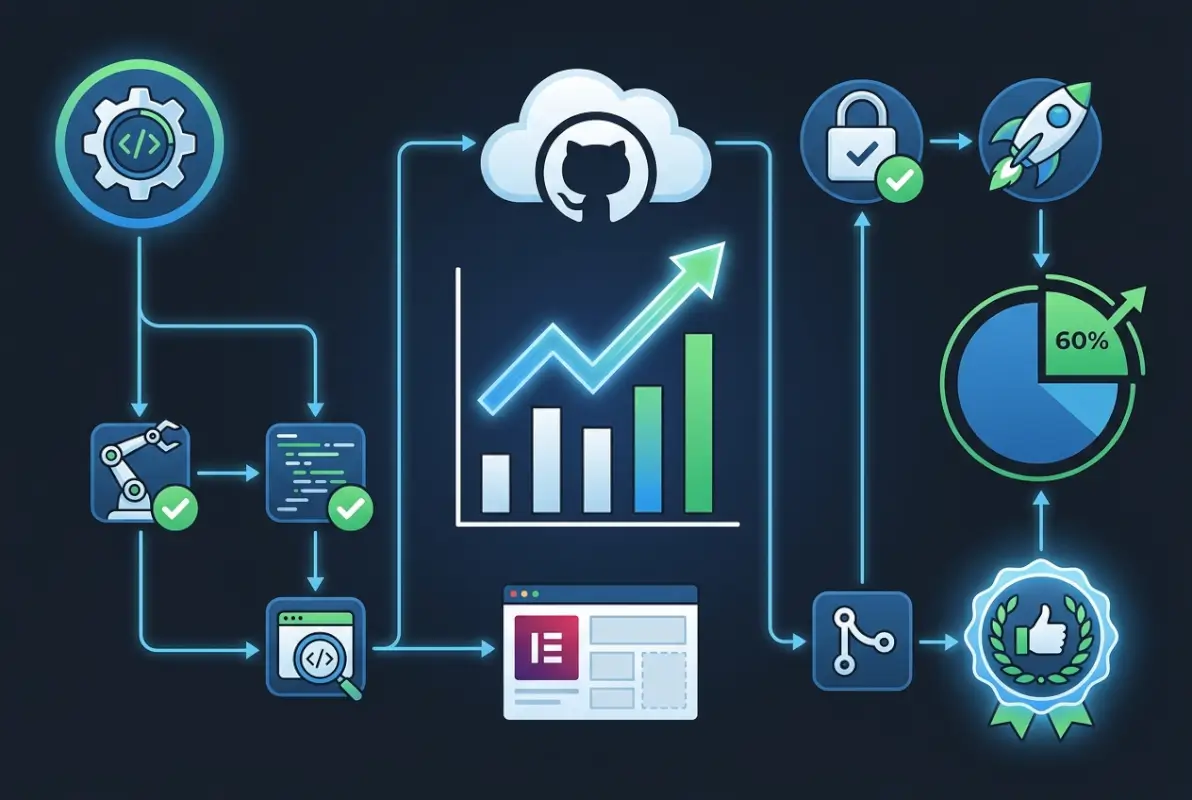
Deploying and Verifying Contributions in Elementor Pro Projects
Before submitting any pull request, thorough local testing prevents embarrassing bugs from reaching reviewers. The goal: verify your changes work correctly in isolation and don’t break existing functionality.

Local Testing Versus CI Pipelines and Production Readiness
Start testing in your local WordPress environment. Create a fresh test site in LocalWP, install Elementor, and activate your modified version. Test the specific functionality you changed, then test related features that might be affected.
For UI changes, test across multiple browsers—Chrome, Firefox, Safari at minimum. Mobile testing matters more than many contributors realize; responsive behavior often breaks in ways desktop testing misses. Use browser developer tools to simulate various screen sizes and devices.
After local testing passes, push your branch and create a draft pull request. This triggers automated CI (continuous integration) checks that run linting, unit tests, and other validation. Watch these checks closely—failures indicate problems you missed locally.
| Testing Phase | What to Verify | Tools/Methods |
|---|---|---|
| Local Functional | Feature works as expected | Manual testing in LocalWP |
| Browser Compatibility | Cross-browser consistency | Chrome, Firefox, Safari testing |
| Responsive Behavior | Mobile/tablet layouts | DevTools device simulation |
| Code Quality | Standards compliance | npm run lint |
| Automated Checks | CI pipeline passes | GitHub Actions results |
Common CI failures include linting violations, missing dependency updates, or test suite breakages. Fix these before requesting review from maintainers—submitting a PR with failing checks signals you haven’t done due diligence.
Production readiness means your code handles edge cases gracefully. What happens if a user provides invalid input? How does your feature behave with slow internet connections? Does it work correctly when WordPress runs in a subdirectory or uses a non-standard database prefix? These scenarios might seem unlikely but they affect real users.
Documentation of Changes and Release Notes
Every meaningful code change deserves explanation. Your PR description becomes the historical record for why this change was made and how it works. Future contributors (including yourself six months later) read these descriptions to understand change context.
Effective PR descriptions include:
- What problem does this solve? (Link to the issue)
- How does your implementation solve it?
- What alternatives did you consider and reject?
- Are there any breaking changes or migration requirements?
- What testing did you perform?
- Screenshots/videos for UI changes
For significant features, propose changelog entries. These eventually appear in release notes helping users understand what changed. Write changelog entries from a user perspective: “Improved responsive grid layouts on mobile devices” rather than “Refactored flexbox CSS in grid component.”
Some changes benefit from inline code comments explaining non-obvious decisions. If you wrote code a certain way to work around a browser bug or WordPress quirk, comment explaining why. This prevents future contributors from “fixing” your intentional workaround.
What is the proper way to contribute to Elementor Pro on GitHub?
Fork the elementor/elementor repository, create a feature branch, make your changes, test thoroughly, and submit a pull request following the project’s contribution guidelines. Include clear commit messages, reference related issues, and respond promptly to reviewer feedback.
How do I submit a pull request to Elementor Pro’s GitHub repo?
Push your changes to a branch in your forked repository, navigate to your fork on GitHub, and click the “Compare & pull request” button. Fill out the PR template completely, explaining what changed and why, then submit for maintainer review.
Where can I find Elementor’s contribution guidelines and code of conduct?
Check the CONTRIBUTING.md file in the elementor/elementor repository root, along with the CODE_OF_CONDUCT.md file. The Elementor website also maintains contributor documentation at elementor.com/blog/write-for-elementor/ covering both code and content contributions.
What should I include in my PR to maximize approval chances?
Include a clear description of the problem and solution, reference related issue numbers, provide testing steps, add screenshots for UI changes, ensure all CI checks pass, and follow the project’s coding standards. Keep the scope focused on solving one specific problem.
How can I verify my changes before submitting a PR?
Test in a local WordPress environment using LocalWP or similar tools, verify across multiple browsers (Chrome, Firefox, Safari), check responsive behavior on various screen sizes, run npm run lint to catch code style issues, and ensure all automated CI checks pass.
Can I contribute to Elementor Pro without advanced coding skills?
Yes. Documentation improvements, bug reports with detailed reproduction steps, testing pull requests from other contributors, and helping newcomers in community channels are all valuable non-code contributions that strengthen the project ecosystem.
How long does it typically take for a pull request to get reviewed?
Review times vary based on PR complexity and maintainer availability, ranging from a few days to several weeks. Simple bug fixes often get reviewed faster than large feature additions. Responding promptly to feedback keeps your PR moving through the review queue.
What happens if my pull request is rejected?
Request clarification on rejection reasons, learn from the feedback provided, and consider how to address concerns in future contributions. Rejection often relates to timing or project direction rather than code quality, and maintaining positive relationships opens doors for future successful contributions.
Start Contributing Today
Contributing to Elementor Pro transforms you from a passive user into an active participant shaping WordPress’s future. The path from first contribution to trusted community member starts with a single forked repository and one small pull request. Don’t wait until you feel completely ready—you learn more by doing than by preparing endlessly.
The Elementor community welcomes contributors at all skill levels. Start with documentation fixes if code intimidates you, or dive into bug fixes if you want hands-on coding experience. Either way, maintainers appreciate the effort and your contributions make WordPress better for millions of users worldwide.
Ready to Make Your First Contribution?
Fork the repository, find a good first issue, and submit your pull request. The community is waiting to help you succeed.
Your unique perspective matters. Maybe you’ve encountered edge cases other contributors missed, or you understand a specific user segment’s needs better than current maintainers. These insights, combined with your growing technical skills, create contributions that genuinely improve the project. The hardest part is starting—everything else follows from that first commit.
Was this article helpful?