How to Install a Plugin in Joomla: 5 Simple Steps

Joomla plugins are the secret weapon of savvy site administrators. While many users stick to the basics—installing a template, adding a few articles—power users understand that plugins unlock capabilities most people don’t even know exist. Here’s something rarely discussed: the order in which you enable plugins can actually affect performance and behavior on your site. A security plugin firing before a caching plugin might log different events than if the order were reversed. Understanding not just how to install plugins, but when and why to configure them in specific sequences, separates amateur administrators from professionals who truly harness Joomla’s event-driven architecture.

Installing a Joomla plugin isn’t difficult, but doing it correctly—with attention to compatibility, security, and site performance—requires more thought than simply clicking “Install.” This guide walks you through a proven five-step process that ensures your plugins integrate smoothly with your existing setup, whether you’re running Joomla 4 or the latest Joomla 5 release.
TL;DR – Quick Takeaways
- Always verify compatibility first – Check that your plugin supports your exact Joomla and PHP version before downloading
- Use trusted sources only – The Joomla Extensions Directory (JED) remains your safest option, similar to how you’d install plugin firefox beginner guide tools from official repositories
- Backup before installation – A simple precaution that takes minutes can save hours of recovery work
- Installation happens via Extensions Manager – Upload Package File or Install from Web are your two primary methods
- Enable doesn’t mean configure – Publishing a plugin activates it, but proper configuration ensures it actually works as intended
Step 1: Prepare and Choose the Right Plugin
Before you download anything, take fifteen minutes to properly research your options. I’ve watched too many administrators jump straight to installation, only to discover their chosen plugin conflicts with an existing extension or hasn’t been updated in three years. This preparation phase prevents 90% of common installation headaches.
Determine Plugin Type and Compatibility
Joomla organizes plugins into distinct categories based on when and how they execute. System plugins fire during nearly every page load and handle core functionality. Content plugins modify articles and content display. User plugins manage authentication and profile behavior. Authentication plugins handle login mechanisms, while editor plugins provide WYSIWYG editing capabilities.
Your Joomla version matters significantly here. A plugin designed for Joomla 3.x will not install on Joomla 4 or 5 without major modifications (the namespace structure changed fundamentally). Check the plugin documentation explicitly for phrases like “Compatible with Joomla 4.x” or “Supports Joomla 5.2 and above.” PHP version compatibility is equally critical—Joomla 5 requires PHP 8.1 or higher, so plugins must support this requirement.
<version> tag to see which Joomla versions the developer explicitly tested against.Source and Trustworthiness
The Joomla Extensions Directory serves as the primary marketplace for vetted extensions. However, “vetted” doesn’t mean perfect—it means the extension passed basic security and functionality reviews. Always check three things: the number of reviews (look for 20+ genuine user experiences), the average rating (4.0 stars or higher suggests solid quality), and the last update date.
If a plugin hasn’t been updated in 18 months, proceed with caution. That doesn’t automatically mean it’s broken, but it does suggest the developer may have moved on. For critical functionality like security or SEO, you want actively maintained plugins that respond to emerging threats and algorithm changes.
| Trust Indicator | Good Sign | Warning Sign |
|---|---|---|
| Last Updated | Within 6 months | Over 2 years ago |
| Reviews | 25+ detailed reviews | Fewer than 5 reviews |
| Documentation | Dedicated docs site or thorough README | One-paragraph description only |
| Support | Active forum or ticket system | Unanswered questions from months ago |
Backup Plan
This step feels tedious until you need it. A complete site backup before installing any extension should be non-negotiable, especially on production sites. Many hosting providers offer one-click backup solutions through cPanel or their custom control panels. If your host doesn’t provide this, consider a backup extension like Akeeba Backup that creates a full site package you can restore if something breaks.
What constitutes a proper backup? You need your database (all tables), your files (entire Joomla installation directory), and ideally a copy of your hosting configuration. Store this backup somewhere separate from your web server—cloud storage or a local machine works well. I learned this lesson the hard way when a plugin conflict corrupted my database and the same server issue that triggered the problem also damaged my on-server backups.
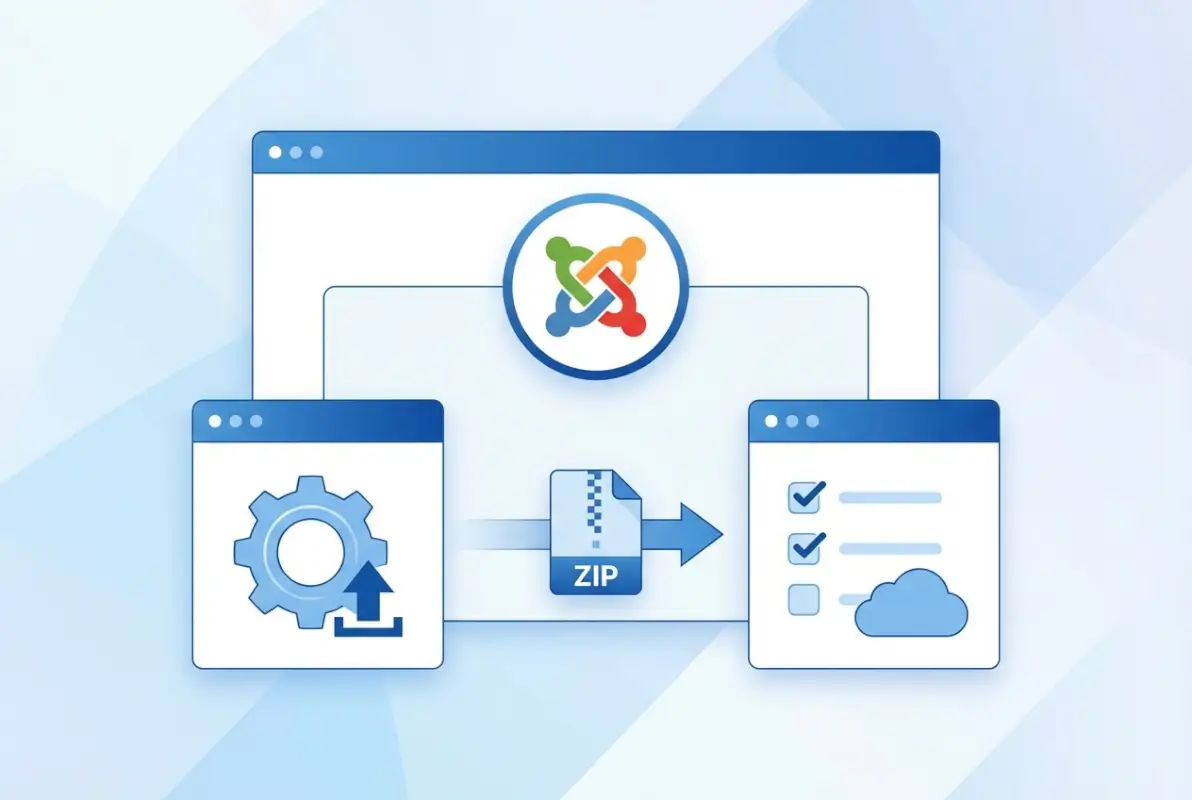
Step 2: Acquire the Plugin (Install Package)
Once you’ve identified the right plugin and backed up your site, obtaining the installation package is straightforward. You have two primary methods: downloading a ZIP file for manual upload, or using Joomla’s built-in Install from Web feature that connects directly to the JED.

Direct Upload vs. Install from Web
The traditional approach involves downloading a ZIP file from the developer’s site or the JED, then uploading it through Joomla’s Extensions Manager. This method gives you complete control and allows you to scan the package with security tools before installation. It’s particularly useful when installing commercial plugins that require purchase authentication or when your server environment restricts certain web-based installations.
Install from Web, introduced to simplify the extension discovery process, lets you browse available extensions directly within your Joomla admin panel. You’ll search for plugins by name or category, read descriptions and reviews, then click Install to download and install in one step. This approach works beautifully for free extensions but requires your server to allow outbound connections to the JED servers.
Verify Package Integrity
Professional developers often provide MD5 or SHA256 checksums alongside their download links. These cryptographic hashes verify that your downloaded file matches exactly what the developer released, confirming no one tampered with the package during download. On Windows, you can use certutil -hashfile filename.zip SHA256 at the command prompt; on Mac or Linux, use shasum -a 256 filename.zip.
Beyond checksums, reputable plugins include a properly formatted XML manifest file (usually named something like pluginname.xml). This file tells Joomla how to install and configure the plugin. If you’re comfortable unzipping files, peek inside to confirm the presence of standard Joomla plugin structure: an XML manifest, a PHP file with the same name as the plugin, and typically a language folder for translations.
Step 3: Install the Plugin via the Admin Panel
With your plugin package ready and your site backed up, the actual installation takes only a few clicks. This process is similar across all Joomla extension types—the same interface handles plugins, components, modules, and templates, just like when you install directory wordpress step by step guide tools through the WordPress admin.
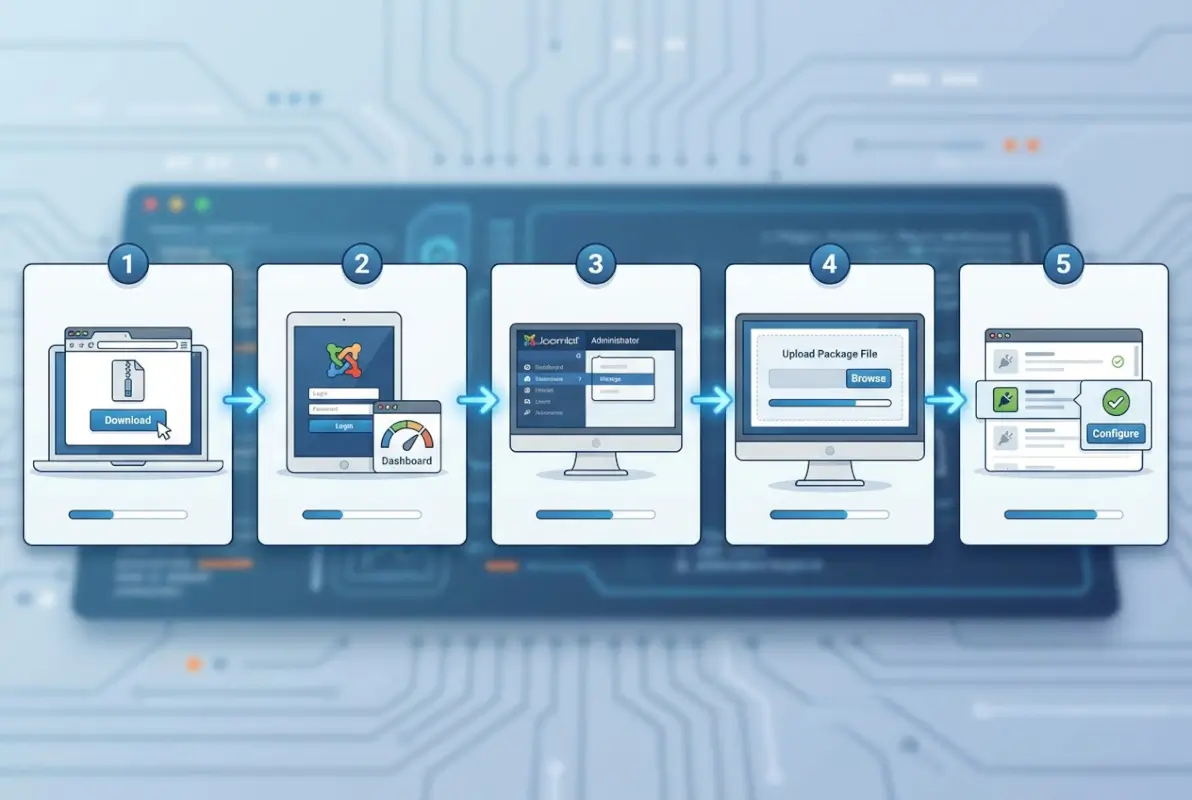
Access the Extension Manager
Log into your Joomla administrator panel (typically at yoursite.com/administrator) and navigate to System → Install → Extensions (in Joomla 4/5) or Extensions → Manage → Install (in some Joomla 4 configurations—the menu structure varies slightly between versions). You’ll see several tabs: Upload Package File, Install from Folder, Install from URL, and Install from Web.
For a downloaded ZIP file, click “Upload Package File” and either drag your ZIP onto the upload area or click to browse for it. Joomla will upload, extract, and install the plugin automatically. The entire process typically completes in 5-15 seconds, depending on package size and server speed. A green success message confirms completion, though you might need to scroll up to see it if the page reloads.
Install from Web (Optional)
If you’re using Install from Web, the interface presents a searchable catalog of JED extensions. Type your plugin name or browse by category (Plugins → System, Plugins → Content, etc.). Each listing shows ratings, download counts, and a brief description. Click the plugin name for more details, including screenshots and full documentation links.
When you’re ready to install, click the Install button next to the plugin name. Joomla downloads the package from the JED servers, verifies it, then installs automatically. This method requires your server’s PHP configuration to allow outbound connections (some shared hosting environments restrict this for security). If Install from Web appears empty or shows connection errors, you’ll need to use the manual ZIP upload method instead.
Post-Install Messages
Some plugins display configuration instructions immediately after installation. These post-install messages might include setup requirements (like obtaining API keys), important configuration options, or warnings about potential conflicts. Don’t dismiss these messages without reading them—they often contain crucial setup steps.
For instance, security plugins frequently require you to set an admin password or configure firewall rules before they become effective. SEO plugins might need you to verify site ownership with search engines. Missing these steps means your plugin is installed but not actually functioning. Bookmark or screenshot these messages if you can’t complete the setup immediately.
Step 4: Enable and Configure the Plugin
Installation puts the plugin files in place, but it doesn’t activate the plugin. This two-step approach prevents new extensions from immediately affecting your site before you’ve reviewed their settings. Think of it as installing software on your computer but not launching it until you’re ready.
Publish the Plugin
Navigate to System → Manage → Plugins (or Extensions → Plugins, depending on your Joomla version). You’ll see a list of all installed plugins organized alphabetically. Use the Search box to quickly locate your newly installed plugin, or filter by Type to see only plugins in a specific category.
Your new plugin appears with a red circle icon in the Status column, indicating it’s unpublished. Click the red circle to toggle it to a green checkmark (Published). Some administrators prefer to click the plugin name first, review all settings, configure options, then enable publishing—that’s actually the safer approach, though either order works fine.
Configure Settings
Click the plugin name to open its configuration screen. The options here vary dramatically based on plugin purpose. Content plugins might offer settings for shortcode syntax or content filtering rules. System plugins could include cache settings, performance optimizations, or integration with third-party services. User plugins typically configure authentication requirements or profile field mappings.
Pay particular attention to these common configuration areas: Access level (controls which user groups can interact with the plugin), Event triggers (determines which Joomla events fire the plugin), and Status (published/unpublished). Many plugins include a “Basic” and “Advanced” settings tab—start with basic settings to get working functionality, then explore advanced options for fine-tuning.
For analytics plugins, you’ll typically enter tracking IDs or API credentials. Security plugins often require you to define which file types to scan or which directories to monitor. The best practice? Configure conservatively at first (enabling core features but avoiding aggressive settings), test thoroughly, then gradually enable additional features after confirming basic functionality works correctly. This approach helps you identify which specific setting causes problems if issues arise, similar to how you’d how to index listing google essential steps businesses by starting with foundational SEO before advanced tactics.
Test to Confirm Functionality
Don’t assume “Published” means “Working correctly.” Open your site in an incognito/private browser window (to see the site as a logged-out visitor would) and verify the plugin behaves as expected. For content plugins, check whether shortcodes or content modifications appear correctly. For system plugins, confirm any announced behavior (redirects, headers, caching) actually occurs.
Testing tools make this easier. Browser developer consoles (F12 in most browsers) reveal JavaScript errors that might indicate plugin conflicts. The Network tab shows whether the plugin loads additional resources correctly. For security plugins, SecurityHeaders.com can verify whether HTTP headers are properly configured.
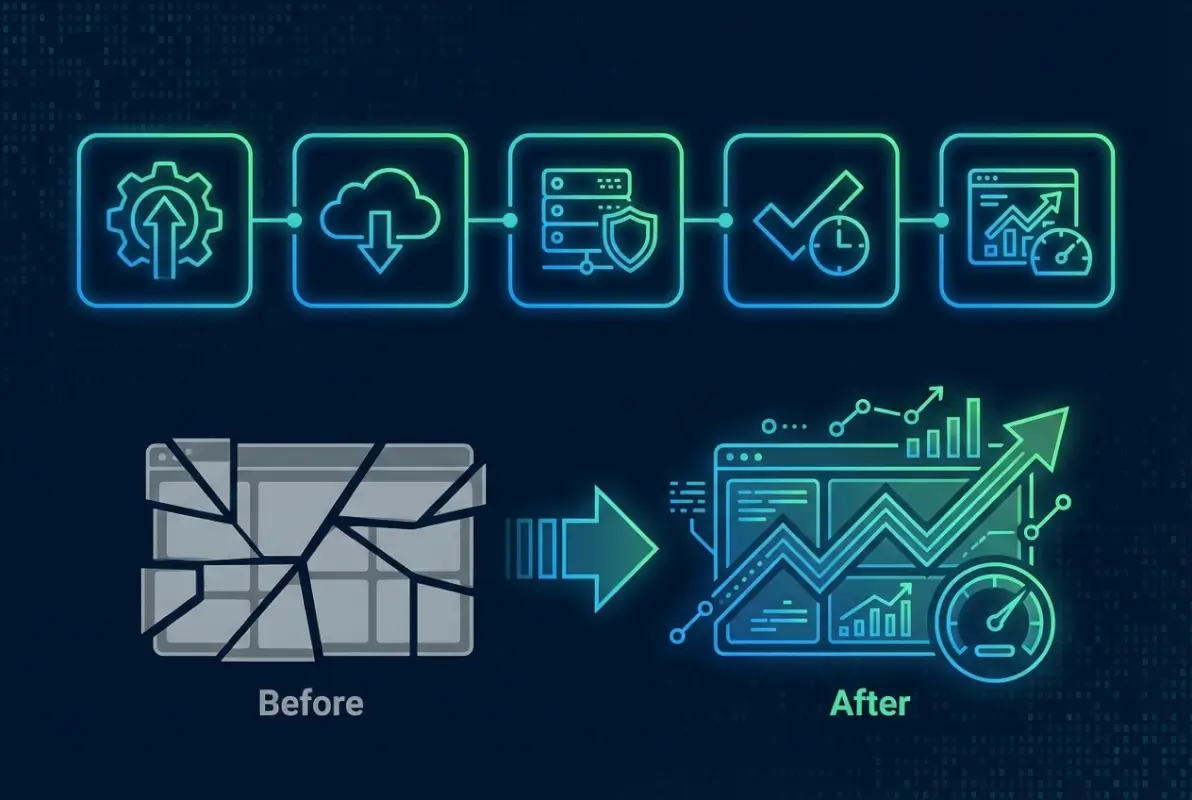
Step 5: Validate Security, Compatibility, and Updates
Installation and configuration aren’t the end of plugin management—they’re the beginning of an ongoing maintenance responsibility. Plugins require monitoring, updates, and occasional troubleshooting to maintain site security and performance over time.
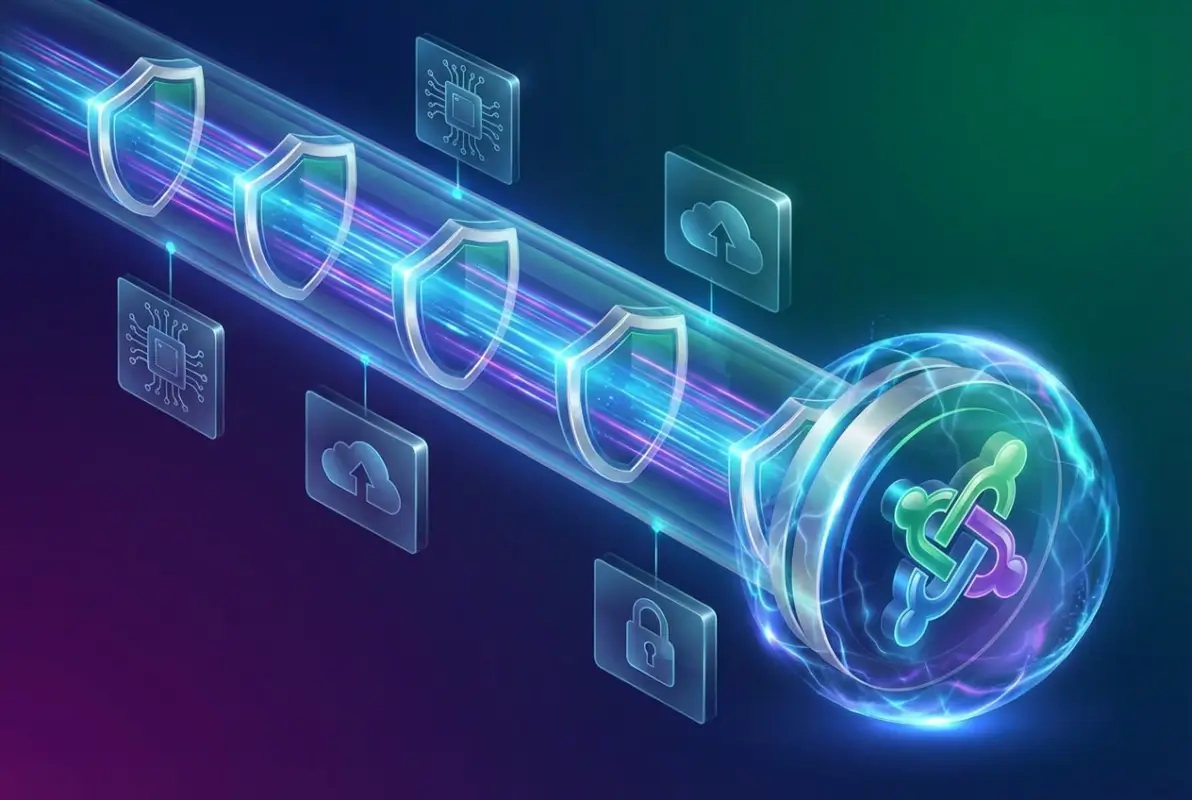
Security Considerations
Outdated plugins represent one of the most common vectors for website compromises. Attackers actively scan for sites running vulnerable plugin versions, then exploit known security flaws to gain unauthorized access. The solution is straightforward but requires discipline: check for plugin updates weekly, and apply security updates within 48 hours of release.
Remove unused plugins entirely rather than simply disabling them. A disabled plugin still contains code that could theoretically be exploited if an attacker finds a way to trigger it directly. If you’re not using a plugin, uninstall it through System → Manage → Manage, select the plugin, then click the Uninstall button.
| Security Practice | Frequency | Priority Level |
|---|---|---|
| Check for plugin updates | Weekly | High |
| Apply security patches | Within 48 hours | Critical |
| Review installed plugin list | Monthly | Medium |
| Remove unused plugins | Quarterly | Medium |
| Audit plugin permissions | Annually | Low |
Compatibility with Joomla Versions
Joomla’s major version updates (like the transition from 3.x to 4.x, or 4.x to 5.x) introduce significant architectural changes. Plugins designed for older versions usually don’t work with newer releases without updates from the developer. Before upgrading Joomla itself, verify all installed plugins are compatible with the target version.
PHP version compatibility creates additional complexity, though it’s less frequently an issue since most hosts upgrade PHP gradually. Joomla 4 requires PHP 7.2.5 minimum (though 8.0+ is recommended), while Joomla 5 requires PHP 8.1 minimum. Your plugins must support whichever PHP version your server runs. The System Information page (System → System Information → PHP Information tab) shows your current PHP version and configuration.
Update and Maintenance
Joomla’s update system notifies you when plugin updates are available. Navigate to System → Update → Extensions to see a list of extensions with available updates. The interface shows current version, available version, and type (security update, feature update, bug fix). Clicking the checkbox next to each extension and clicking Update installs the new version.
Always read update changelogs before applying updates to production sites. Some updates introduce breaking changes or require configuration adjustments. Testing updates on a staging environment first—a clone of your production site used for testing—prevents surprises. This same careful approach applies whether you’re managing plugins for directories where you need to index directory listing google seo practices or running a simple blog.
Common Scenarios and Plugin Examples
Understanding plugin installation in abstract terms helps, but seeing concrete examples of popular plugin types and their specific installation considerations provides practical context you can apply immediately.
Analytics and Tracking Plugins
Analytics plugins like those supporting Matomo (formerly Piwik) or Google Analytics integration require additional setup beyond basic installation. After installing and publishing the plugin, you’ll need to obtain tracking credentials from your analytics service—a site ID for Matomo, or a tracking ID (formatted as UA-XXXXXXXX-X or G-XXXXXXXXXX) for Google Analytics.
These plugins typically operate as system plugins, firing on every page load to inject tracking code into your site’s HTML. Configuration options usually include: where to place the tracking code (header vs. footer), whether to track administrator sessions, and whether to anonymize IP addresses for privacy compliance. The Joomla Statistics (jstats.de) project demonstrates how analytics plugins integrate with content management systems through event-driven architecture.
Content and SEO Plugins
Content enhancement plugins modify article output before display, adding functionality like custom shortcodes, automatic table-of-contents generation, or related article suggestions. These plugins hook into Joomla’s content events—typically “onContentPrepare” or “onContentAfterDisplay”—to manipulate or augment content.
SEO-focused plugins might automatically generate meta descriptions, create XML sitemaps, or optimize image alt tags. After installation, these often require you to run an initial scan or optimization process. The plugin might need to analyze your existing content to build an index or establish baseline SEO metrics. Some plugins in this category also help you how to index directory listing methods website owners can employ for better search visibility.
Security and Performance Plugins
Security plugins range from simple login protection (limiting failed login attempts) to comprehensive Web Application Firewalls that filter malicious requests before they reach Joomla. These plugins often require careful configuration to avoid blocking legitimate traffic. Start with conservative settings (monitoring mode rather than blocking mode, if available) and gradually tighten security as you confirm legitimate users aren’t affected.
Performance plugins typically focus on caching, image optimization, or code minification. These can dramatically improve site speed, but they also represent a common source of conflicts. If your site displays incorrectly after installing a performance plugin, the plugin is likely caching a version that includes content from another plugin that shouldn’t be cached. Adjusting cache exclusions or page-specific caching rules usually resolves these issues.
Troubleshooting Common Installation Issues
Even following best practices doesn’t guarantee flawless installations every time. Server configurations vary, plugins occasionally contain bugs, and conflicts between extensions happen. Knowing how to diagnose and resolve common issues saves hours of frustration.
Extension Install Failed Messages
When installation fails, Joomla usually displays an error message explaining why. “Error: Unable to find install package” typically means the uploaded ZIP file is corrupted or wasn’t properly downloaded. Re-download the plugin and try again. “Installation of [plugin] was not successful” often indicates missing files in the package or incorrect file permissions on your server.
File permission issues rank among the most common installation blockers. Joomla needs write access to specific directories to install extensions. The /tmp directory must be writable for Joomla to extract uploaded packages. The /plugins directory (and relevant subdirectories like /plugins/system or /plugins/content) must allow Joomla to create new folders and files. Your hosting control panel should include a file manager with permission-changing capabilities (typically chmod 755 for directories, 644 for files).
Conflicts with Existing Extensions
Two plugins attempting to modify the same content or system behavior can conflict, producing unexpected results. If your site behaves strangely after installing a new plugin, temporarily disable the plugin to see if normal behavior returns. If the problem disappears with the plugin disabled, you’ve confirmed a conflict.
Resolving conflicts requires determining which other extension interferes with your new plugin. Disable other recently installed or updated plugins one by one, testing after each disabling, until you identify the culprit. Sometimes simply adjusting the plugin ordering resolves conflicts—if Plugin A needs to execute before Plugin B, setting Plugin A’s order number lower than Plugin B’s ensures proper sequencing.
PHP Version Limitations
Modern Joomla versions require relatively recent PHP versions, but some hosting environments still run outdated PHP. If a plugin specifically requires PHP 8.1 and your server runs PHP 7.4, installation might succeed but the plugin won’t function. Worse, it might generate fatal errors that crash your entire site.
Check your PHP version before installing plugins with specific PHP requirements. Most quality plugins document their PHP requirements in their JED listing or documentation. If your host doesn’t offer the required PHP version, you have three options: find an alternative plugin with lower requirements, upgrade your hosting plan to access newer PHP versions, or migrate to a different host that maintains current server software.
Best Practices for Long-Term Plugin Management
Installing a plugin correctly is an achievement, but maintaining a healthy plugin ecosystem requires ongoing attention. Sites that run smoothly year after year follow consistent maintenance patterns that prevent problems before they occur.
Document your plugins and their purposes. In six months, will you remember what “PLG_SYSTEM_XYZ” does or whether it’s safe to remove? Create a simple spreadsheet or document listing each plugin, its purpose, configuration notes, and whether it’s critical to site functionality. This documentation proves invaluable when troubleshooting issues or cleaning up unused extensions.
Establish a testing environment that mirrors your production site. Before applying plugin updates to your live site, test them on this staging environment first. Many hosting providers offer staging environments as a standard feature, or you can create one manually by duplicating your site to a subdomain. Testing in staging catches compatibility issues before they affect real visitors.
Regularly audit your plugin list, questioning whether each plugin still serves its purpose. Sites accumulate plugins over time, installing extensions to solve temporary problems that no longer exist. Quarterly audits keep your plugin list lean, reducing security risk, improving performance, and simplifying troubleshooting when issues arise.
Join Joomla community resources like the official Joomla Forum where experienced administrators share solutions to common problems. When you encounter an obscure plugin issue, chances are someone else has faced and solved the same problem. Community knowledge accelerates troubleshooting and introduces you to new plugins that might better serve your needs.
Frequently Asked Questions
How do I know if a Joomla plugin is compatible with Joomla 4 or 5?
Check the plugin’s JED listing for explicit version compatibility statements like “Compatible with Joomla 4.x” or review the plugin’s XML manifest file if available. The manifest’s <version> tag lists tested Joomla versions. Most developers prominently display compatibility information in their documentation. When in doubt, contact the developer before purchasing or installing.
Can I install a Joomla plugin from the web inside the admin panel?
Yes, the Install from Web feature (found at System → Install → Extensions → Install from Web tab) allows you to browse and install extensions directly from the JED without manually downloading files. This method requires your server to allow outbound connections. If the tab doesn’t appear or shows errors, your hosting environment may restrict this functionality.
What should I do if the plugin won’t publish after install?
First verify you clicked the Status toggle to change it from unpublished (red) to published (green) in the Plugins list. If the toggle doesn’t stay enabled, check for error messages in your browser console or Joomla’s system logs. Plugin conflicts, missing dependencies, or incorrect file permissions can prevent publishing. Reviewing the plugin’s post-install messages often reveals required configuration steps.
How do I back up Joomla before installing a plugin?
Use your hosting provider’s backup tool (often found in cPanel under “Backup” or “Backup Wizard”), or install a Joomla backup extension like Akeeba Backup. A complete backup includes your database and all files in your Joomla installation directory. Store the backup somewhere separate from your web server—cloud storage or your local computer—in case server issues affect both your site and server-stored backups.
Where can I find trusted Joomla plugins?
The Joomla Extensions Directory (extensions.joomla.org) remains the primary source for vetted plugins. All extensions listed there undergo basic security and quality reviews. Always read user reviews, check the last update date, and verify the developer provides documentation and support. Avoid downloading Joomla extensions from third-party “free download” sites that aren’t affiliated with the official JED.
What basic steps constitute a safe plugin installation?
Start by verifying Joomla and PHP version compatibility, then back up your site completely. Install the plugin via Extensions Manager using either Upload Package File or Install from Web. After successful installation, publish the plugin in the Plugins list and configure its settings. Test functionality on a staging environment or low-traffic page before deploying to critical areas of your site.
Are there official Joomla resources that explain how plugins work?
Yes, the Joomla Programmer Documentation at manual.joomla.org provides detailed explanations of plugin architecture, event handling, and development guidelines. The “How plugins work” section explains the technical foundation of Joomla’s plugin system, while the administration guides at docs.joomla.org cover installation and configuration from an end-user perspective. Both resources complement each other for comprehensive understanding.
Should I enable all plugins immediately after installation?
No, enable plugins one at a time, testing after each activation to confirm compatibility. Enabling multiple plugins simultaneously makes troubleshooting conflicts difficult since you won’t know which plugin caused issues. Configure each plugin’s settings before publishing it, review any warnings or requirements, then enable and test before moving to the next plugin in your installation queue.
How often should I update installed plugins?
Check for plugin updates weekly through System → Update → Extensions. Apply security updates within 48 hours of release, as these address vulnerabilities attackers actively exploit. Feature updates and bug fixes can wait for your next scheduled maintenance window, but don’t postpone updates longer than 30 days. Outdated plugins represent significant security risks and may lose compatibility with current Joomla versions.
Can I install multiple plugins at the same time?
Technically yes, but it’s not recommended. Installing plugins individually allows you to test each one after installation and immediately identify which plugin causes problems if issues arise. Mass installation saves time initially but creates troubleshooting nightmares when conflicts occur. The few extra minutes spent on individual installation and testing prevent hours of frustration diagnosing mysterious site behavior.
Taking Control of Your Joomla Site
Mastering plugin installation transforms you from a Joomla user into a Joomla administrator who truly controls their site’s capabilities. The five-step process outlined here—preparation, acquisition, installation, configuration, and validation—applies universally whether you’re installing a simple content plugin or a complex system extension that fundamentally alters how your site operates.
The difference between sites that grow smoothly and those that struggle with constant technical issues often comes down to disciplined extension management. Administrators who verify compatibility before installing, test thoroughly before deploying to production, and maintain their plugins regularly build stable, secure sites that serve their users reliably. Those who rush installations and ignore maintenance accumulate technical debt that eventually demands repayment through emergency troubleshooting or complete site rebuilds.
Start building better habits today. The next time you need to extend your Joomla site’s functionality, resist the urge to immediately install the first plugin you find. Take fifteen minutes to research alternatives, read reviews, verify compatibility, and back up your site. Those fifteen minutes of preparation prevent hours of potential recovery work and build the foundation for long-term site stability.
Ready to Level Up Your Joomla Skills?
Plugin installation is just one aspect of Joomla site management. Combine these skills with proper directory management, SEO optimization, and security hardening to build sites that not only function well but thrive in competitive environments.
What plugin will you install first? Start with one that addresses your site’s biggest current limitation, apply these installation practices, and watch your Joomla site’s capabilities expand.