How to Install Multiple WordPress Plugins at Once: 5 Simple Methods

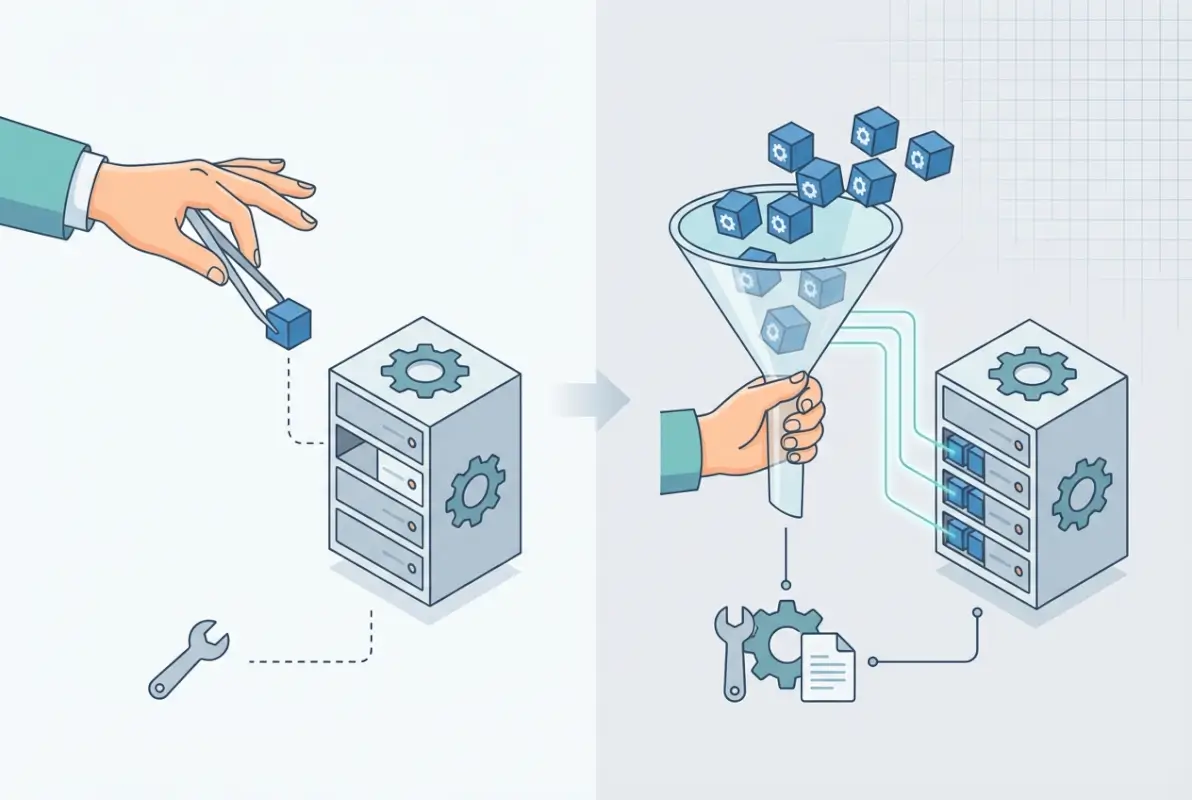
Managing plugins across WordPress sites can feel like herding cats—especially when you’re setting up dozens of client sites, migrating projects, or spinning up staging environments. Most WordPress users install plugins one-by-one through the dashboard, which works fine until you need to deploy the same stack of 15 plugins across five sites. That’s when bulk plugin installation stops being a nice-to-have and becomes a genuine productivity multiplier. In this guide, you’ll discover five practical methods to install multiple WordPress plugins at once, from point-and-click dashboard techniques to command-line automation, browser extensions, multisite deployment strategies, and version-controlled workflows. Whether you’re a solo developer tired of repetitive clicks or an agency managing a fleet of client sites, one of these approaches will save you hours every month.

TL;DR – Quick Takeaways
- Dashboard bulk install – Works natively in WordPress, best for small batches (under 10 plugins), limited automation
- WP-CLI – Command-line powerhouse for scripted, repeatable bulk installs; ideal for staging and CI/CD pipelines
- Browser extensions (WPBulkify) – One-click bulk installs from saved stacks, perfect for agencies managing multiple sites
- Multisite network activation – Deploy plugins across hundreds of sub-sites simultaneously; critical for enterprise WordPress networks
- Version-controlled stacks – Integrate plugin lists into Git repos and deployment pipelines for consistent, auditable environments
- Always test in staging first – Bulk installs amplify compatibility risks; never deploy untested plugin combos directly to production
Using the WordPress Admin UI to Add Multiple Plugins
The WordPress dashboard has come a long way since the early days, and while it doesn’t offer a true “bulk install” button, you can streamline the process with a few strategic clicks. This method is ideal for users who prefer a visual interface and are working with a manageable list—say, five to ten plugins.
Step-by-Step Workflow (Search, Select, Install, Activate)
Start by logging into your WordPress admin panel and navigating to Plugins > Add New. From here, you can search for plugins by name or keyword. Once you find a plugin you want, click Install Now. After installation completes (usually just a few seconds), click Activate. Now here’s the trick: open multiple browser tabs, each pointing to Plugins > Add New. Search for and install a different plugin in each tab, then switch back through the tabs and activate them all in sequence. It’s not automation, but it’s faster than installing one, waiting, searching for the next, and repeating.
Another approach is to use the Plugins > Installed Plugins screen after you’ve installed several. You can bulk-activate plugins by checking the boxes next to each plugin name, selecting Activate from the Bulk Actions dropdown, and clicking Apply. This at least consolidates the activation step. I remember setting up a dozen business directories for a franchise client this way—installing plugins in bursts of five, then bulk-activating them all at once saved me a surprising amount of time.
Limitations and Best-Use Scenarios (Staging vs. Production, Conflicts)
The dashboard method shines when you’re working on a single site and need to install a handful of plugins quickly. It’s visual, intuitive, and requires zero technical setup. However, it doesn’t scale well. If you’re deploying the same stack across ten client sites, you’ll repeat the entire process ten times. There’s also no easy way to version-control or document which plugins you installed, so reproducibility suffers.
On staging sites, this method is relatively low-risk—if a plugin conflicts or causes a white screen, you can deactivate it through the dashboard or via FTP. On production sites, though, installing multiple plugins at once increases the chance of conflicts. One misbehaving plugin can bring down your entire site, and tracking down which one is the culprit becomes harder when you’ve just activated eight plugins simultaneously. Always test new plugin combinations in a staging environment before pushing to live.
Practical Tips and Gotchas
Plugin Compatibility Checks
Before you bulk-install anything, scan the plugin descriptions for compatibility warnings. Check the “Tested up to” version on each plugin’s WordPress.org page—if a plugin hasn’t been updated in two years and only lists compatibility up to WordPress 5.8, think twice before adding it to your stack. Outdated plugins are a common source of security vulnerabilities and compatibility headaches. Cross-reference plugins that touch similar functionality (e.g., two different caching plugins) because they often conflict in unexpected ways.
Another gotcha: some plugins require specific PHP extensions or minimum PHP versions. If you’re working on a managed host like WordPress.com, these requirements are usually handled automatically. On shared or self-managed hosting, you might hit errors mid-install if your server doesn’t meet prerequisites. Check your hosting dashboard or contact support to confirm your PHP version and installed extensions before you start.
Maintaining a Clean Plugin Set to Reduce Conflicts
One principle I’ve learned the hard way: more plugins don’t always equal more features—they often equal more problems. Every active plugin adds PHP execution overhead, potential security surface, and conflict risk. Before bulk-installing, audit your list and ask, “Do I really need this plugin, or could I achieve the same result with a code snippet or theme feature?” Tools like Query Monitor can help you identify performance bottlenecks caused by plugins.
Keep a “golden stack” document—a simple text file or spreadsheet listing your essential plugins, their slugs, and why you use them. Update it whenever you add or remove a plugin. This makes it easier to replicate environments and ensures you’re not installing redundant or forgotten plugins out of habit. For community business directories, for example, you might have a standard stack of SEO, caching, form builder, and directory-specific plugins that you deploy on every project.
WP-CLI Approach to Install Multiple Plugins
If the dashboard method feels like riding a bicycle, WP-CLI is a sports car. WP-CLI (WordPress Command Line Interface) is a set of command-line tools for managing WordPress installations. Once you’ve tasted the power of scripting bulk plugin installs, you’ll wonder how you ever lived without it.
Basic Commands (wp plugin install, –activate, etc.)
WP-CLI’s syntax is straightforward. To install a single plugin, SSH into your server, navigate to your WordPress root directory, and run:
wp plugin install plugin-slug --activate
Replace plugin-slug with the plugin’s slug from WordPress.org (e.g., akismet, contact-form-7). The --activate flag installs and activates the plugin in one step. To install multiple plugins at once, string them together:
wp plugin install akismet contact-form-7 wordfence --activate
That single command installs and activates three plugins in seconds. You can also install from a ZIP file URL if you have premium plugins hosted elsewhere:
wp plugin install https://example.com/path-to-plugin.zip --activate
Need to update all plugins after installation? Run wp plugin update --all. Want to list installed plugins? wp plugin list. The granularity and speed are unmatched. I once migrated 20 sites for an agency using WP-CLI scripts—what would have taken days of manual clicking was done in an afternoon.
Example Scripts for Batch Installation
Here’s where WP-CLI becomes a true productivity superpower. Create a simple Bash script (let’s call it bulk-install.sh) that contains your plugin list:
#!/bin/bash
wp plugin install akismet --activate
wp plugin install contact-form-7 --activate
wp plugin install yoast-seo --activate
wp plugin install wordfence --activate
wp plugin install wp-super-cache --activate
Make the script executable (chmod +x bulk-install.sh), then run ./bulk-install.sh from your WordPress root. All plugins install and activate sequentially. You can get fancier with loops if you store plugin slugs in a text file:
#!/bin/bash
while read plugin; do
  wp plugin install "$plugin" --activate
done < plugins.txt
Your plugins.txt file would simply list one plugin slug per line. Now your entire plugin stack is version-controlled and reproducible. Commit the script and text file to your project repo, and any developer can spin up an identical environment with one command.
When to Prefer CLI (Servers, Automated Deployments, Migration Workflows)
WP-CLI is the tool of choice when you're working on remote servers, managing staging environments, or automating deployments. If you're comfortable with SSH and basic shell scripting, there's no reason not to use it. It's also essential for migrations—when you clone a site to a new server, you can reinstall all plugins in seconds rather than manually re-downloading and activating through the dashboard.
Managed WordPress hosts like Kinsta and WP Engine often include WP-CLI pre-installed and optimized. If you're on shared hosting, check with your provider—many now offer SSH access and WP-CLI by default. For local development, tools like Local by Flywheel and Docker containers with WordPress images usually bundle WP-CLI, making it easy to script your entire dev setup.
Best Practices and Caveats
Handling Plugin Slugs vs. Plugin URLs
One common stumbling block: WP-CLI expects the official plugin slug from WordPress.org's repository. If you type a plugin's display name or get the slug wrong, the command will fail. To find the correct slug, visit the plugin's WordPress.org page and look at the URL—everything after /plugins/ is the slug. For example, https://wordpress.org/plugins/contact-form-7/ means the slug is contact-form-7.
For premium plugins or custom plugins not in the WordPress.org repository, you'll need to use the ZIP URL method. Ensure the URL is publicly accessible or stored securely if it contains license keys. Never hardcode license keys in scripts committed to public repos.
Post-Install Activation Considerations and Onboarding Requirements
Some plugins require configuration or onboarding steps after activation. For example, Yoast SEO prompts you to run a setup wizard, and security plugins like Wordfence ask you to enter an API key. WP-CLI can activate these plugins, but you'll still need to complete their setup manually (or via additional WP-CLI commands if the plugin supports it). Check each plugin's documentation to see if it offers CLI commands for configuration.
Also, be mindful of plugins that modify database schema on activation. If you're bulk-activating on a live site (not recommended), database changes happen immediately. Always run a backup before bulk-activating plugins—tools like UpdraftPlus or WP-CLI's own wp db export make this trivial. Speaking of which, if you're setting up an MLS plugin, double-check installation requirements because real estate plugins often need specific server configurations.
| Method | Speed | Automation | Skill Level |
|---|---|---|---|
| Dashboard | Moderate | None | Beginner |
| WP-CLI | Fast | High | Intermediate |
| Browser Extension | Fast | Moderate | Beginner |
| Multisite | Very Fast | High | Advanced |
Tools Such as WPBulkify and Similar Extensions
If you're comfortable with the WordPress dashboard but want more speed than manual clicking, browser extensions like WPBulkify bridge the gap. These tools run in your browser (usually Chrome or Firefox) and interact with WordPress via REST API or admin interfaces to bulk-install plugins across one or more sites.
How These Tools Work (From Browser, Rely on WordPress REST API or Secure Flows)
WPBulkify, for example, lets you create reusable "stacks"—lists of plugins you frequently install together. Once you've saved a stack (say, your standard agency toolkit of SEO, caching, contact form, and security plugins), you can deploy it to any site with a few clicks. Under the hood, the extension authenticates to your WordPress site (usually via application passwords or OAuth), then uses WordPress's REST API or direct admin actions to trigger plugin installation and activation.
These tools are particularly popular among agencies managing multiple client sites. Instead of repeating the same 15-plugin install routine for every new project, you click once, select your stack, and let the extension handle the rest. It's faster than the dashboard and more user-friendly than WP-CLI for non-technical team members.
Pros (Speed, Consistency Across Sites) and Cons (Security, Plugin Compatibility)
The biggest advantage is speed combined with repeatability. You define your plugin stack once, then deploy it to 10, 20, or 100 sites without manual repetition. This ensures consistency—every client site starts with the same security, performance, and feature baseline. For agencies offering user-friendly business directories, this consistency means faster onboarding and fewer support tickets.
On the flip side, browser extensions introduce security considerations. You're granting a third-party tool access to your WordPress admin, so make sure you trust the extension developer. Check reviews, verify the extension is actively maintained, and ideally use application passwords (available in WordPress 5.6+) instead of your main admin credentials. Also, remember that these tools are only as reliable as your internet connection and the WordPress REST API—if either hiccups mid-install, you might end up with partially installed plugins.
Step-by-Step Usage Outline
Setting Up, Connecting to a Site, Selecting Plugin Lists, Performing Bulk Install
Let's walk through WPBulkify as an example (other tools follow similar patterns). First, install the extension from the Chrome Web Store. Once installed, click the extension icon and create an account or log in. Next, you'll add a site by entering its URL and creating an application password in WordPress (under Users > Profile > Application Passwords). Paste the application password into WPBulkify to authenticate.
Now create a stack: click Stacks, name your stack (e.g., "Agency Standard"), and search for plugins to add. The extension pulls plugin data from WordPress.org, so you can search by name or keyword. Add each plugin to your stack, save it, then select the stack and your target site. Click Install, and the extension installs and activates all plugins in sequence. You'll see real-time progress and any error messages if a plugin fails to install.
For agencies managing dozens of sites, you can create multiple stacks (e.g., "E-commerce," "Blog," "Directory") and deploy the appropriate one depending on the project. This modular approach keeps your toolkit organized and reduces the chance of installing unnecessary plugins.
Security and Governance Considerations
Ensuring Updates and Licenses Are Properly Managed
Bulk-installing plugins is only half the battle—keeping them updated is the other half. Browser extensions typically don't handle updates automatically, so you'll need a separate process for ongoing maintenance. Consider using a plugin management service like ManageWP or InfiniteWP to centralize updates across multiple sites. These platforms let you bulk-update plugins, monitor uptime, and manage backups from a single dashboard.
For premium plugins, ensure you're properly licensed for each site. Some vendors allow multi-site licenses, while others require individual licenses per domain. Installing a premium plugin via bulk methods doesn't bypass license checks—you'll still need to activate each copy with a valid license key. Document your licenses in a secure password manager or internal wiki so your team knows which sites have which licenses.
Deploying Plugins Across a WordPress Multisite Network
WordPress Multisite is designed for managing multiple sites from a single installation—think university systems, franchise networks, or SaaS platforms built on WordPress. Bulk plugin deployment is built into the multisite architecture, making it the ideal solution when you need to roll out plugins to dozens or hundreds of sub-sites simultaneously.
Network-Activated Plugins vs. Site-Specific Activations
In a multisite network, plugins can be installed at the network level (available to all sites) or activated individually per site. When you network-activate a plugin, it becomes active on every site in the network instantly. This is perfect for essential plugins like security, caching, or backup tools that every site needs. To network-activate, navigate to Network Admin > Plugins, install your plugin, then click Network Activate instead of the regular Activate link.
Alternatively, you can install a plugin network-wide but let individual site administrators decide whether to activate it on their own site. This gives sub-site admins autonomy while maintaining centralized control over which plugins are available. For example, an MLS plugin installation might be network-available, but only real estate sub-sites activate it.
Practical Walkthrough for Plugin Installation Across Sites
Here's a typical workflow for a multisite network. Log into the Network Admin dashboard. Go to Plugins > Add New and search for the plugin you want. Install it, but don't activate yet. Once installed, return to Plugins > Installed Plugins. You'll see two activation options: Network Activate and Activate. Choose Network Activate to enable the plugin on all current and future sites. To verify, switch to any sub-site's dashboard and check that the plugin is active and functional.
For bulk installs, you can still use WP-CLI on multisite setups. When you run wp plugin install from the network's root directory, the plugin installs network-wide. To network-activate via CLI, add the --network flag:
wp plugin install wordfence --activate-network
This single command installs and network-activates Wordfence across your entire multisite network—potentially hundreds of sites—in seconds.
Considerations for Performance, Updates, and Licensing
When to Use Network-Wide Installs vs. Individual Site Installs
Network-activation is powerful but not always appropriate. Plugins that modify database schema or add custom post types should be carefully tested before network-activation—rolling them out to 500 sites at once magnifies any bugs or performance issues. Similarly, resource-intensive plugins (e.g., page builders, heavy e-commerce suites) might overwhelm shared server resources if activated network-wide on a large multisite installation.
Reserve network-activation for lightweight, essential plugins: security (Wordfence, iThemes Security), caching (WP Super Cache), SEO (Yoast SEO), and backups. For feature-specific plugins (e.g., event calendars, e-commerce), consider making them network-available but letting site admins activate individually. This balances consistency with flexibility and reduces the chance of performance bottlenecks.
Crafting Repeatable, Version-Controlled Plugin Stacks
Modern development workflows emphasize repeatability, auditability, and version control. Your plugin stack should be treated like any other part of your codebase—tracked in Git, tested in CI/CD pipelines, and deployed consistently across environments. This approach might sound over-engineered for a simple WordPress site, but once you've managed a handful of client projects or staging/production splits, you'll appreciate the discipline.

Saving and Reusing Plugin Lists (Stacks) Across Projects
Start by documenting your plugin stack in a version-controlled file. Create a plugins.txt or composer.json (if using Composer for WordPress) that lists every plugin slug and version. For example:
akismet
contact-form-7
yoast-seo
wordfence
wp-super-cache
Commit this file to your project repository. Now, any developer who clones the repo can run your WP-CLI script (referencing plugins.txt) to install the exact same plugin set. If you add or remove a plugin, update the file and commit the change—Git history becomes an audit trail of your plugin stack's evolution.
For even tighter control, use Composer with WPackagist, which mirrors the WordPress.org plugin repository as Composer packages. Define your plugins in composer.json, run composer install, and Composer downloads and installs them. This approach locks plugin versions, ensuring your staging and production environments are byte-for-byte identical.
Integrating Plugin Installation into CI/CD Pipelines
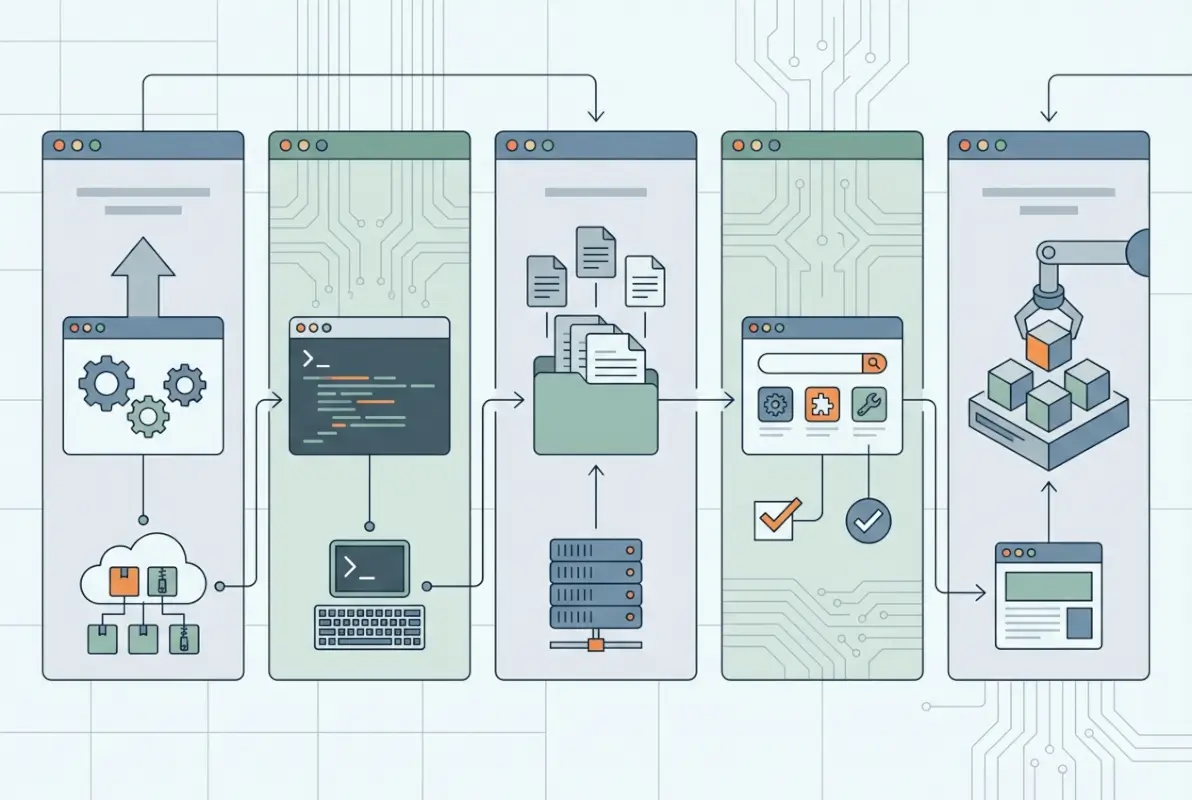
If you're deploying WordPress via CI/CD (e.g., GitHub Actions, GitLab CI, Jenkins), plugin installation should be part of your build or deployment script. A typical pipeline might look like this: commit code → trigger CI → run tests → deploy to staging → install plugins via WP-CLI → run smoke tests → promote to production. By automating plugin installation, you eliminate human error and ensure every environment mirrors your version-controlled stack.
Here's a simplified GitHub Actions example:
- name: Install plugins
  run: |
    while read plugin; do
      wp plugin install "$plugin" --activate --allow-root
    done < plugins.txt
This snippet reads your plugins.txt file and installs each plugin during the deployment pipeline. If a plugin installation fails, the pipeline stops, preventing a broken build from reaching production. Combined with automated testing (e.g., PHPUnit, Codeception), this workflow catches plugin conflicts and compatibility issues before they impact users.
Validation, Rollback, and Monitoring
How to Test After Bulk Install and How to Rollback if Needed
After any bulk plugin installation—whether via dashboard, WP-CLI, browser extension, or CI/CD—run a validation checklist. Load your site's homepage, key landing pages, and admin dashboard. Check for JavaScript errors in the browser console. Verify that essential features (contact forms, checkout, user registration) still work. If you're using automated testing, run your test suite to catch regressions.
If something breaks, deactivate plugins one by one to isolate the culprit (WP-CLI makes this faster: wp plugin deactivate --all, then reactivate selectively). If your entire site is down, access via SFTP or SSH and rename the problematic plugin's folder in wp-content/plugins/ to force-deactivate it. For version-controlled stacks, roll back your Git commit and redeploy the previous working state.
Always maintain recent backups before bulk operations. Tools like UpdraftPlus, BackWPup, or hosting-level snapshots let you restore your site to a pre-install state in minutes. I've seen more than one panic-stricken developer saved by a five-minute-old backup after a bulk plugin install went sideways in production (which, again, you should never do—but it happens).
Compare Methods by Speed, Risk, Required Access, and Ideal Use Cases
Choosing the right bulk-installation method depends on your technical comfort level, project scale, and automation needs. Here's a quick comparison to help you decide:
| Method | Speed | Risk | Access Required | Best For |
|---|---|---|---|---|
| Dashboard | Moderate | Low | WordPress admin | Single site, small batches |
| WP-CLI | Fast | Moderate | SSH / command line | Staging, CI/CD, migrations |
| Browser Extension | Fast | Moderate | WordPress admin + extension | Agencies, multiple sites |
| Multisite | Very Fast | High | Network admin | Enterprise networks |
| Version Control | Fast (automated) | Low (with testing) | Git + SSH | Dev teams, repeatable deploys |
Summary Table (Time-to-Fully-Active, Safe-on-Prod, Required Privileges)
To further clarify, here's a breakdown of each method's trade-offs:
- Dashboard: Time-to-active ≈ 2-5 minutes for 5 plugins. Safe on production if you test each plugin individually. Requires admin login.
- WP-CLI: Time-to-active ≈ 30 seconds for 10 plugins. Moderate risk on production (script errors can break activation). Requires SSH access and WP-CLI installed.
- Browser Extension: Time-to-active ≈ 1-3 minutes for 10 plugins across multiple sites. Moderate risk (REST API failures). Requires admin login and trusted extension.
- Multisite: Time-to-active ≈ 10 seconds for network-wide activation. High risk if untested (affects all sites). Requires network admin privileges.
- Version Control + CI/CD: Time-to-active ≈ automated, seconds per site. Low risk with proper testing. Requires developer access, Git, and CI/CD setup.
Which Method to Choose for Different Project Types (Single Site, Client Site, Agency Fleet)
Single site, occasional updates: Stick with the dashboard method. It's simple, visual, and low-risk. If you're just setting up a personal blog or small business site, there's no need to over-engineer the process.
Client sites, staging/production workflow: Use WP-CLI. The reproducibility and speed pay off immediately when you're juggling multiple client projects and need to spin up staging sites quickly.
Agency managing 10+ sites: Browser extensions like WPBulkify shine here. You get the speed of automation without requiring every team member to learn command-line tools. Create standard stacks for common project types and deploy them in seconds.
Enterprise multisite network: Leverage WordPress Multisite's built-in network activation. Combine it with WP-CLI for scriptable, auditable deployments across hundreds of sub-sites.
Dev team with CI/CD: Version-control your plugin stack and integrate installation into your deployment pipeline. This is the gold standard for repeatability, auditability, and risk management.
Security Best Practices
Install from Official WordPress.org Repo When Possible
The WordPress.org plugin repository vets submissions for malicious code and maintains a history of updates and support threads. Always prefer plugins from the official repo over random downloads from third-party sites. If you're bulk-installing, double-check that each plugin slug points to a legitimate, active listing on WordPress.org. Abandoned plugins (last updated three or more years ago) pose security and compatibility risks.
For premium plugins, download directly from the vendor's website or authorized resellers. Never install "nulled" (pirated) plugins—they often contain backdoors or malware. I once audited a client site that had been compromised via a nulled premium plugin, it took weeks to clean up and cost them thousands in lost revenue.
Avoid Outdated or Unmaintained Plugins (Data Points on Plugin Maintenance Trends)
Research suggests that nearly 30% of plugins in the WordPress.org repository haven't been updated in over two years. These plugins may still function, but they're increasingly likely to conflict with newer WordPress versions or contain unpatched vulnerabilities. Before adding a plugin to your bulk-install list, check its "Last Updated" date and compatibility status.
Also review the plugin's support forum. If recent threads are unanswered or full of compatibility complaints, consider alternatives. Plugins with active support, regular updates, and large install bases (100,000+ active installations) are generally safer bets for bulk deployment.
Maintenance and Monitoring
Keeping Plugins Up to Date, Avoiding Feature Conflicts, and Testing Updates
Bulk-installing plugins is step one—keeping them updated is step two. Outdated plugins are the leading cause of WordPress security breaches. Enable automatic updates for minor plugin releases (WordPress supports this natively), but review major updates manually in a staging environment before deploying to production.
Use a plugin management dashboard (ManageWP, MainWP, InfiniteWP) to monitor updates across multiple sites. These tools alert you when updates are available and let you bulk-update plugins across your entire portfolio with one click. Schedule a monthly audit to review installed plugins, deactivate and delete any you're no longer using, and check for compatibility issues.
Feature conflicts are common when two plugins try to control the same functionality (e.g., two SEO plugins, two caching plugins). During your initial bulk install, ensure your stack doesn't include redundant plugins. If you notice slowdowns, errors, or unexpected behavior after a bulk install, use a plugin like Query Monitor to identify which plugin is causing the issue.
Frequently Asked Questions
Is bulk installing plugins safe for live sites?
Bulk installing plugins on live sites is risky because conflicts or compatibility issues can take your site offline instantly. Always test bulk installations in a staging environment first. If you must bulk-install on a live site, do so during low-traffic hours and have recent backups ready.
Can I bulk install and activate plugins across multiple sites at once?
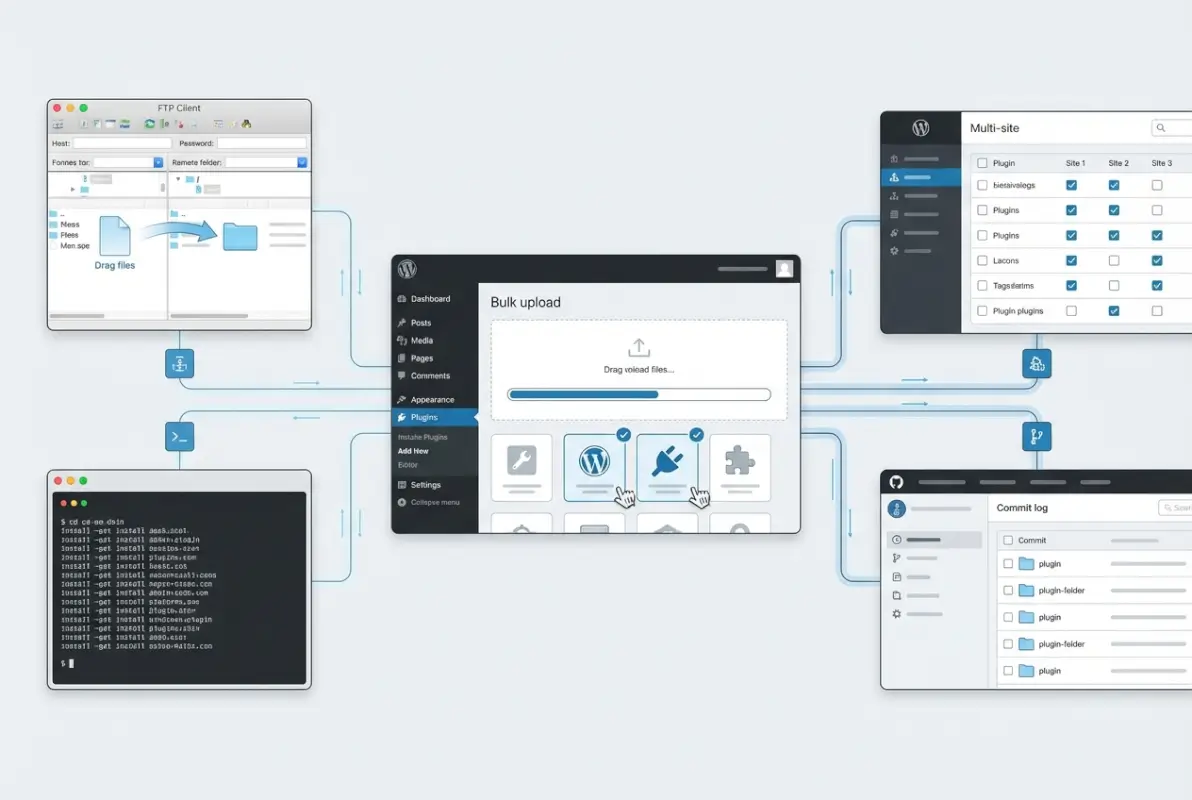
Yes, using browser extensions like WPBulkify, WP-CLI scripts, or WordPress Multisite network activation. Browser extensions work well for agencies managing unrelated sites, while Multisite is best for sites within a single network. WP-CLI scripts can loop through multiple site directories if you have SSH access.
How do I know which plugins to include in a bulk install?
Start with essential categories: security (Wordfence, iThemes Security), performance (caching plugin), SEO (Yoast or Rank Math), backups (UpdraftPlus), and forms (Contact Form 7 or WPForms). Add feature-specific plugins based on your site's purpose—e.g., WooCommerce for e-commerce, directory plugins for listings, etc. Avoid redundant plugins that overlap functionality.
What are the risks of using browser extensions for plugin installation?
Browser extensions require access to your WordPress admin, which poses security risks if the extension is compromised or poorly coded. Stick to well-reviewed extensions with active development. Use application passwords instead of your main admin credentials to limit exposure. Always verify that plugins activated correctly after bulk installs via extensions.
How do I revert bulk installations if something goes wrong?
Restore from a recent backup using tools like UpdraftPlus, BackWPup, or hosting-level snapshots. If you have Git version control, roll back your commit and redeploy. For smaller issues, deactivate all plugins via WP-CLI (wp plugin deactivate --all) or by renaming the wp-content/plugins folder via SFTP, then reactivate plugins one by one to identify the problem.
Does WP-CLI require SSH access or server privileges?
Yes, WP-CLI runs on the command line, so you need SSH access to your server or local command-line access for local development. Most managed WordPress hosts (Kinsta, WP Engine, Flywheel) provide SSH access and WP-CLI pre-installed. If you're on shared hosting, check with your provider—many now offer SSH in higher-tier plans.
Are there performance or compatibility prerequisites for bulk installing plugins?
Ensure your server meets plugin requirements: minimum PHP version, required PHP extensions (e.g., cURL, GD, Imagick), and adequate memory limits. Check plugin descriptions on WordPress.org for specific prerequisites. Also verify that your WordPress version is up to date—some modern plugins require WordPress 5.0 or newer. Bulk-installing resource-intensive plugins on underpowered shared hosting can cause timeouts or crashes.
How can I save and reuse plugin stacks for new sites?
Create a text file or spreadsheet listing plugin slugs, or use browser extensions like WPBulkify to save named stacks. For advanced workflows, use Composer with WPackagist to define plugin dependencies in composer.json. Commit your plugin list to Git so it's version-controlled and shareable across your team. WP-CLI scripts reading from a plugins.txt file make it trivial to deploy the same stack to new sites.
Putting It All Together: Choose Your Bulk Install Strategy
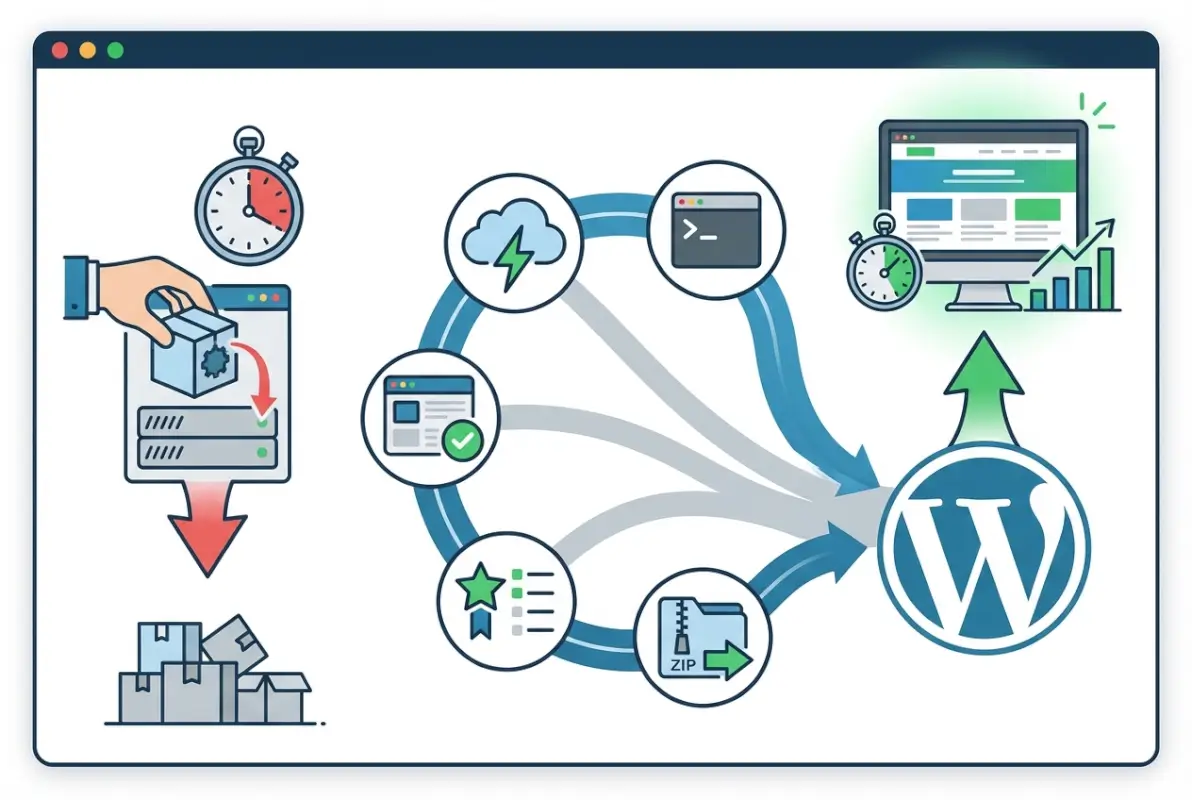
By now you've got five solid methods in your toolkit, each with distinct strengths. The dashboard approach keeps things simple for one-off projects. WP-CLI turns plugin deployment into a scriptable, repeatable process. Browser extensions like WPBulkify split the difference, offering speed without requiring command-line chops. Multisite networks can deploy plugins to hundreds of sub-sites in seconds, while version-controlled stacks integrate seamlessly into modern CI/CD pipelines.
The best method depends on your context. If you're a solo freelancer spinning up client sites, start with WP-CLI or a browser extension—you'll reclaim hours every week. If you're managing an enterprise multisite network, lean on network activation and WP-CLI for large-scale deployments. If you're part of a dev team with Git workflows and continuous integration, version-control your plugin stack and automate installation in your deployment pipeline.
No matter which method you choose, always test in staging first. Keep backups current. Monitor your sites after bulk installs. And maintain a disciplined plugin stack—every plugin you add is a potential point of failure, so make sure each one earns its place. Done right, bulk plugin installation transforms from a tedious chore into a streamlined, repeatable process that scales with your workload.
Ready to stop clicking install 50 times per project? Pick a method from this guide, test it on a staging site, and watch your productivity soar. Your future self (and your wrist) will thank you.